
01. From Server Manager Open IIS manager
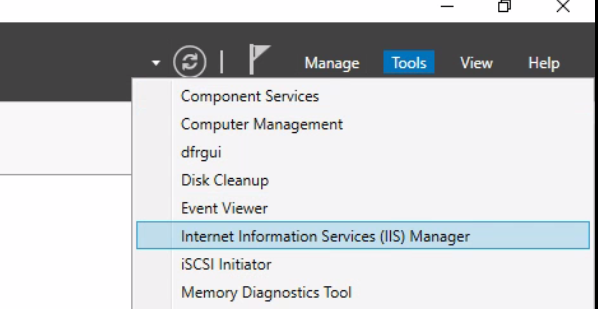
02. Select server home page from IIS manager and then select Server Certificates
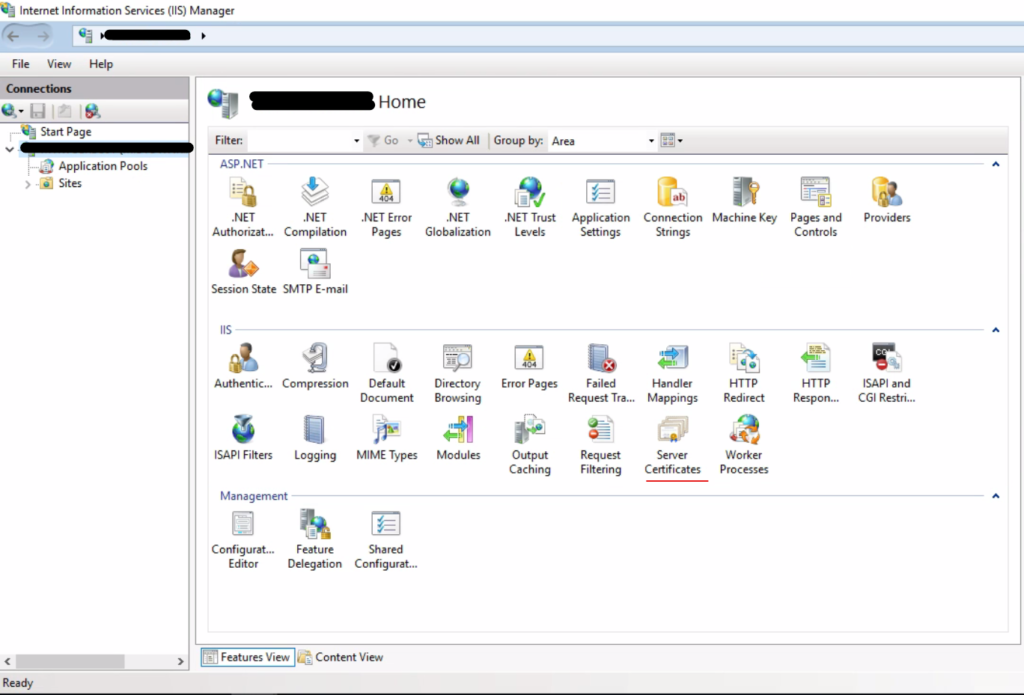
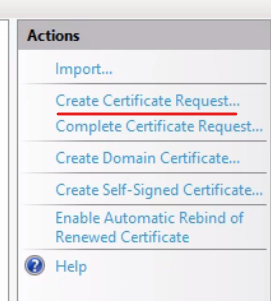
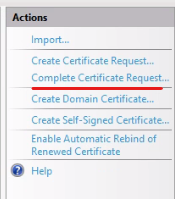
03. From the Actions menue select Create Certificate Request
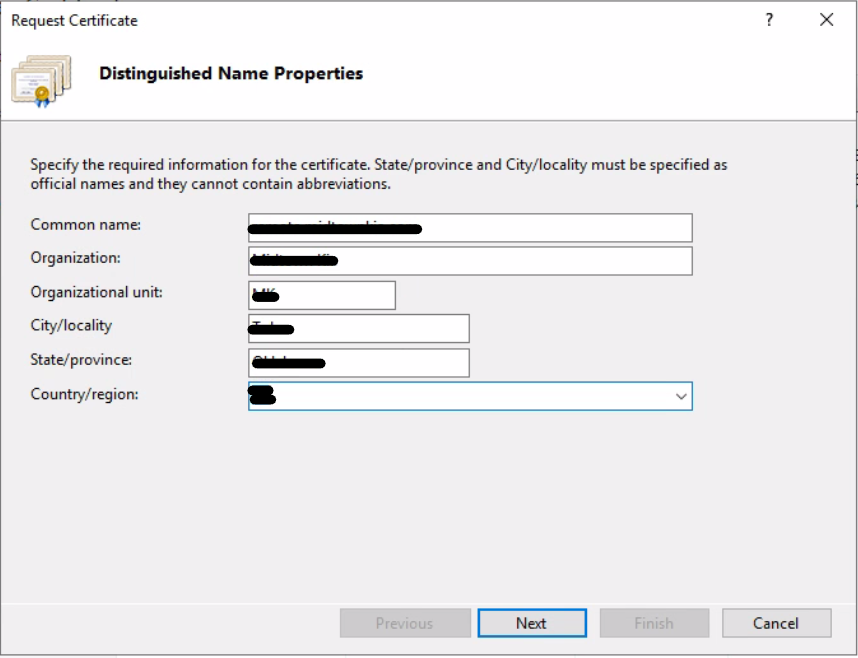
04. Fill Distinguished Name Properties based on your Organization details. Then Click Next
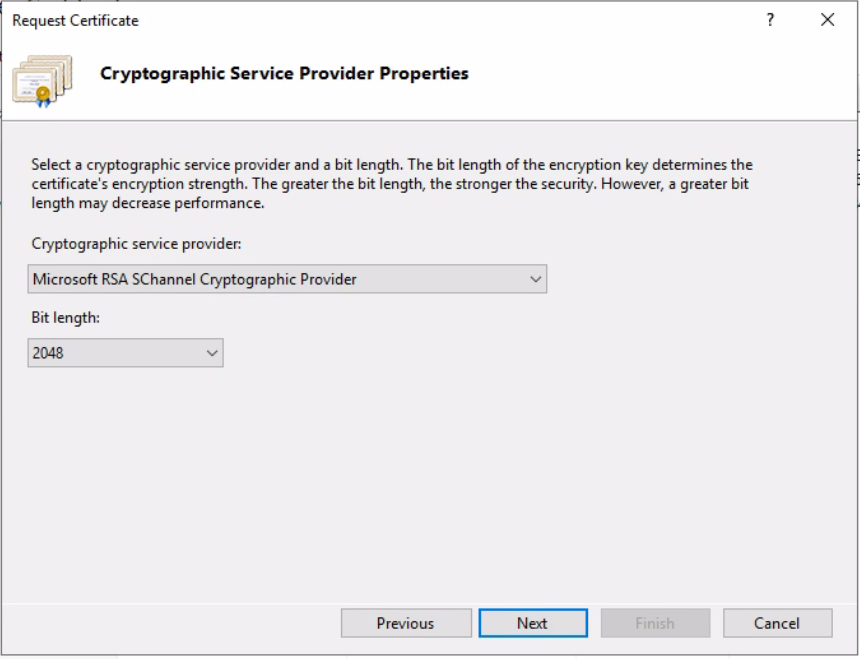
05. Select Cryptographic Service Provider Properties. Then Click Next
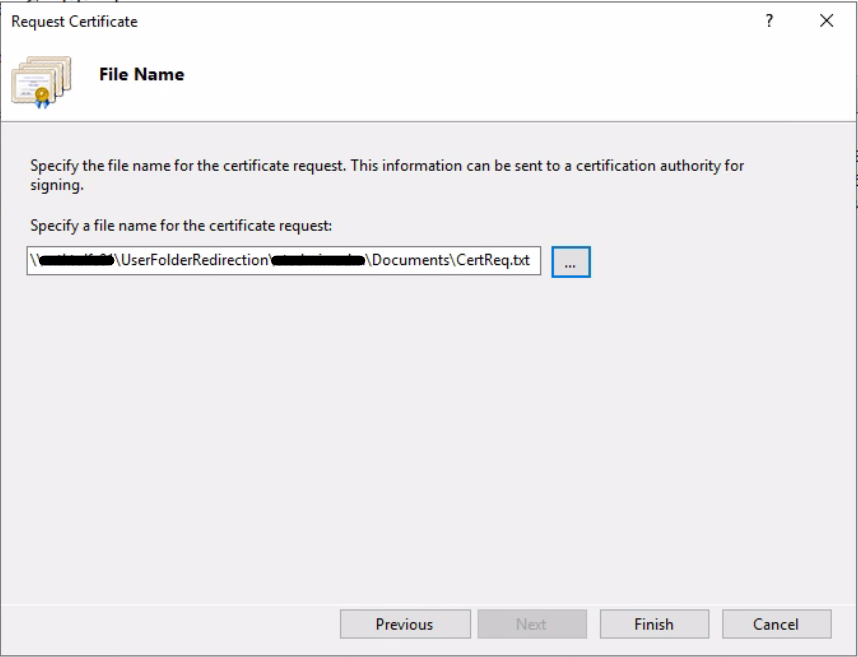
06. Define the file path that Certificate Request need to be saved. Then click Finish.
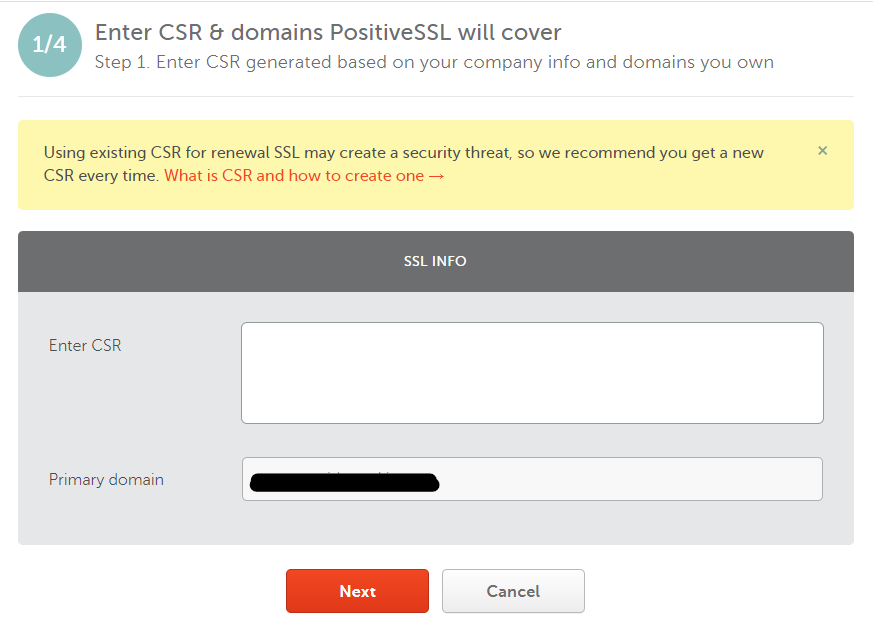
07. Open the saved CSR file using notepad and copy the content. Then paste it in SSL certificate providers certificate activation page SSL infor. In my case I am using Name Cheap
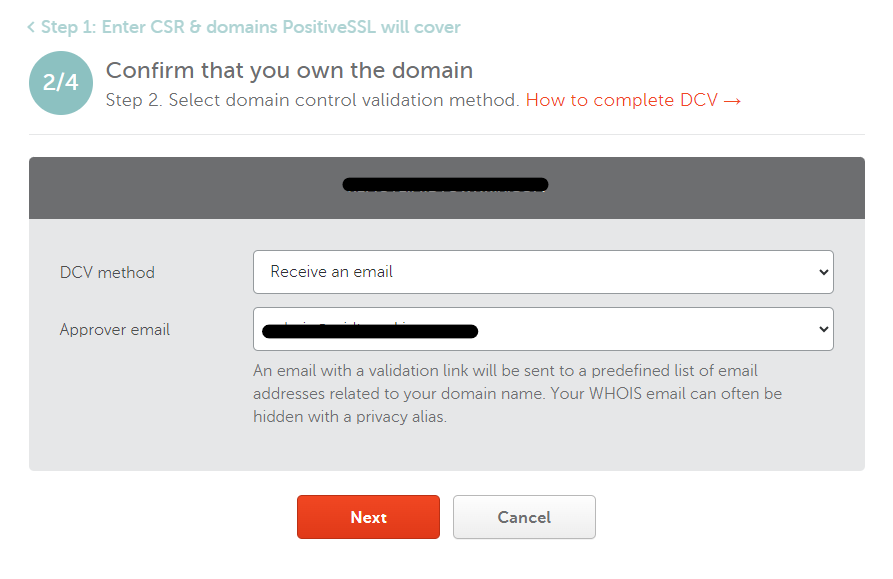
08. Activate the SSL certificate by confirming your domain. (Seting up a DNS record or receving an email)
09. From IIS manager Server certificates, Click Complete Certificate Request
10. Complete certificate request by selecting by selecting the CA issued certificate.

11. Select the newly installed certificate and select export.
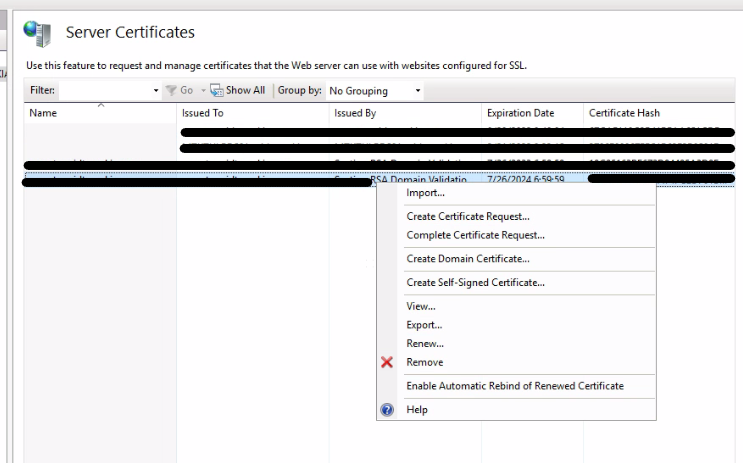
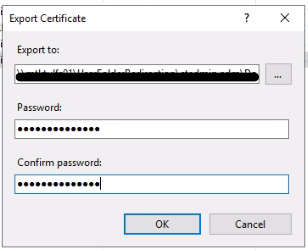
12. Export the SSL certificate as. pfk while setting up a password.
13. Open Server Manager >>> Select Remote Desktop Services >>> Click edit deployment properties

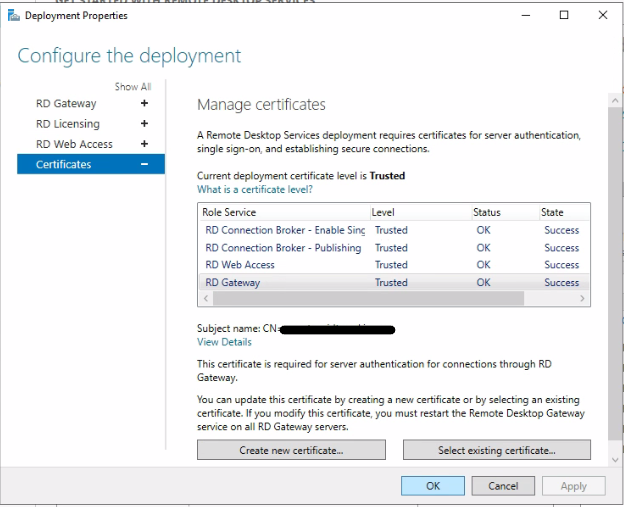
14. Select the exported .pfx sertificate all the role services. You will have to select the certificate for each role and apply one at a time.
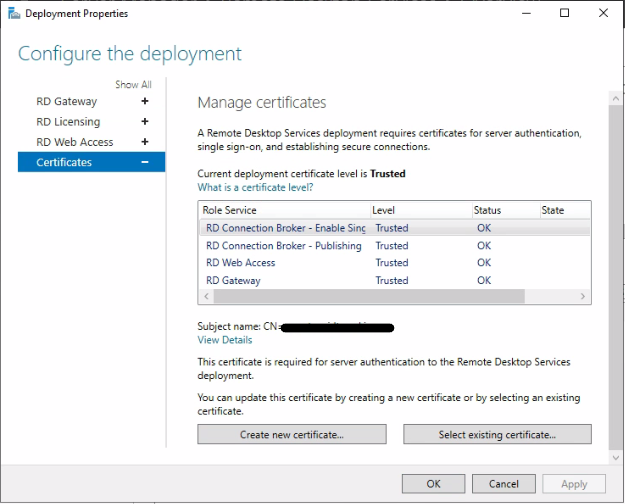
15. Once all the certificate are selected. State is success, Click Ok.
To view my previous Microsoft post click here.