
To manage your on-premise VMware infrastructure through VMware Cloud Console using a VMware vSphere+ subscription-based license, you will need to deploy VMware Cloud Gateway in your infrastucture. This installation process is quite similar to installing a vCenter Server appliance.
Installing VMware Cloud Gateway.
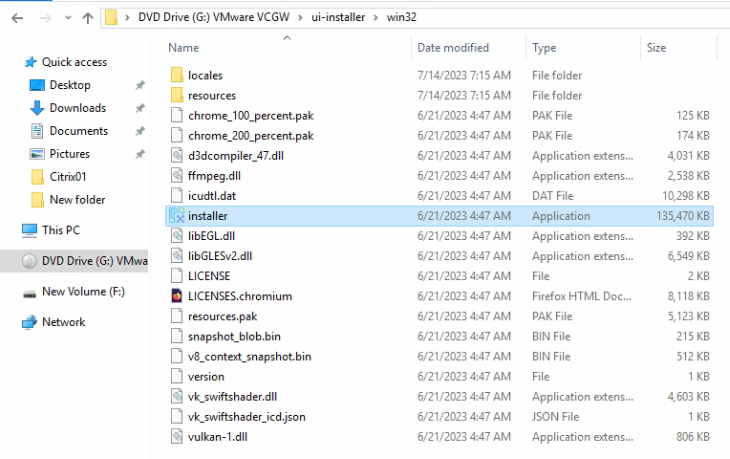
01. Mount the VMware vCenter Cloud Gateway ISO and access the installer. (Drive:\ui-installer\win32).
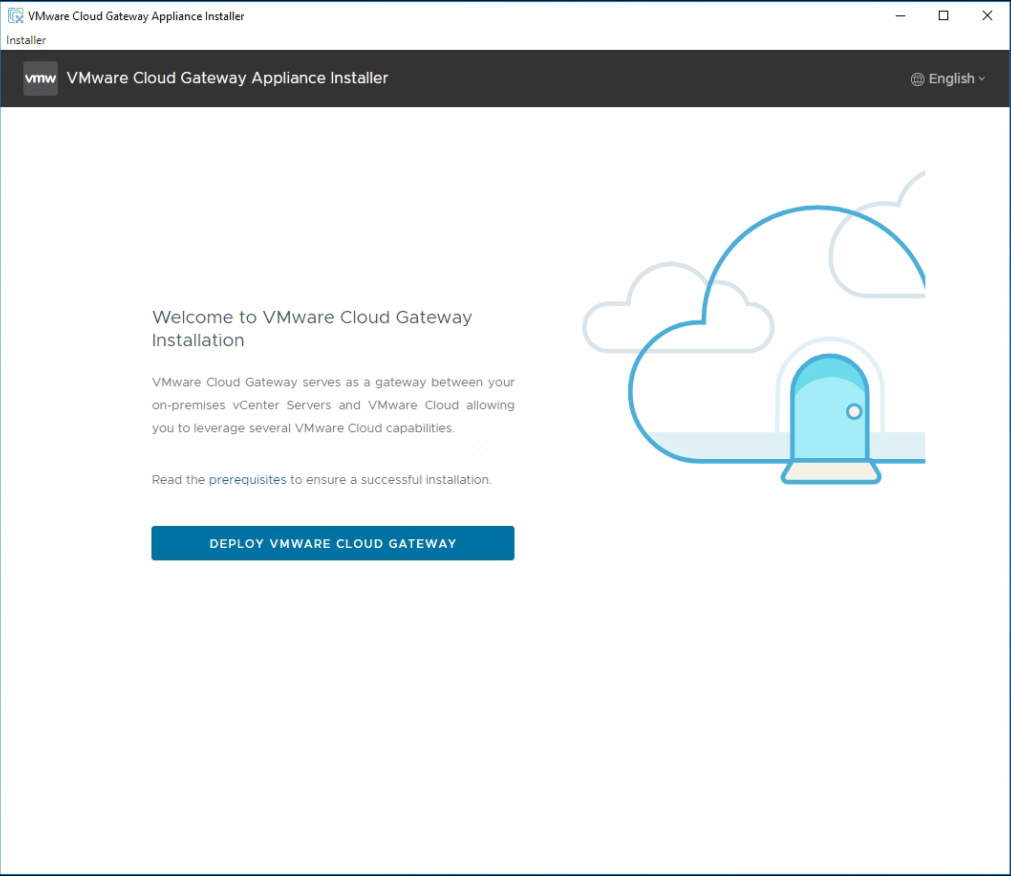
02. Click DEPLOY VMWARE CLOUD GATEWAY.
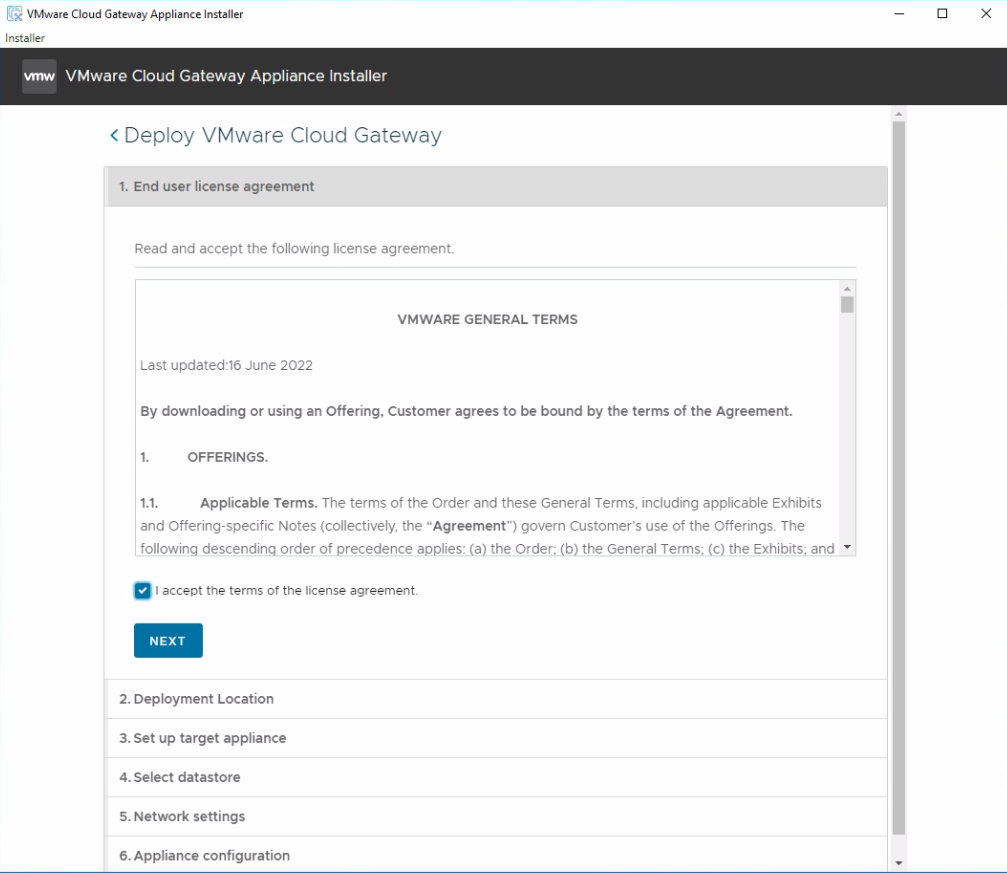
03. Accept the license agreement and click Next.
04. Define deployment location and Click Next. In my case, I am defining vCenter details. You can deploy directly to an ESXi host.
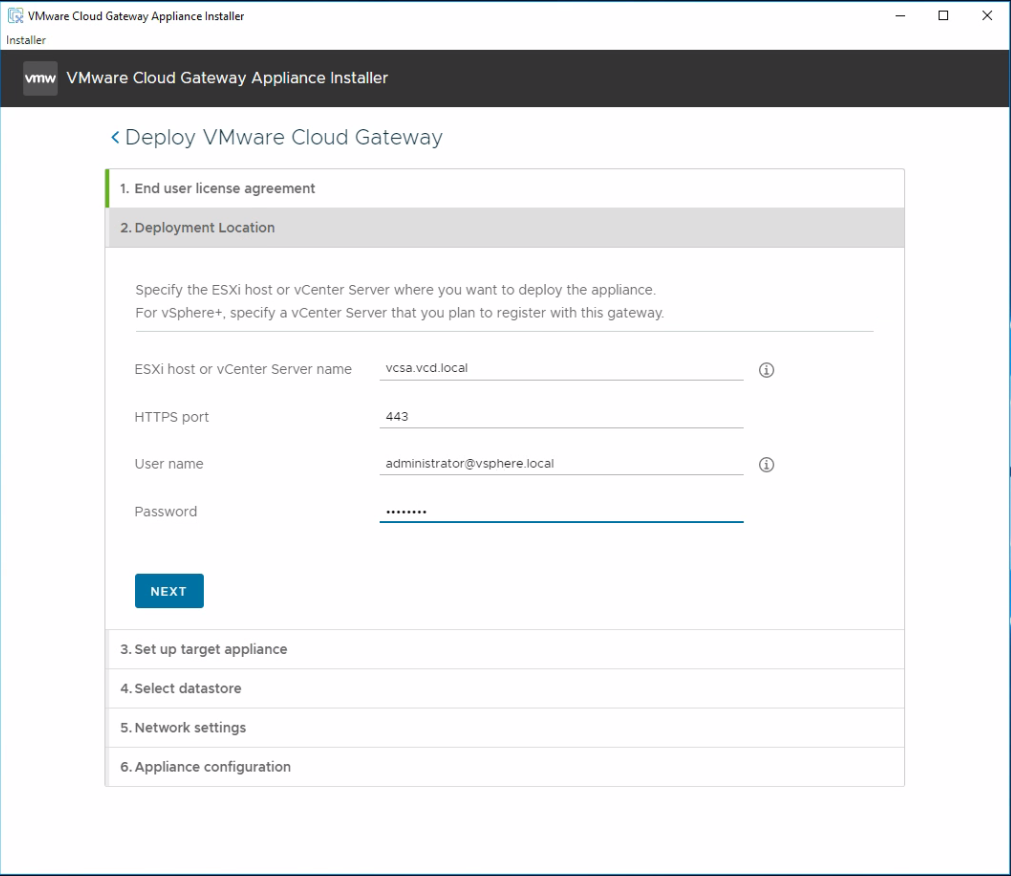
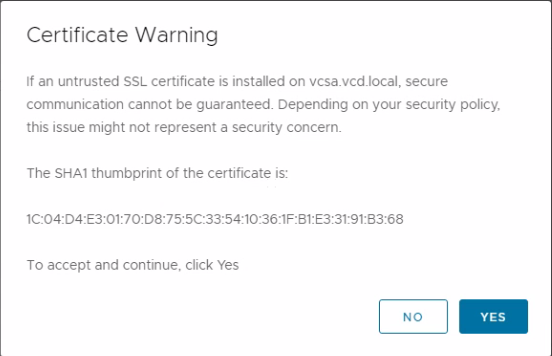
05. Click Yes for the certificate warning.
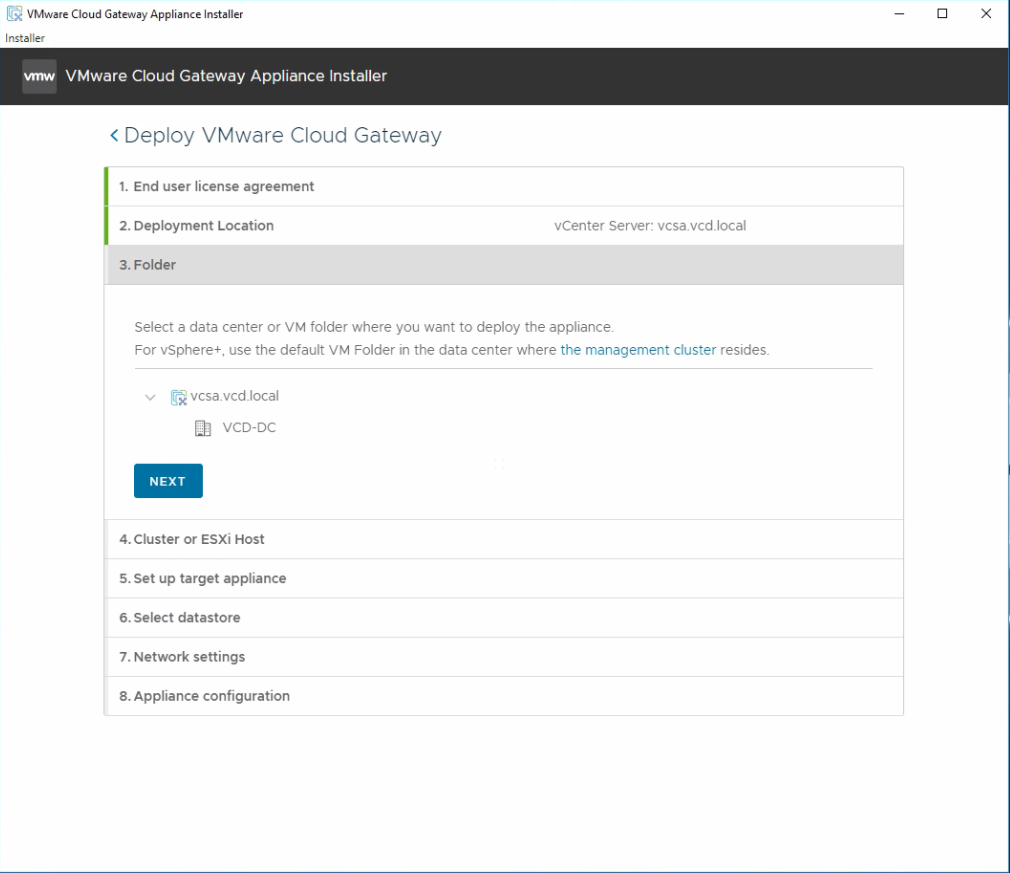
06. Define the VM Folder or Datacenter to deploy the appliance. In my case, VCD-DC Select the DC and click Next.
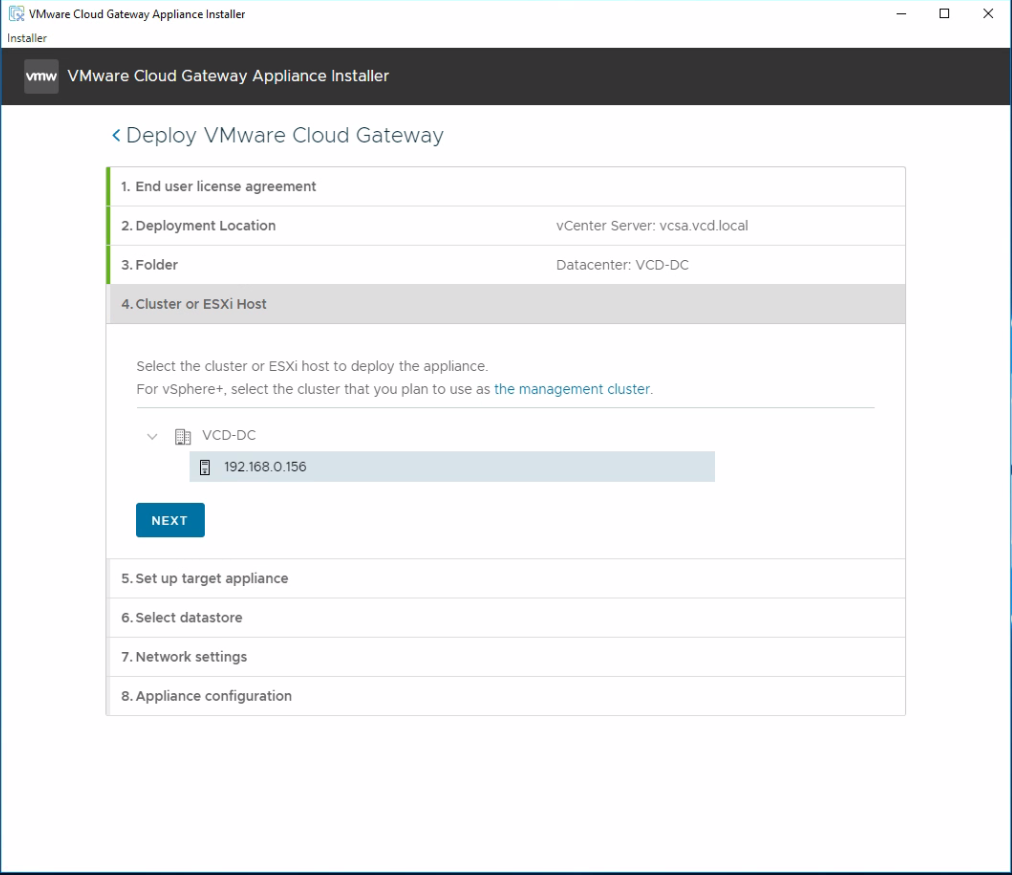
07. Select the Cluster or Esxi host and click Next.
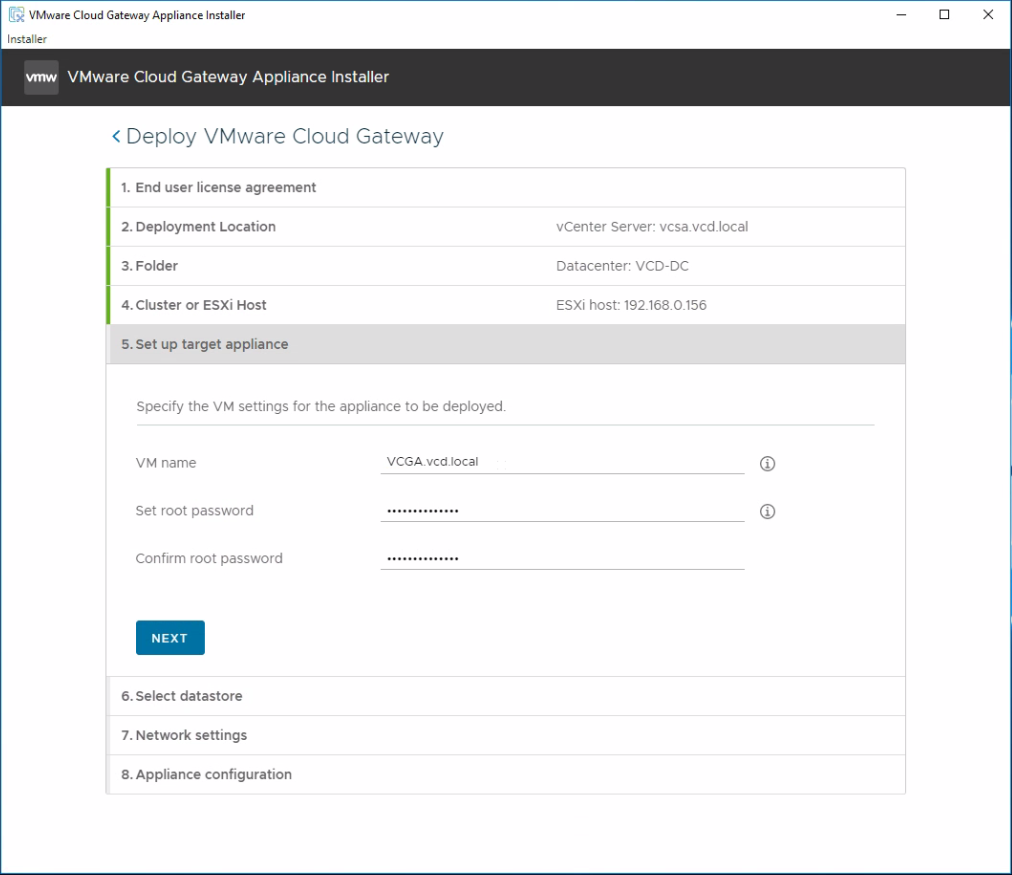
08. Define VM name root credentials. Then, click Next.
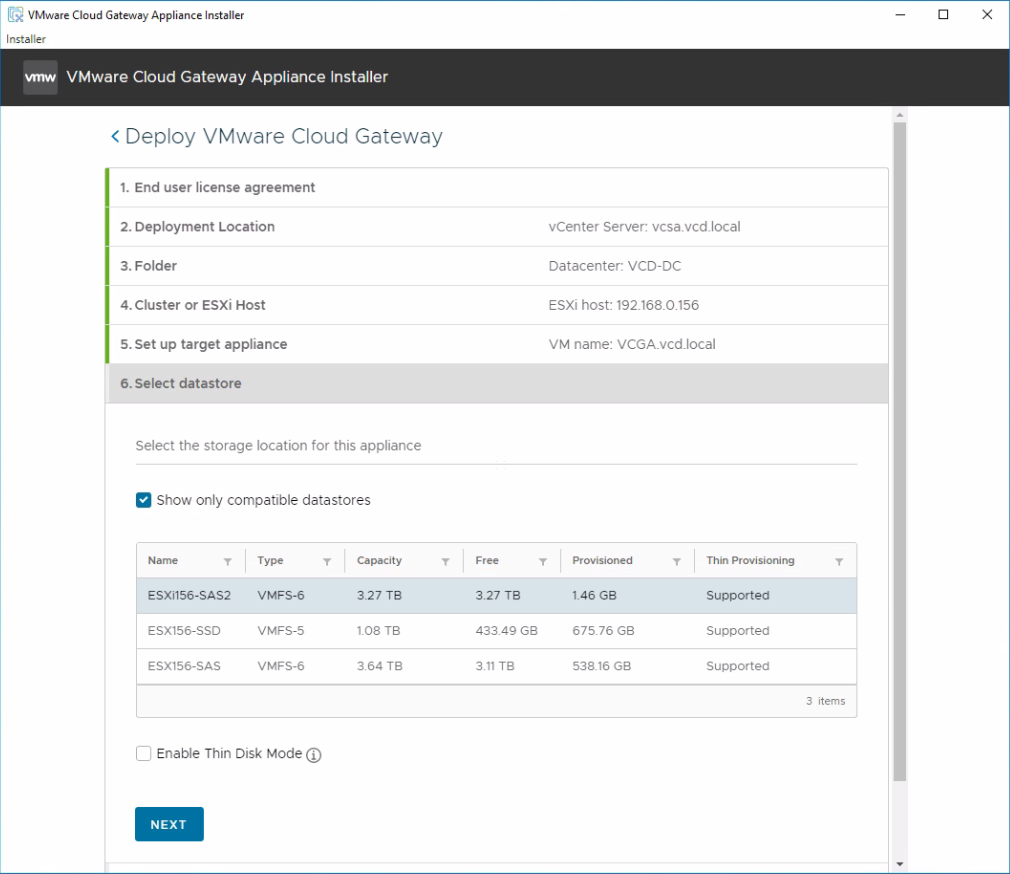
09. Select Datastore. Click Next
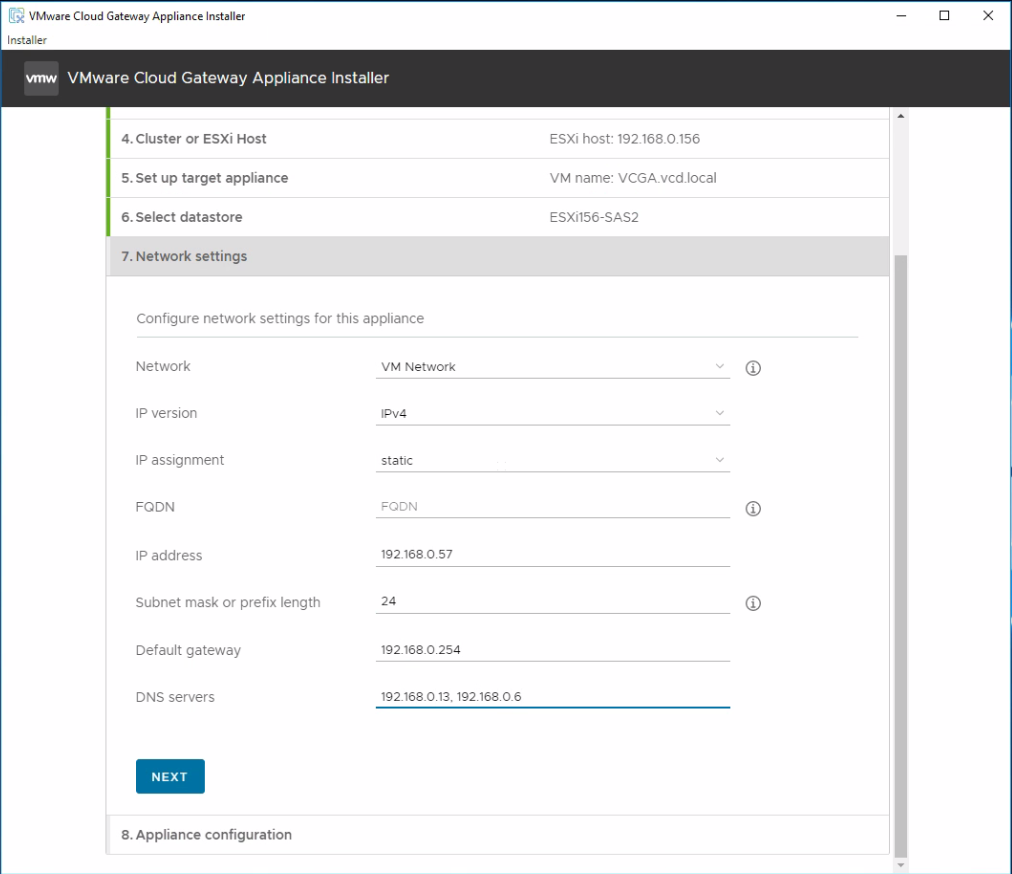
10. Define the network settings and Click Next
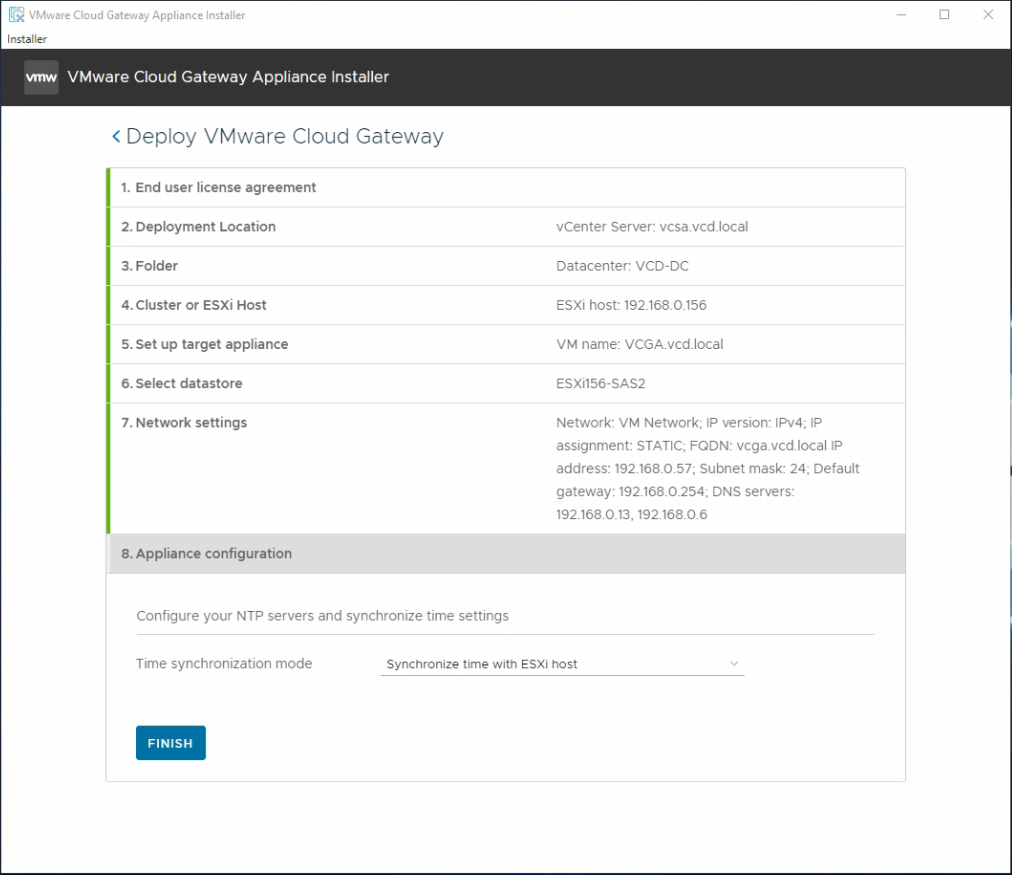
11. Define NTP settings and Click Finish.
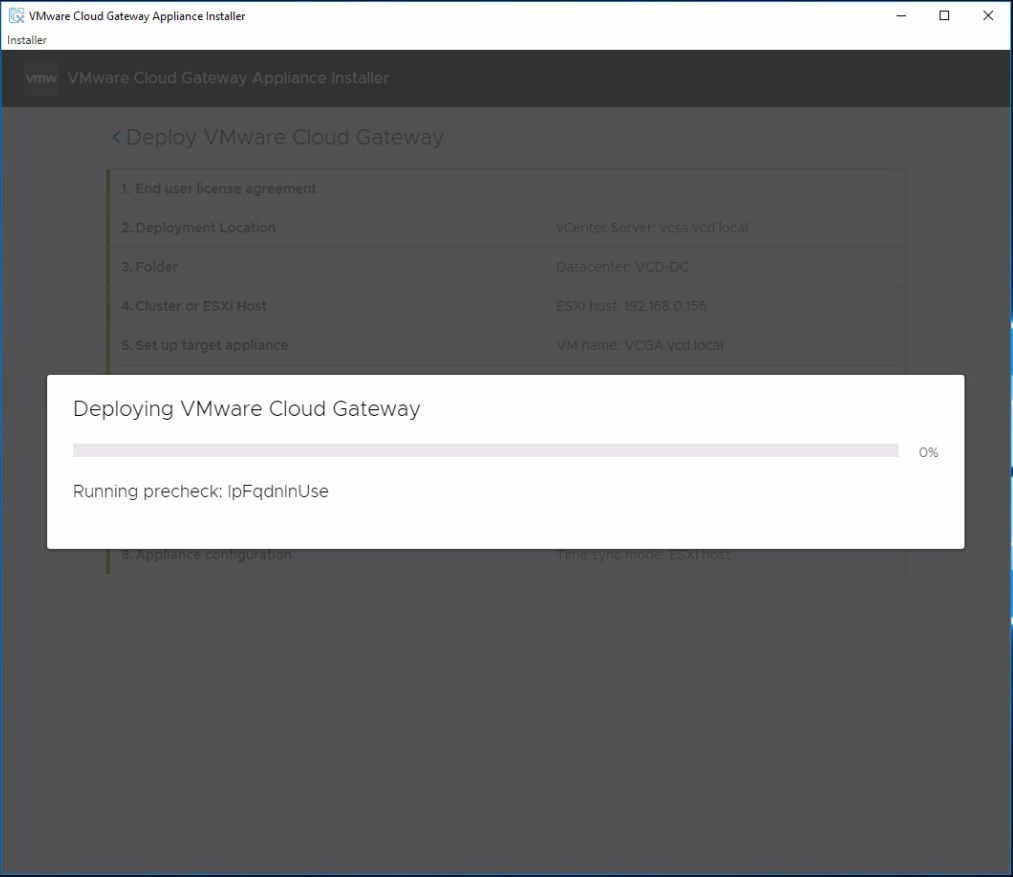
12. It will take some time to process the deployment just monitor.
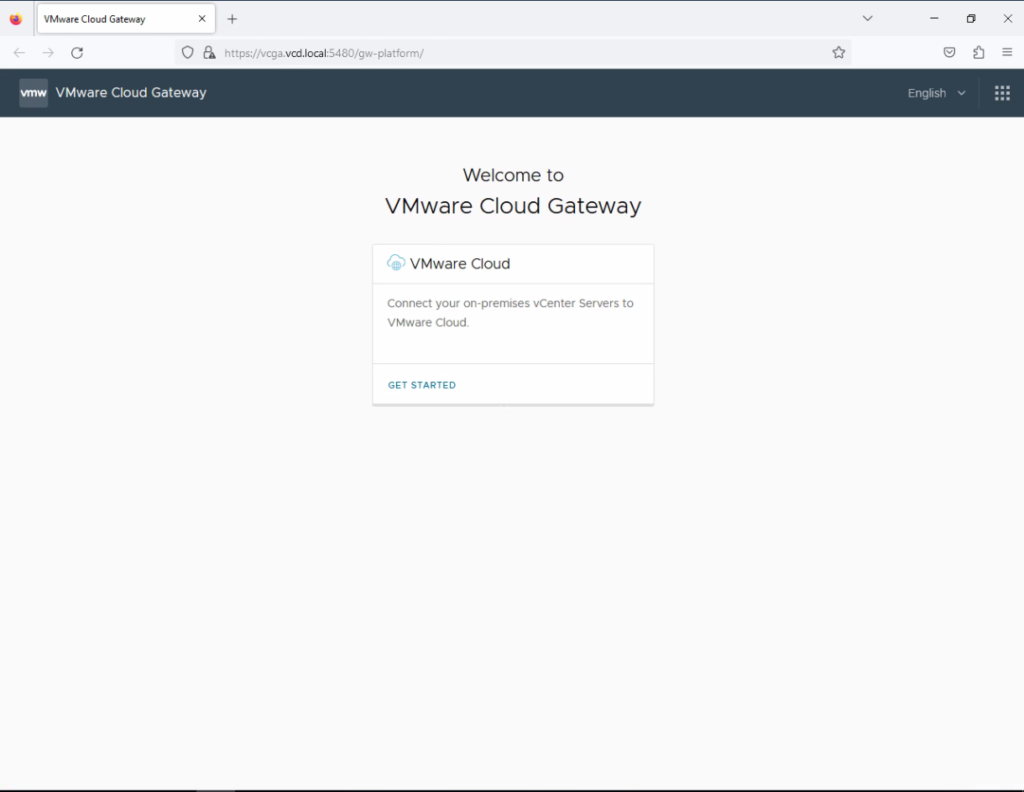
13. Once the appliance is successfully installed, click Launch to access the management UI.
https://IP Address:5480/gw-platform/ or https://FQDN:5480/gw-platform/
Connecting vCenter Server.
14. Click GET STARTED.
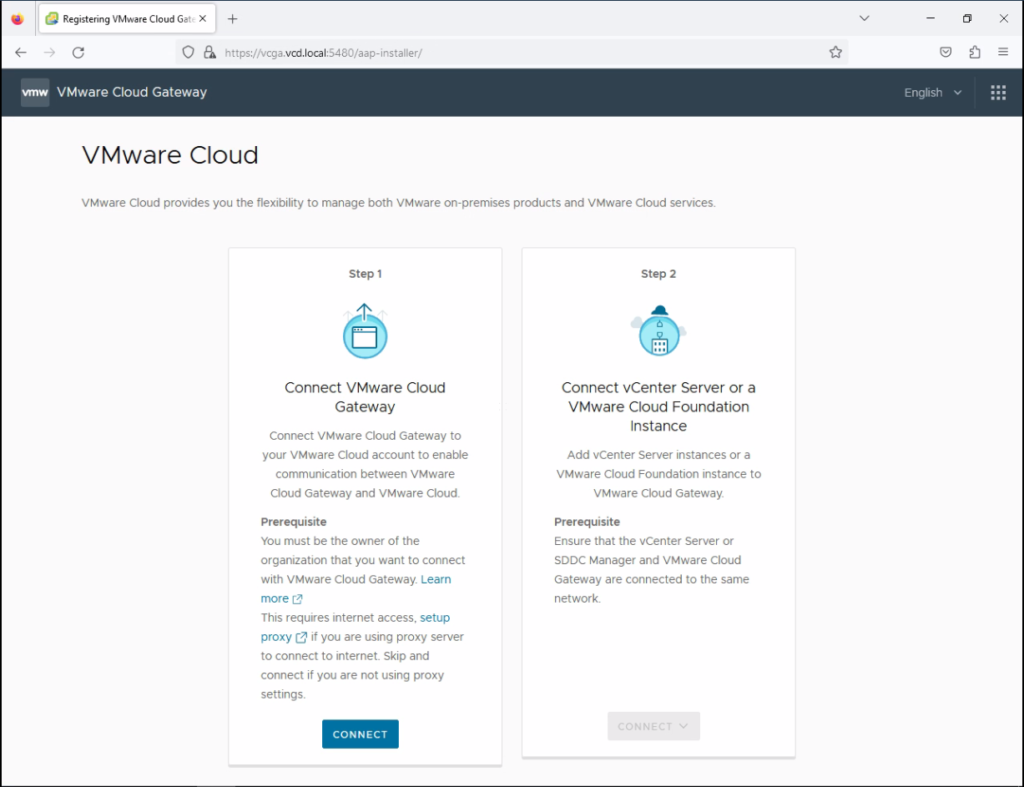
15. Click CONNECT VMware Cloud Gateway.
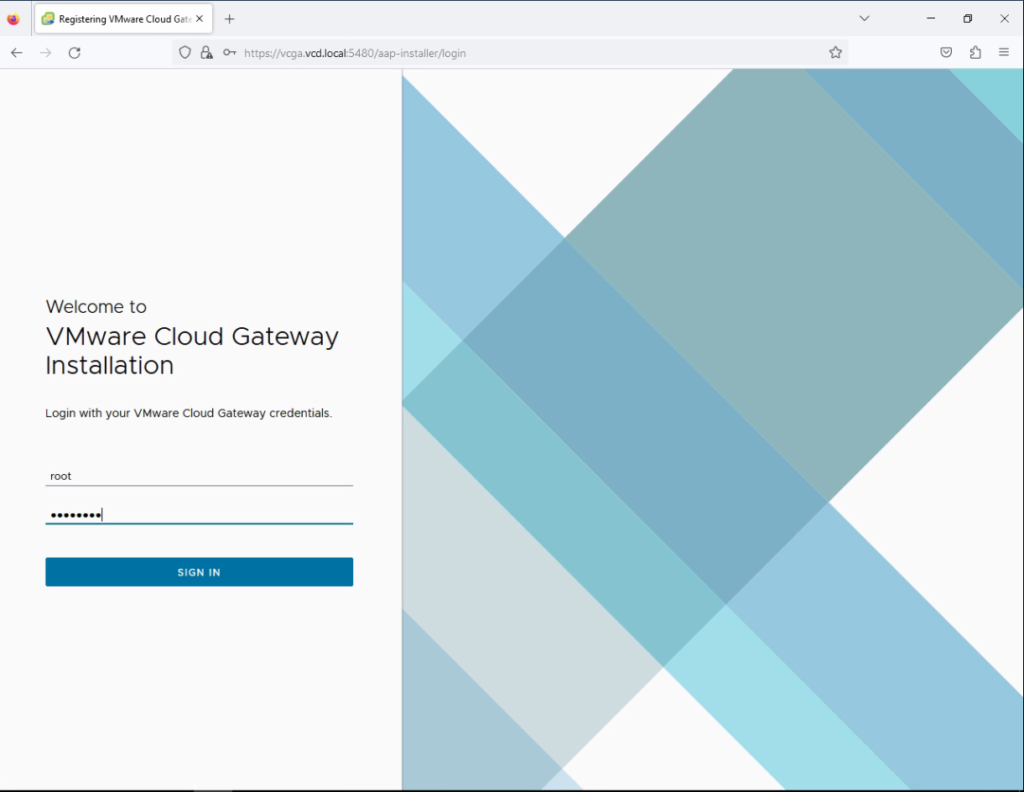
16. Login with your Cloud Gateway Credentials to continue with the installations.
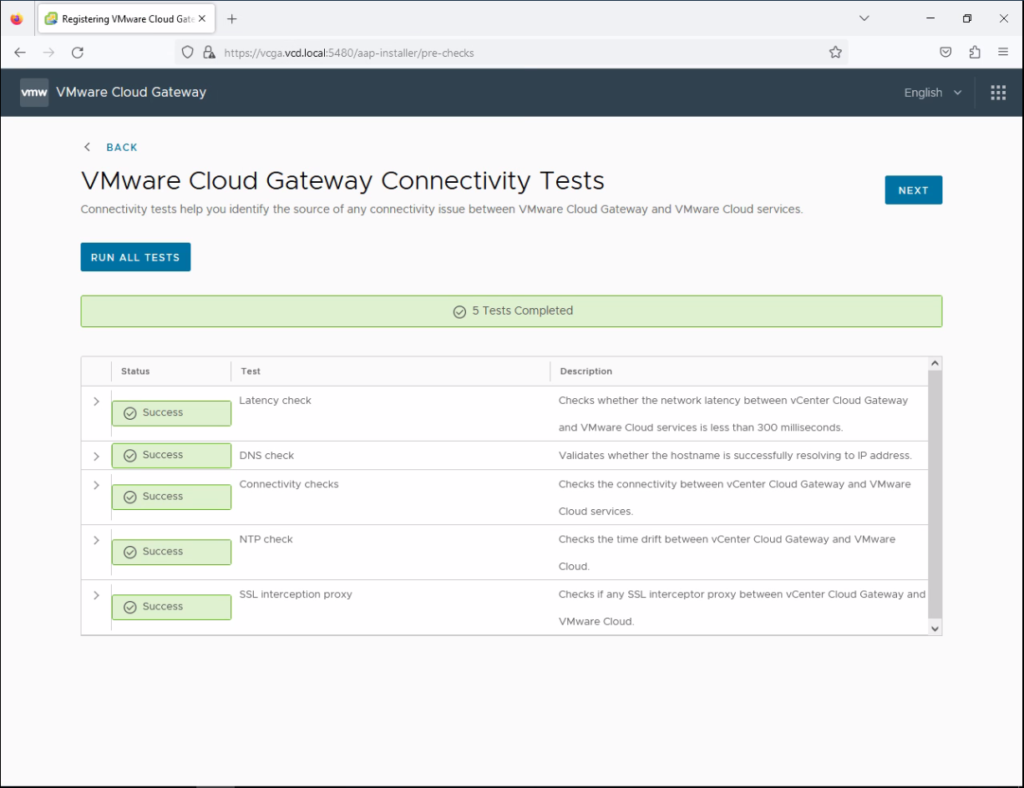
17. Once all the connectivity tests are successful click Next.
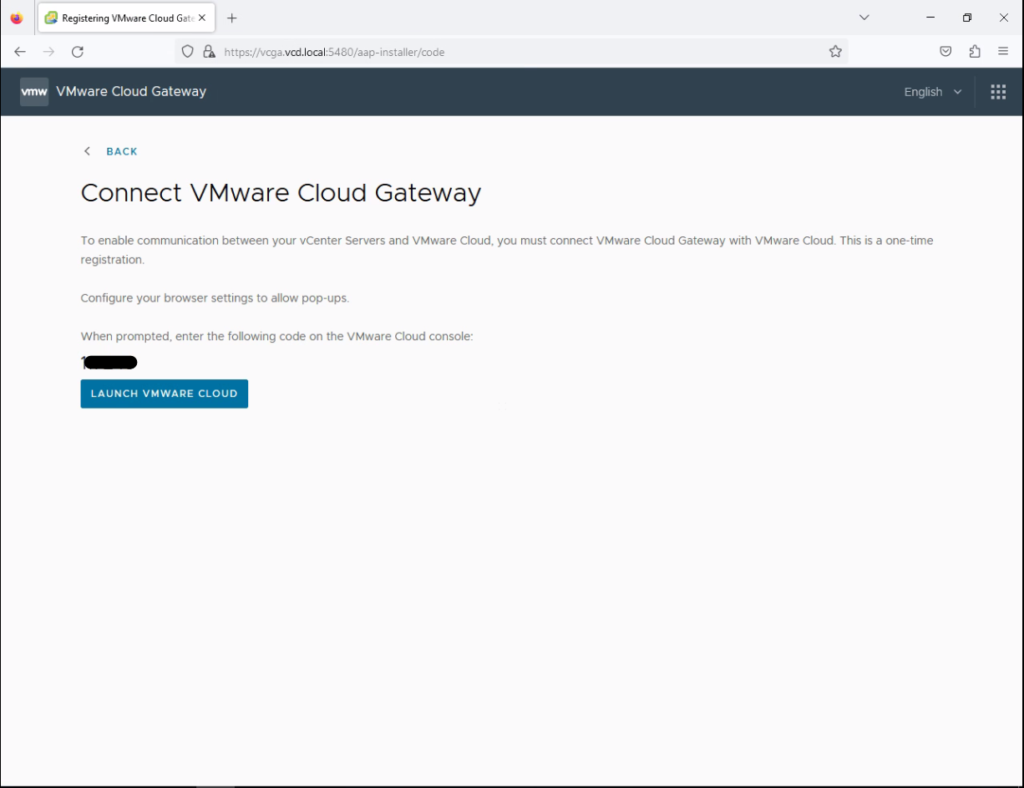
18. Copy the code and Click LAUNCH VMWARE CLOUD.
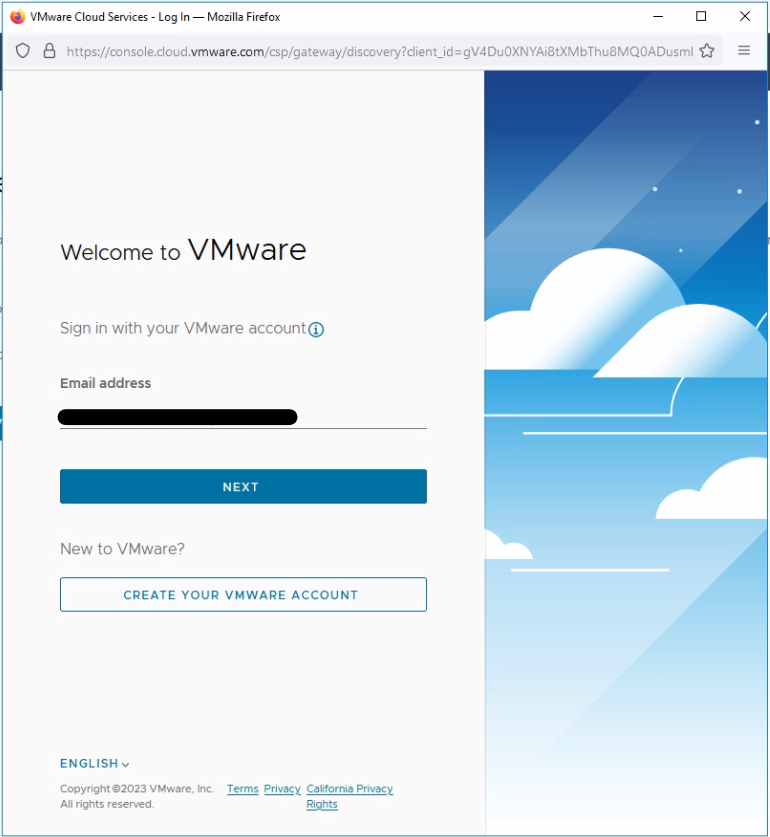
19. Use your VMware Credentials to log In.
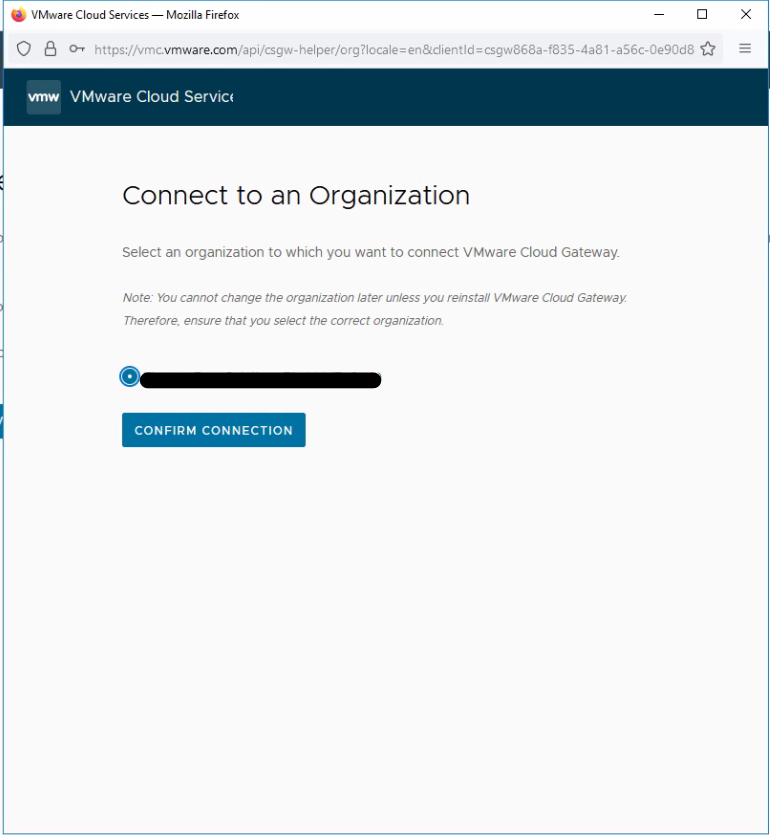
20. Select the Organization and Click Confirm Connection.
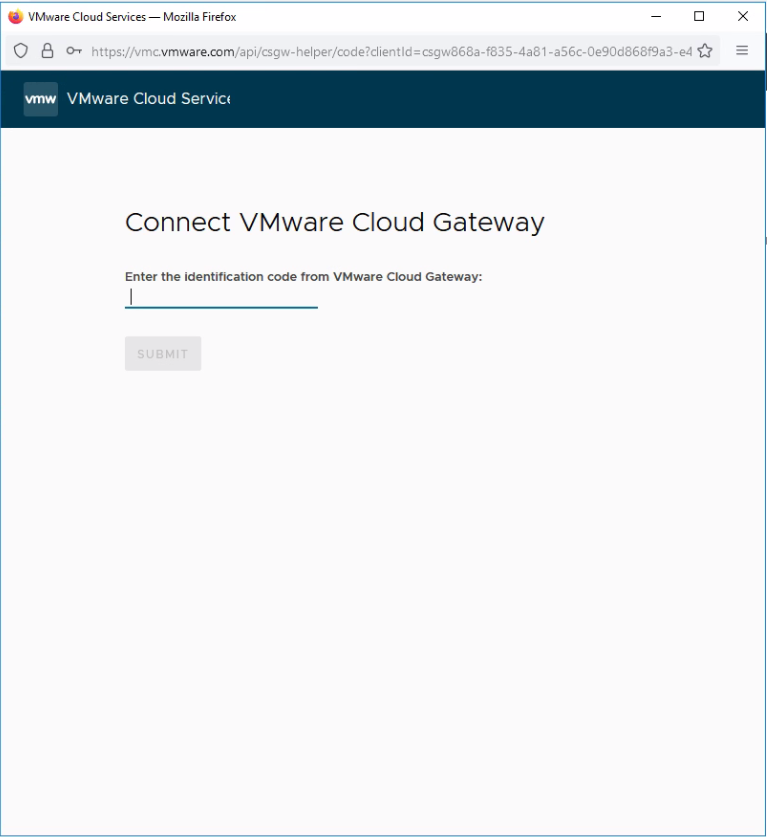
21. Paste the copied code in step 18 and click Submit.
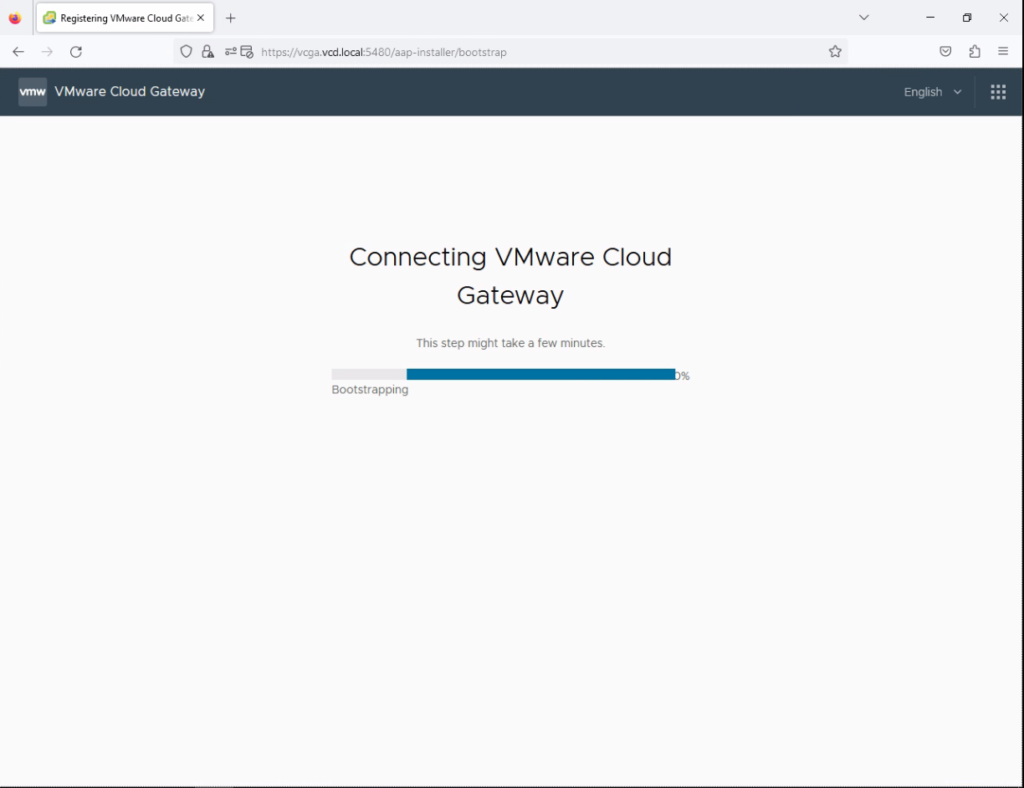
22. It will take some time to process the backend tasks. Monitor the progress.
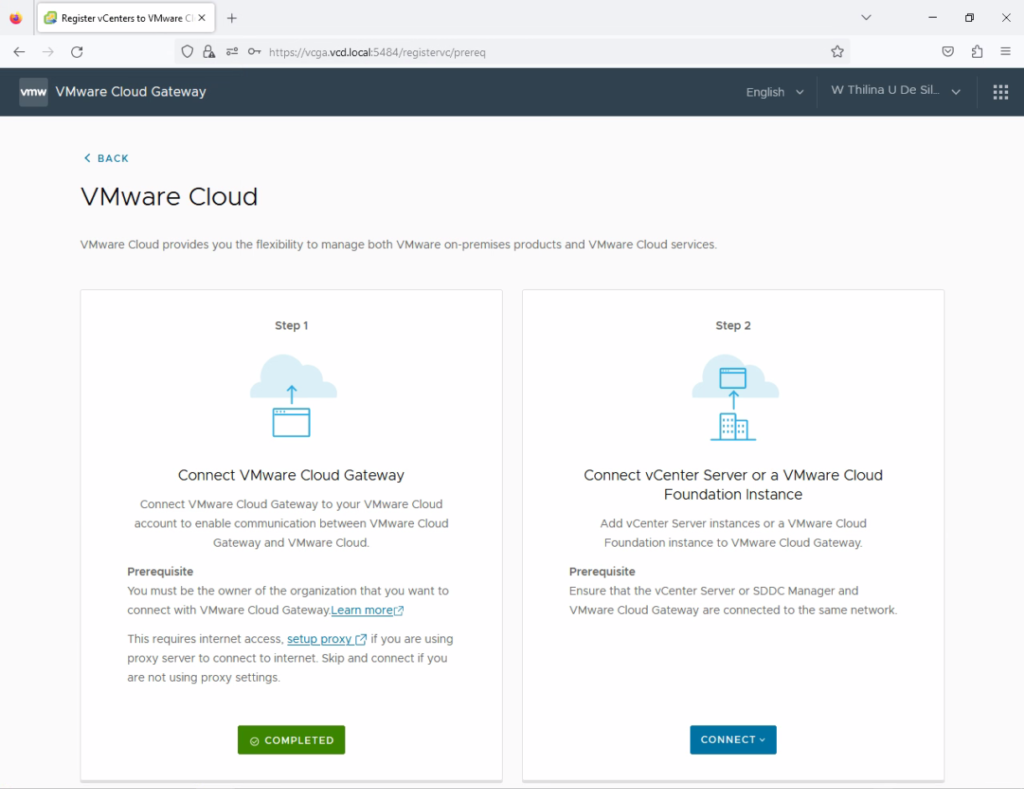
23. Once Step 1 is completed, click Connect to proceed with Step 2.
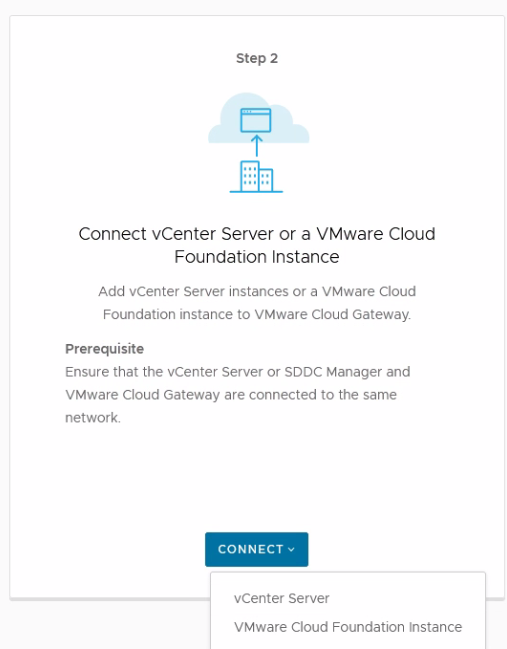
24. Click Connect and Select vCenter Server.
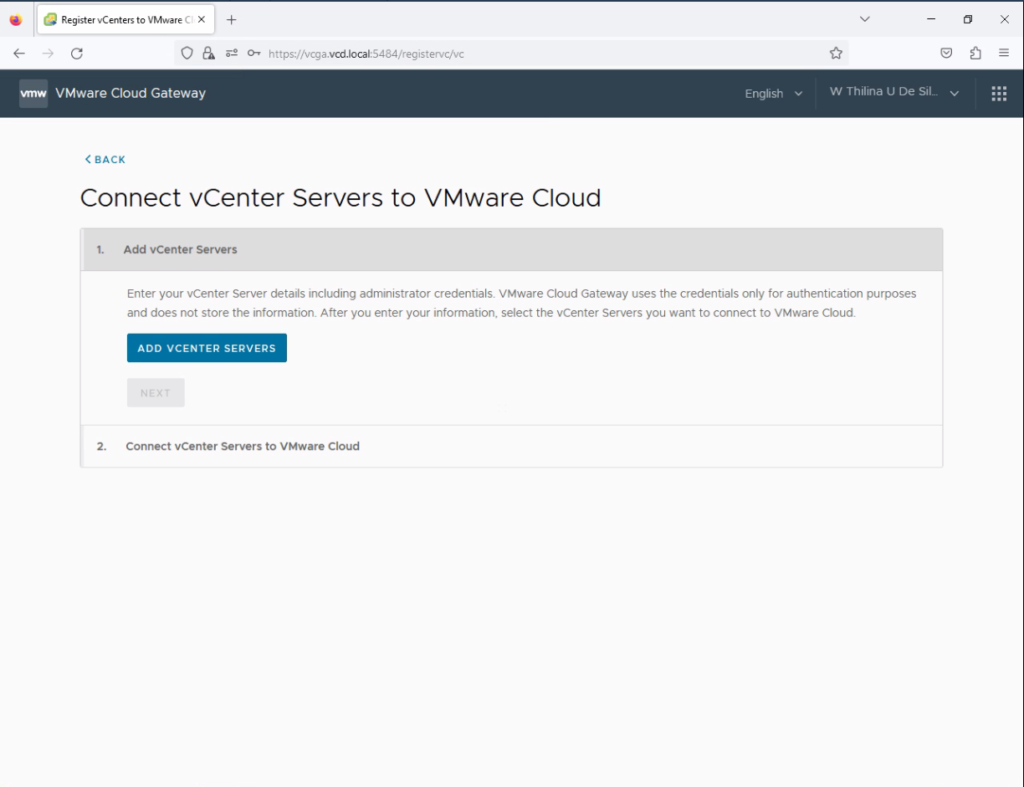
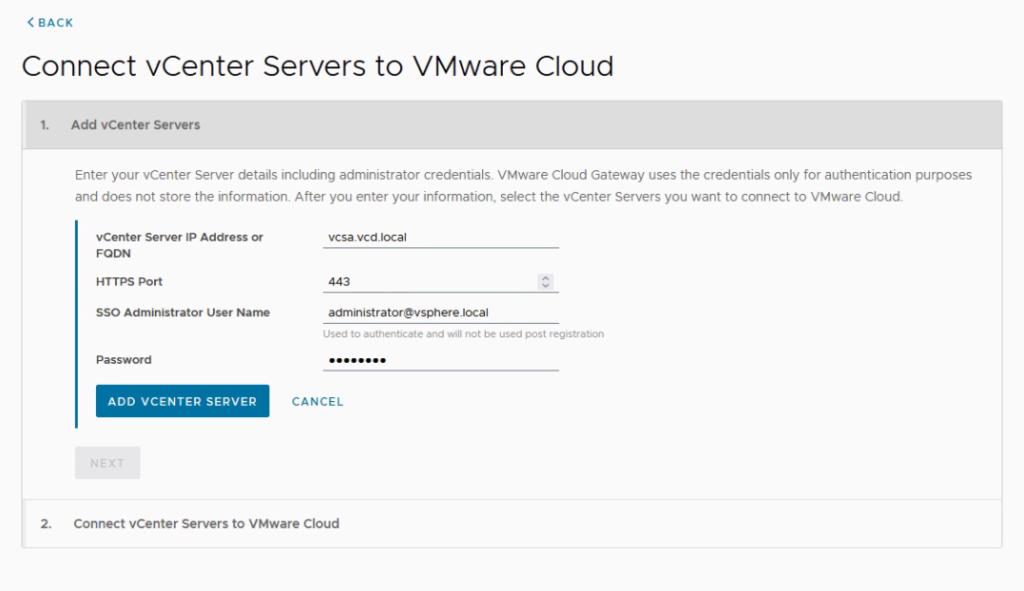
25. Click Add vCenter Servers.
26. Define the vCenter credentials and Click Add VCenter Server.
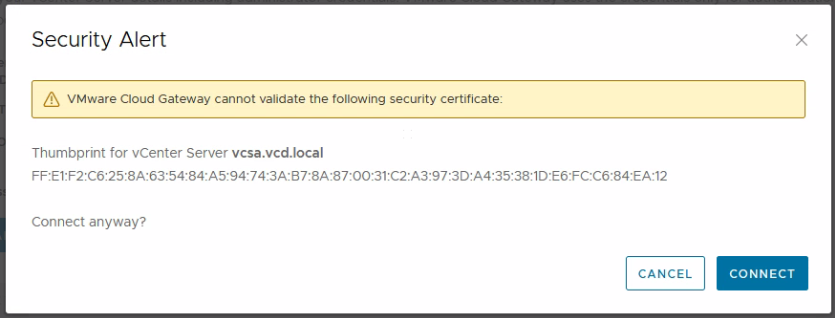
27. Click Connect.
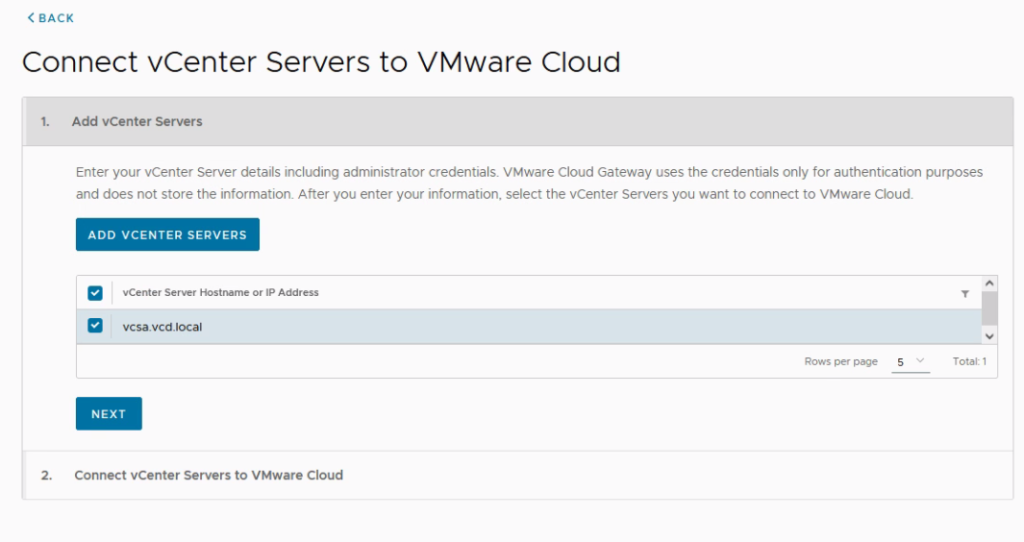
28. Click Next.
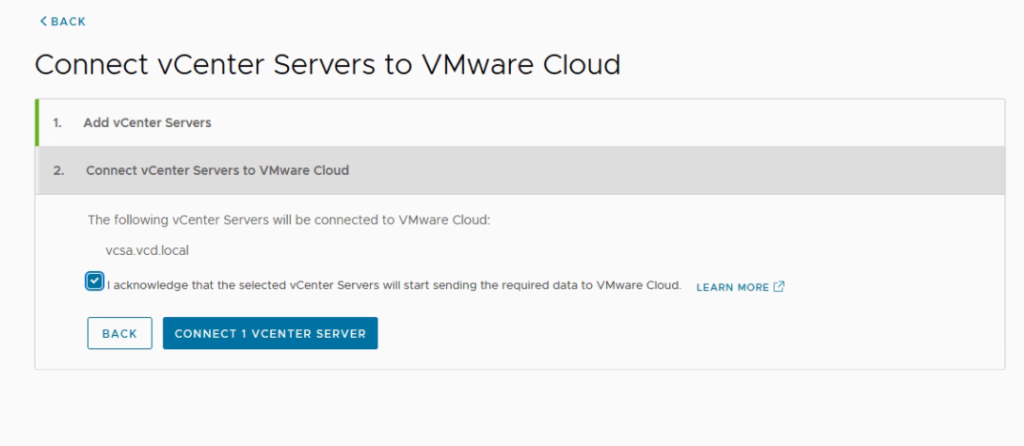
29. Tick the acknowledgement and Click CONNECT 1 VCENTER SERVER.
30. Observe the status is connected. Click Go to VMware Cloud.

31. Now you will see your vCenter inventory in VMware Cloud Console.
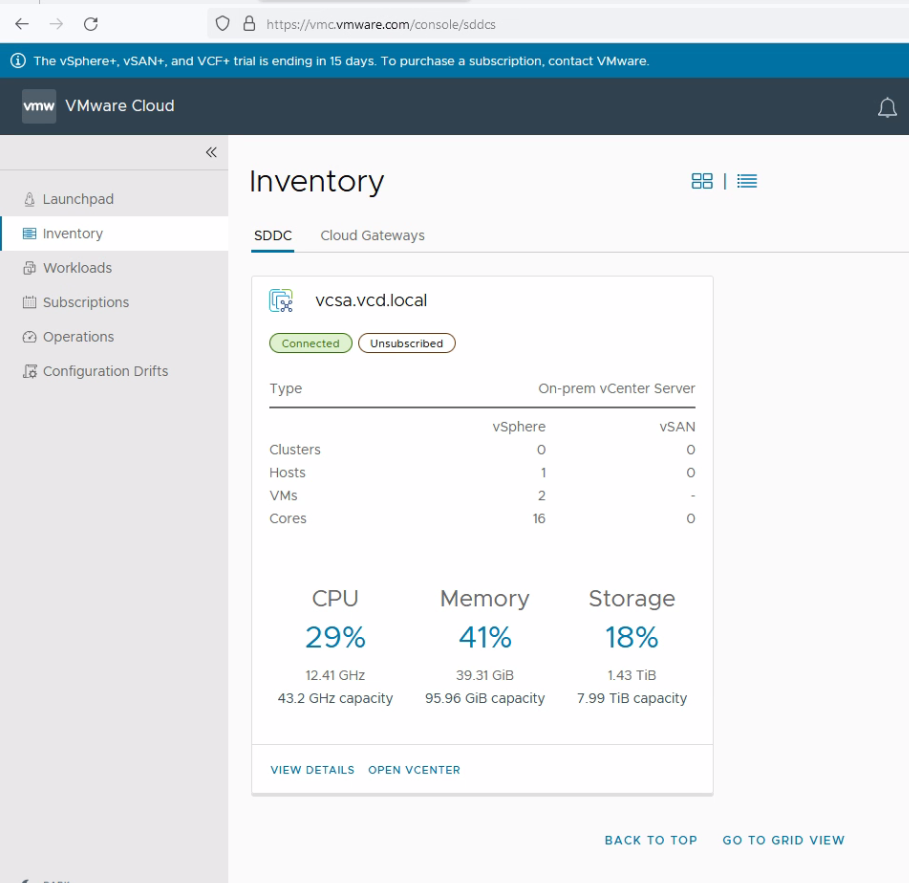
All in all, I hope this helps. To view my previous VMware posts click here.