
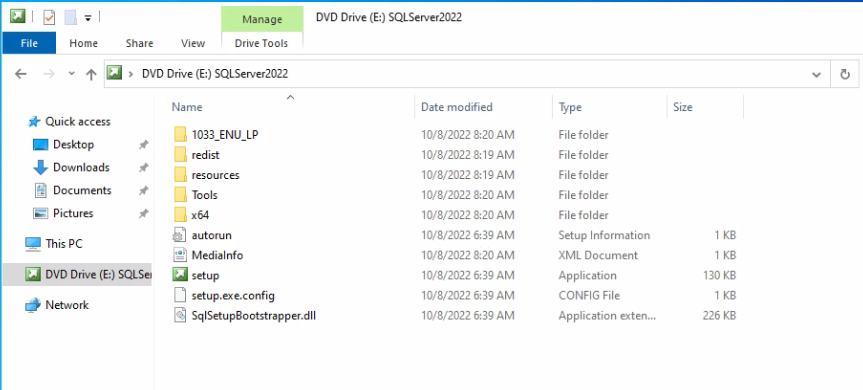
01. To begin with SQL Server installation, Mount the ISO and Run the Setup.
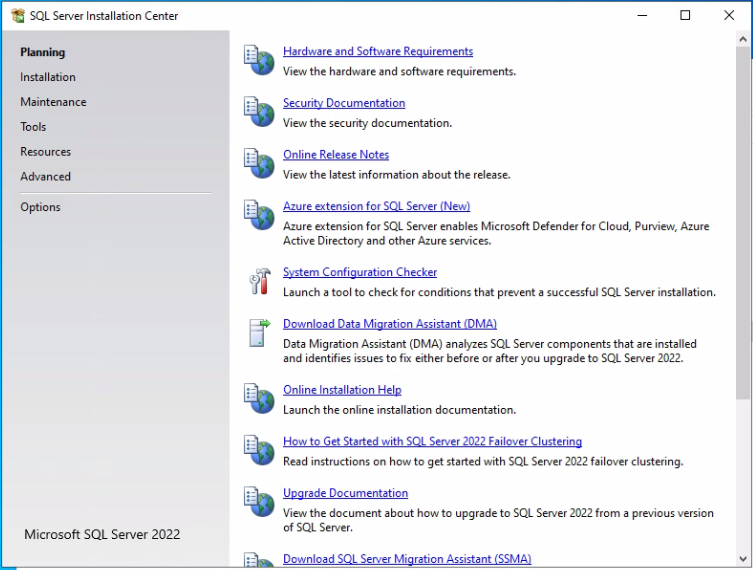
02. Click System Configuration Checker
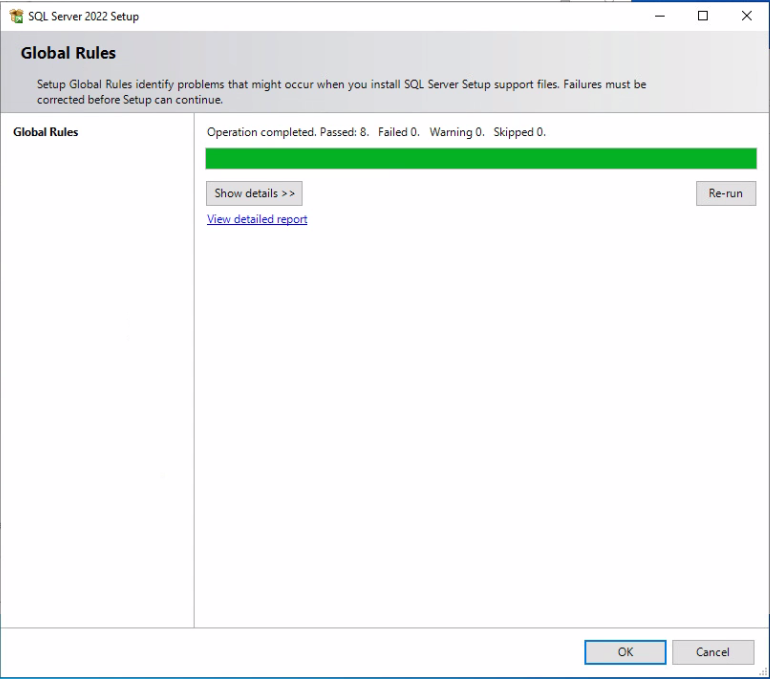
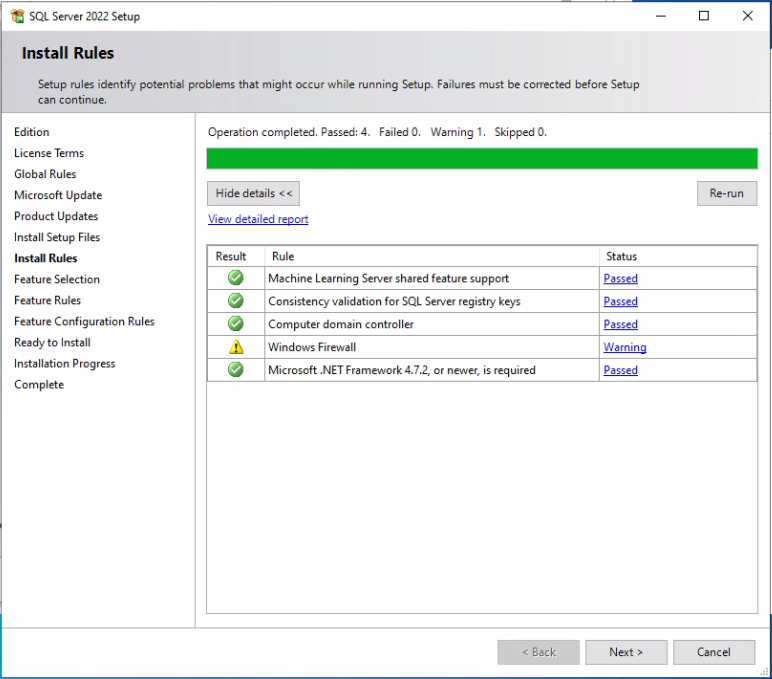
03. This will validate your system. If you see any errors you will need to address them before continuing with the setup. Then Click OK.
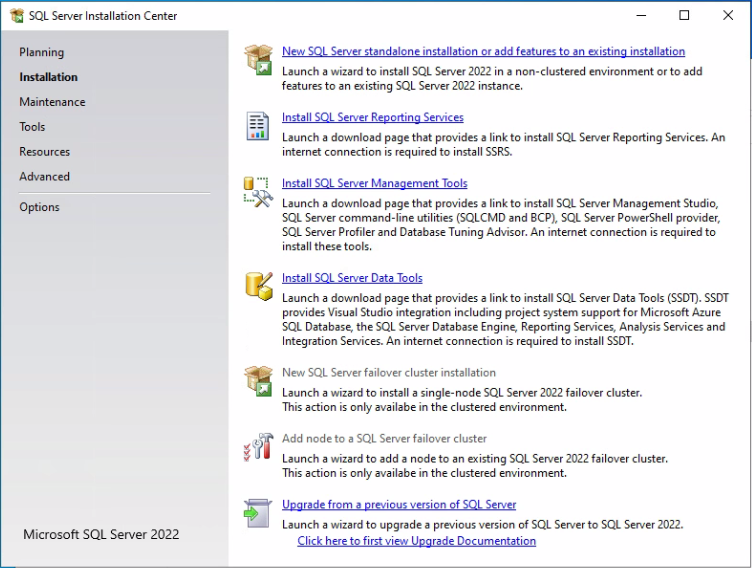
04. Click Installation from the left menu and click New SQL Server standalone installation or add features to an existing installation.
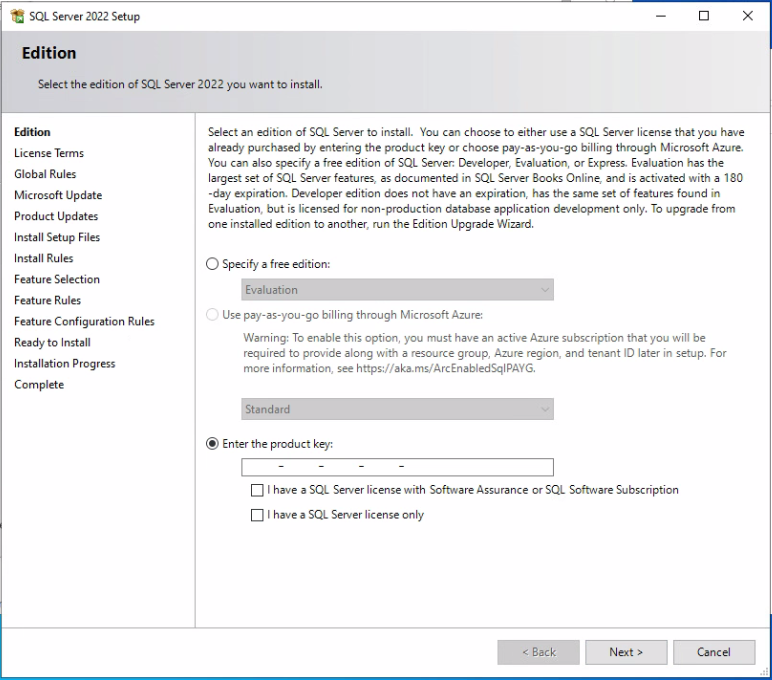
05. Here, you can enter your SQL licensing key. Also, tick the options, whether with software assurance or license key only, based on your circumstances. If you plan to install a free edition, choose the first option and select the appropriate version based on your requirements. Click Next.
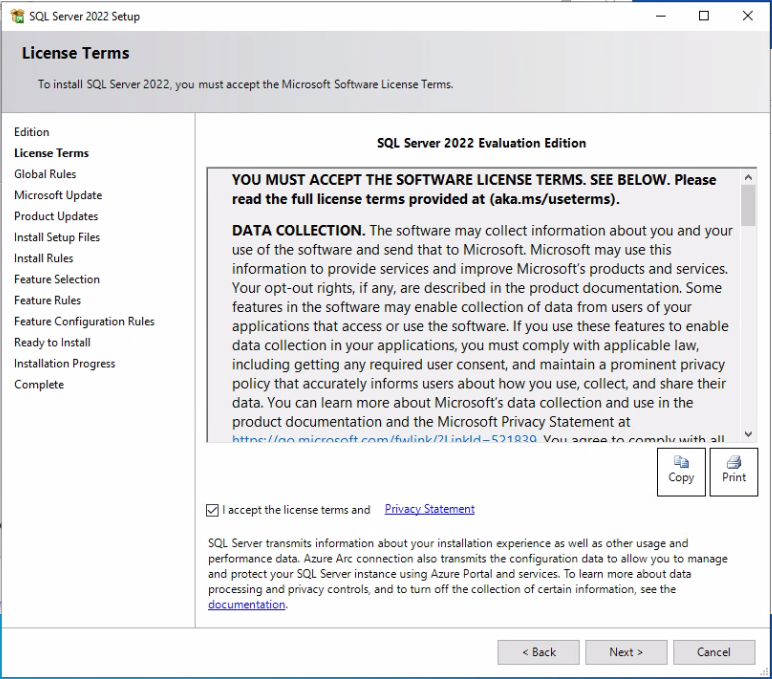
06. Accept the license agreement and click Next
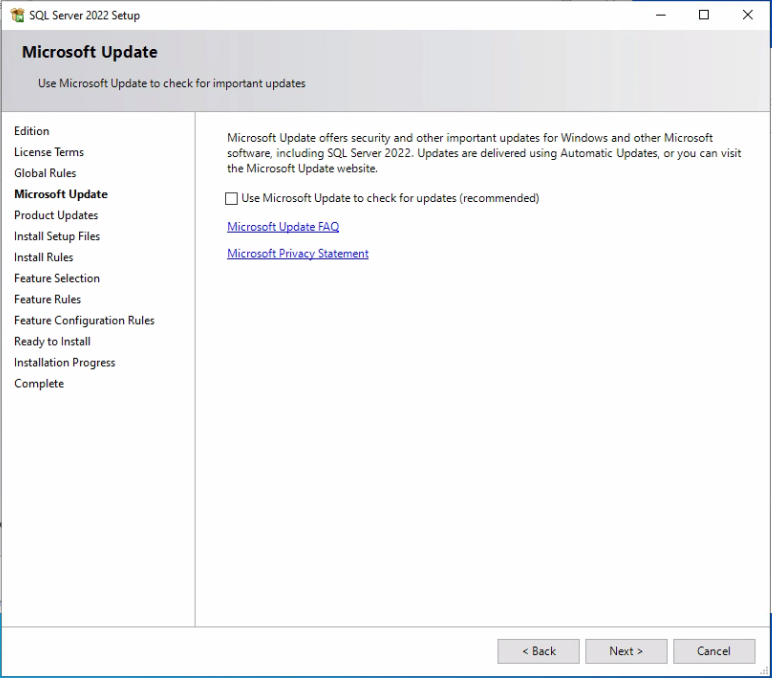
07. Click Next.
08. Click Next
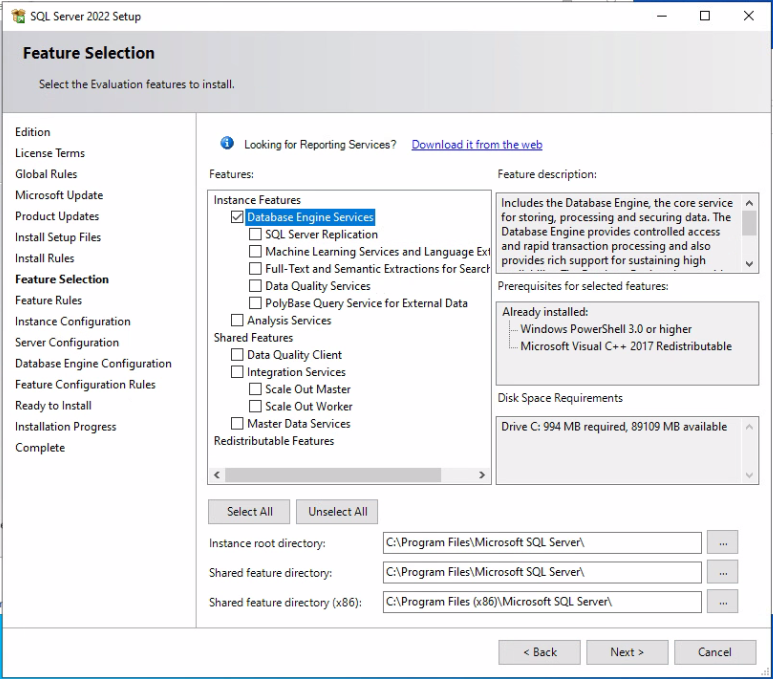
09. Select Features as required. In my case, I only need Database Engine Services hence the selection. Click Next.
10. Select Named instance if you want to select a different name for the SQL instance. I am happy with the Default instance :). Click Next.

11. Here, you can select a service account for SQL service. I am moving forward with the default selection. Click Next.
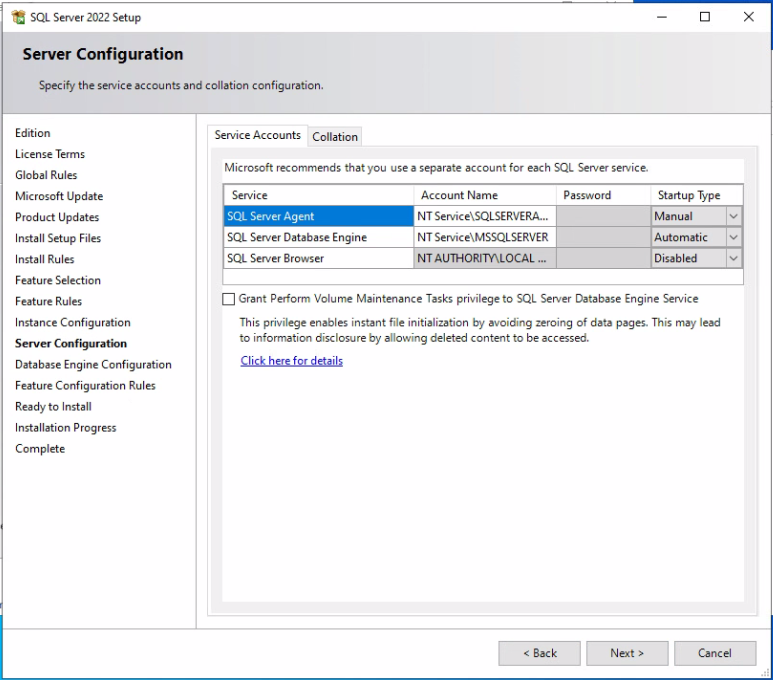
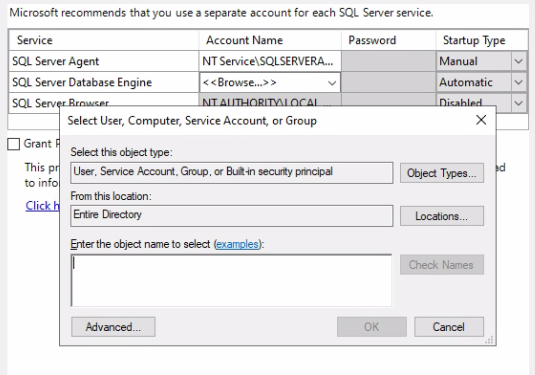
To select a service account, from the down arrow select Browse and define the account and click OK.
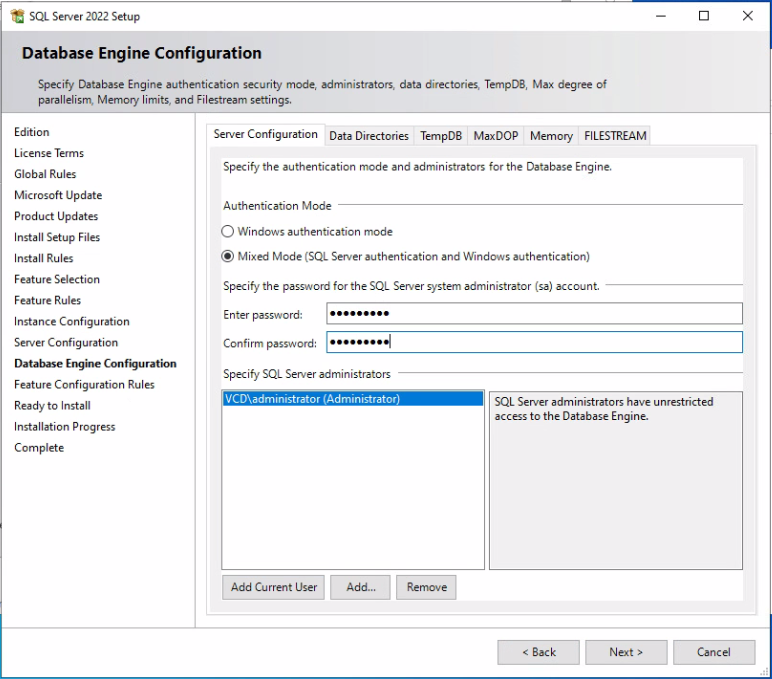
12. Select Authentication Mode. I have selected Mix Mode. Specify the SA password and add a Windows user account to have SQL Server administrator privileges.
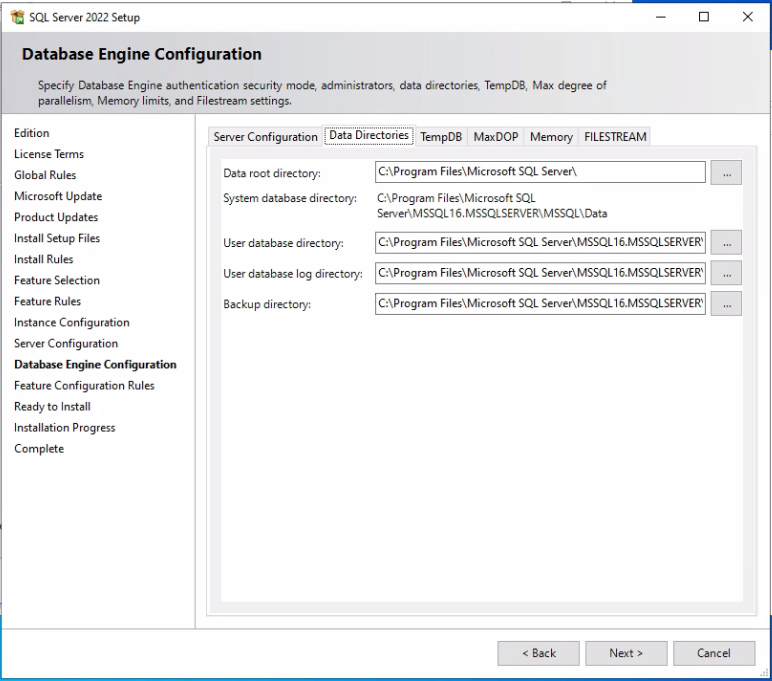
13. In the Data Directories tab you can select a different path for SQL server installation. For example, you may need to define different database directory, log directory and backup directory. Click Next.
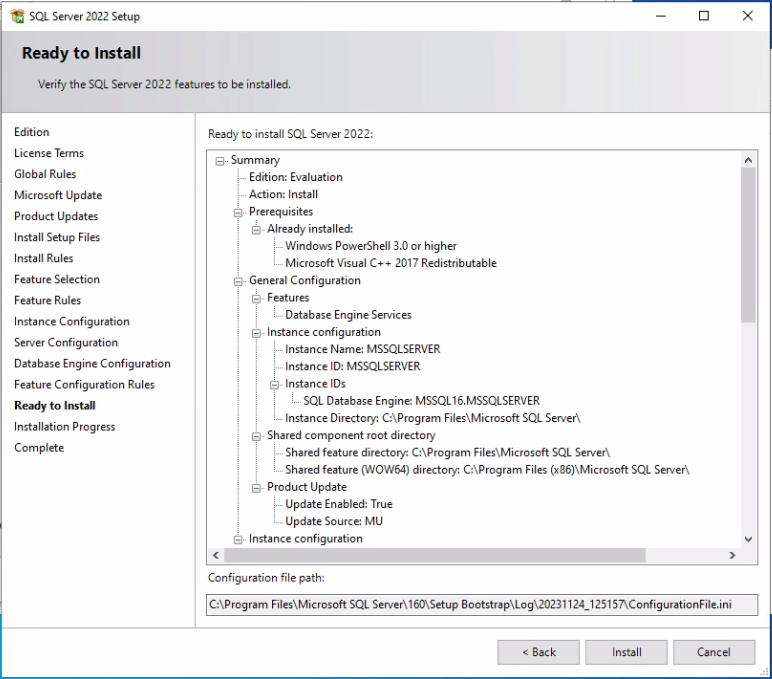
14. Click Install.
15. It will take some time here. Grab a coffee sit back and relax. 😉

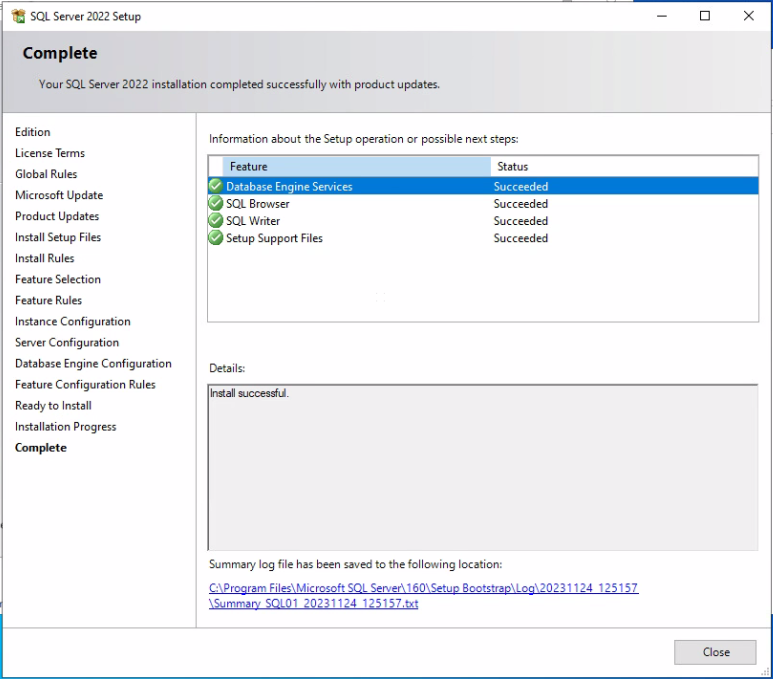
16. Click Close.
Install the SQL Server Management Studio
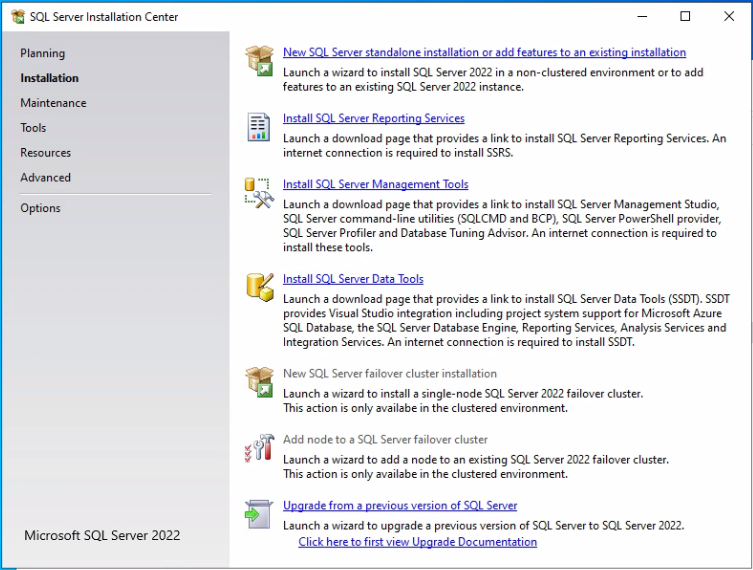
17. Select Installation from the left menu of SQL Server Installation Center. Install SQL Server Management Tools.
18. It will direct you to the SQL Management Studio download web page. Click the URL below to Download SSMS.
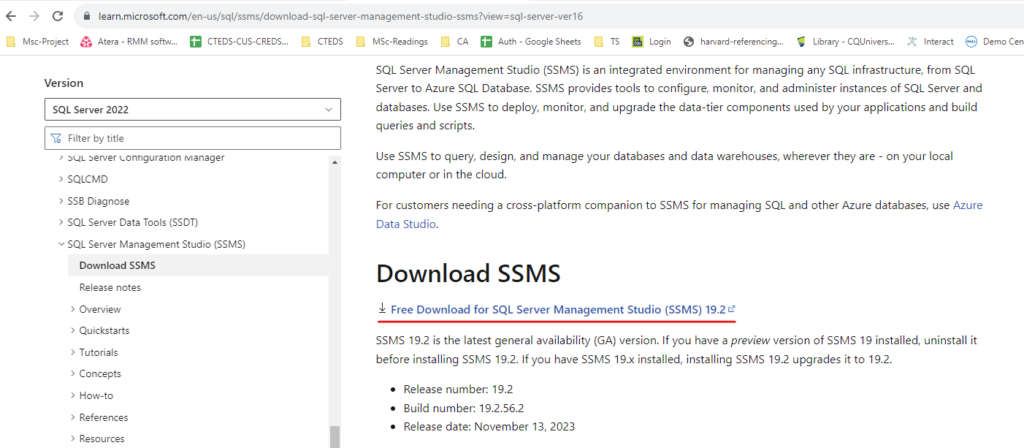
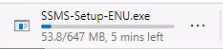
The Download will take time. Once, it is finished, execute the installation file.
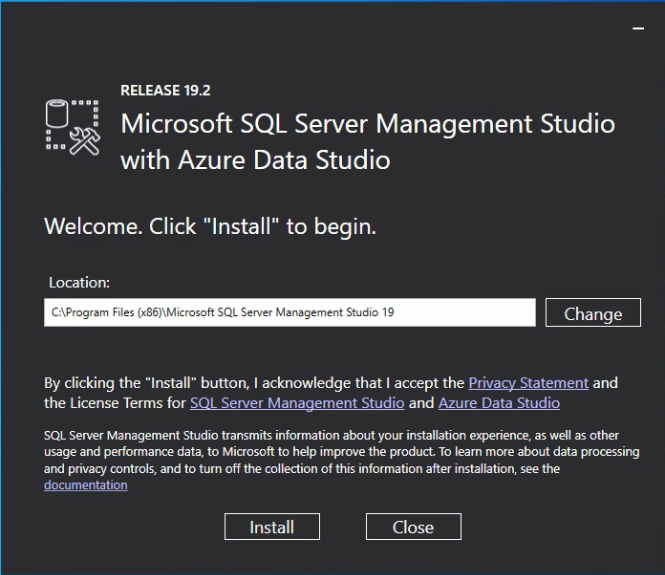
19. Click Install.
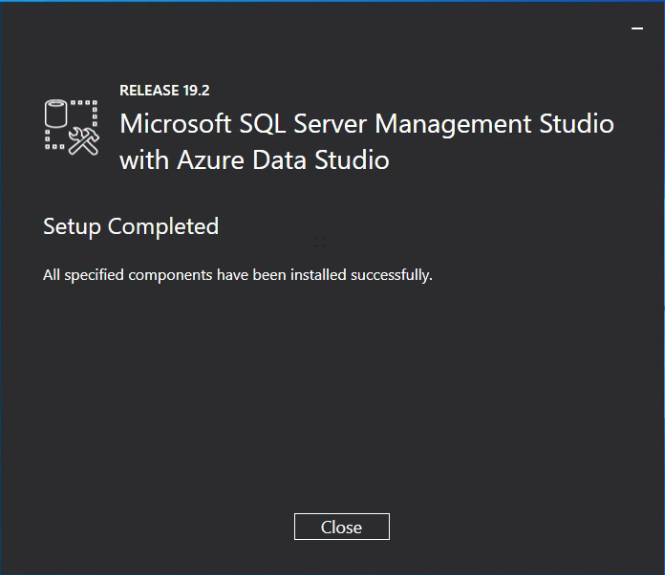
20. Click Close.
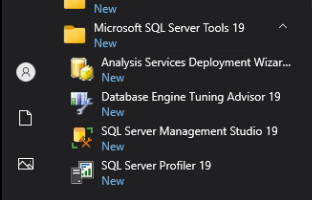
21. From the Start menu under Microsoft SQL Server Tools 19 Click Management Studio 19.
22. Define the credentials to connect the Database Server. Then Click Connect.

23. Finally, You can access the database server and proceed with Database creations and table creations. 
I hope this helps. To view my previous Microsoft-related posts click here.