Microsoft Enterprise Certificate Authority helps to issue digitally signed trusted certificates to the servers and devices within you internal IT infrastructure. To read more about Certificate Authrorities click here.
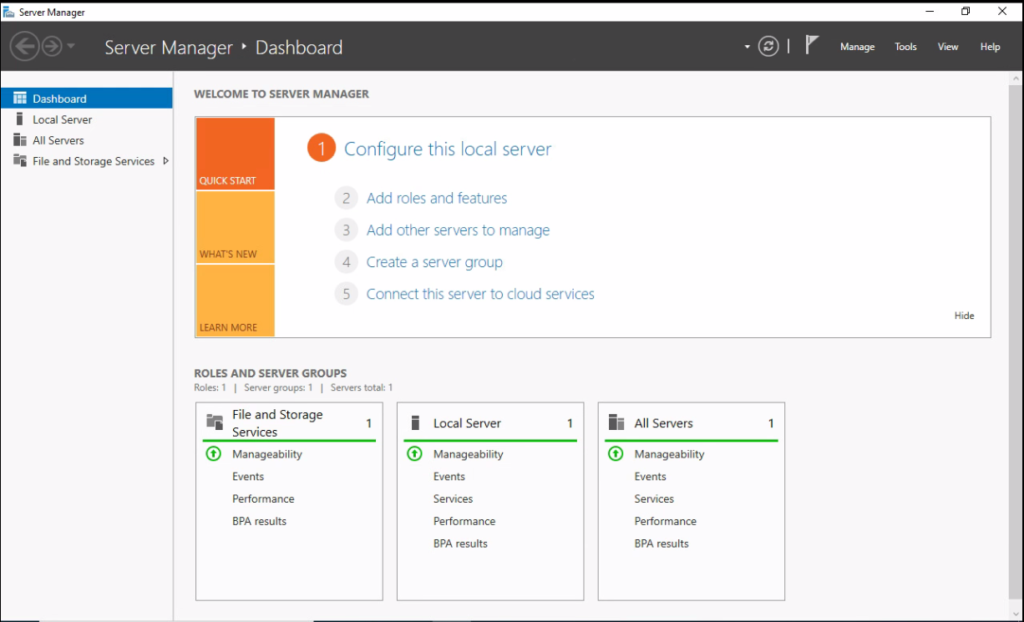
01. Open Server Manager and Click add roles and features.

02. Click Next.

03. Select Role-based or feature-based installation. Then Click Next.

04. Select the destination server and Click Next

05. Select Active Directory Certificate Services.

06. Select Add features on the pop-up window.

07. Click Next.

08. Click Next.

09. Click Next

10. Select Certification Authority and Certification Authority Web Enrolment. Then Click Next.

11. Click Next.

12. Click Next.

13. Click Install.

14. It will take some time to complete the installation. Just sit back and relax 🙂

15. Now the CA role installation completed Click Close to continue with the CA configuration.

16. From Server Manager, Click Post-deployment Configuaration.

17. Define credentials and Click Next.

18. Select Role Services to configur. Then Click Next.

19. Select Enterprise CA and Click Next.

20. Select Root CA and Click Next.

21. Select Create a new private key and Click Next.

22. Specify the cryptographic options and Click Next.

23. Sepcify the name of the CA and Click Next.

24. Sepecify the validity period and Click Next. In my case, it is 5 years.

25. Specify the database locations and Click Next.

26. Review the config and Click Configure.

27. Click Close.

Now, the installation is completed. You can access the CA management console from the Server Manager tools menu for Certificate Management.


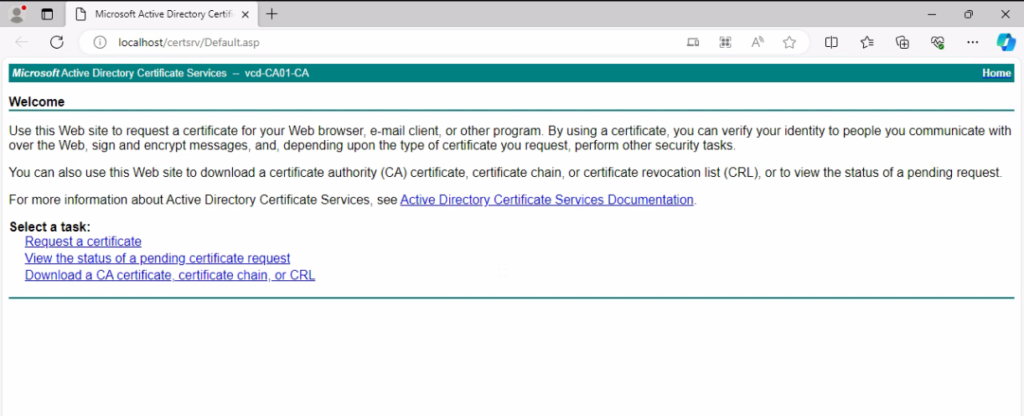
Finally, you can access the Certificate Authority through the web browser for certificate requests.
URL: http://localhost/certsrv/Default.asp or http://<IP address >/certsrv/Default.asp

I hope this helps. To view my prvios Microsoft related articles click here.
