

How to install and configure VMware Aria Operations Manager?
Deploy VMware Aria Operations OVF Template.
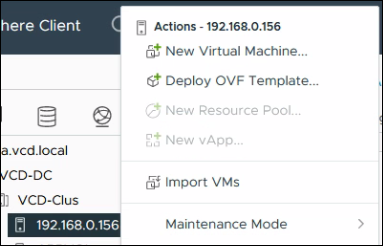
01. Right-click ESXi host and Click Deploy OVF Template.
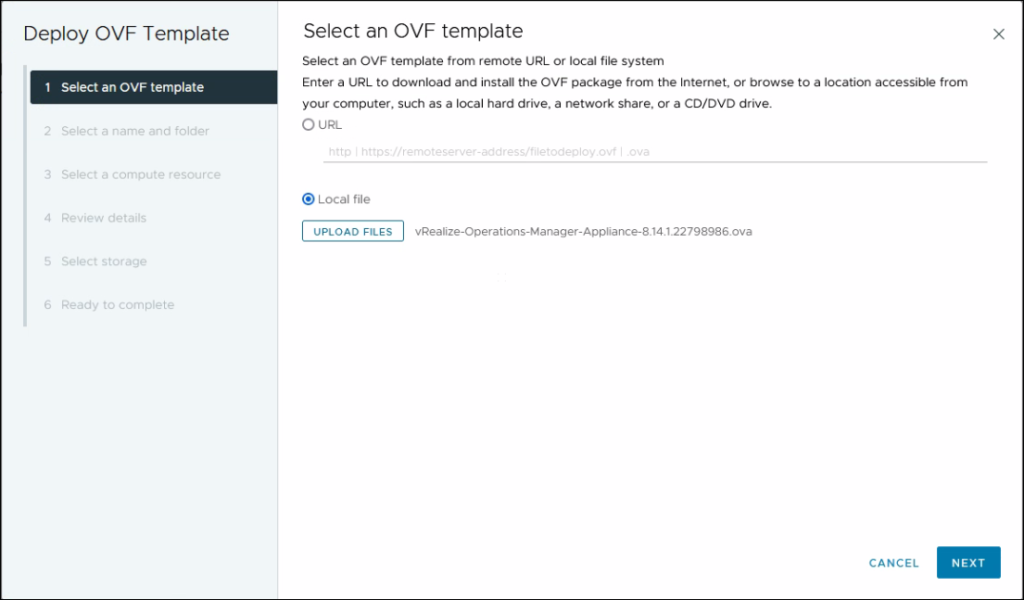
03. Select Local file and click Upload files, click Next.
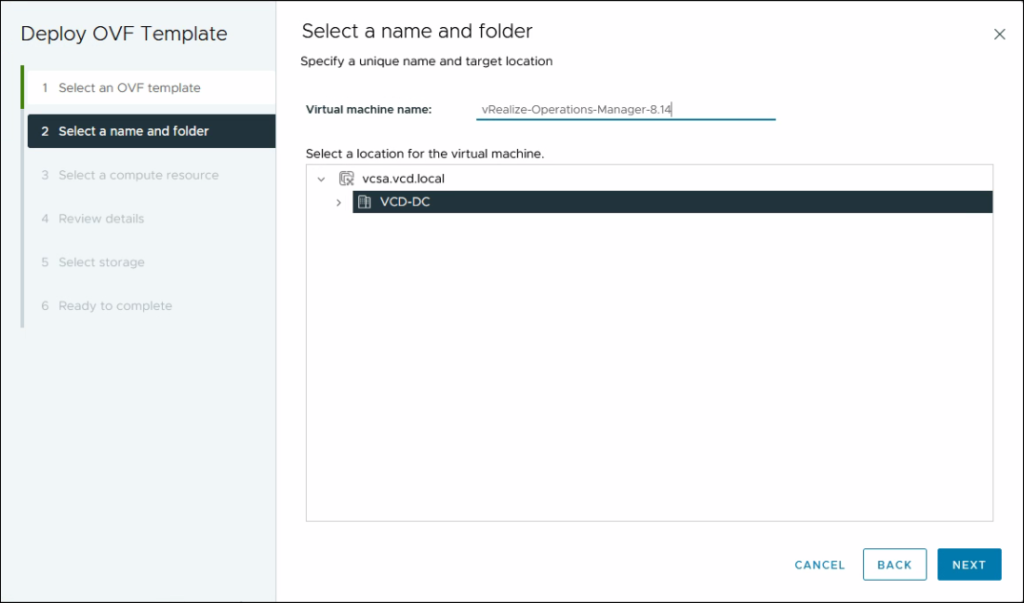
04. Define a VM name and click Next.
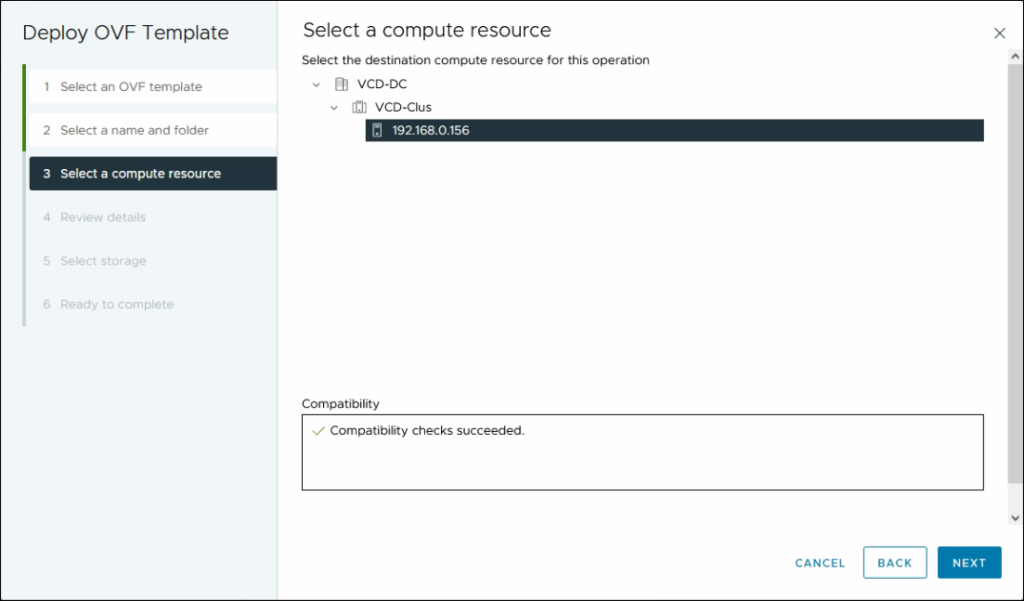
05. Select Computer Resource and click Next.
06. Review the details and click Next.

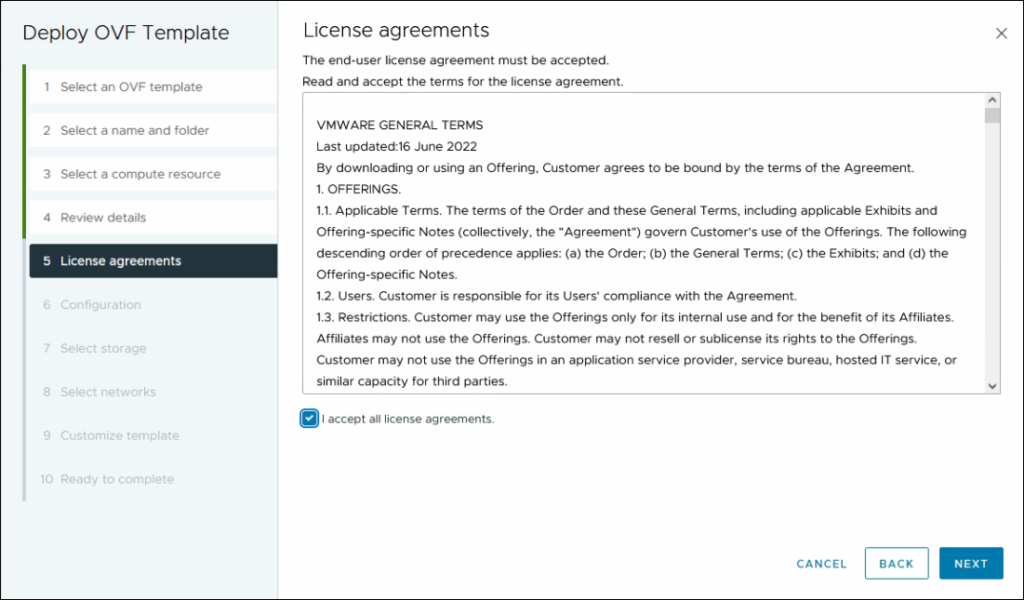
07. Accept the license agreement and click Next.
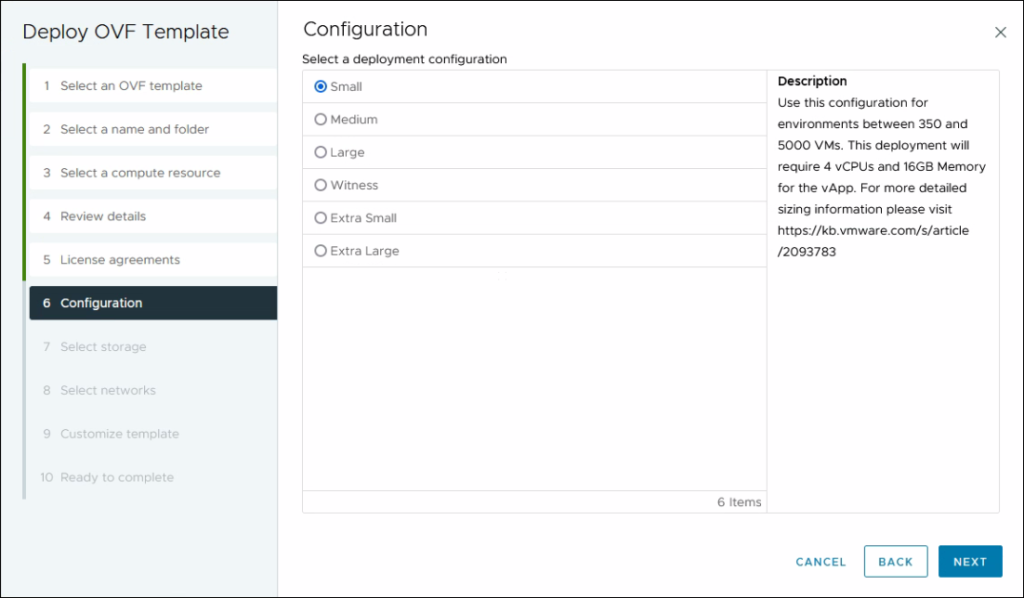
08. Select the deployment configuration based on the environment you are going to monitor and click Next.
09. Select the storage and click Next.

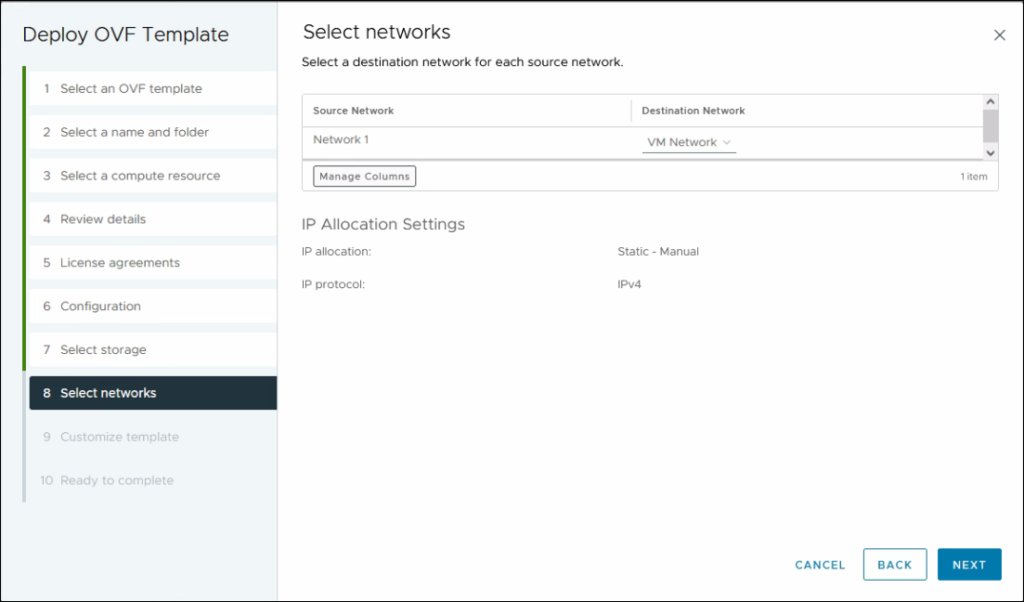
10. Select the network and click Next.
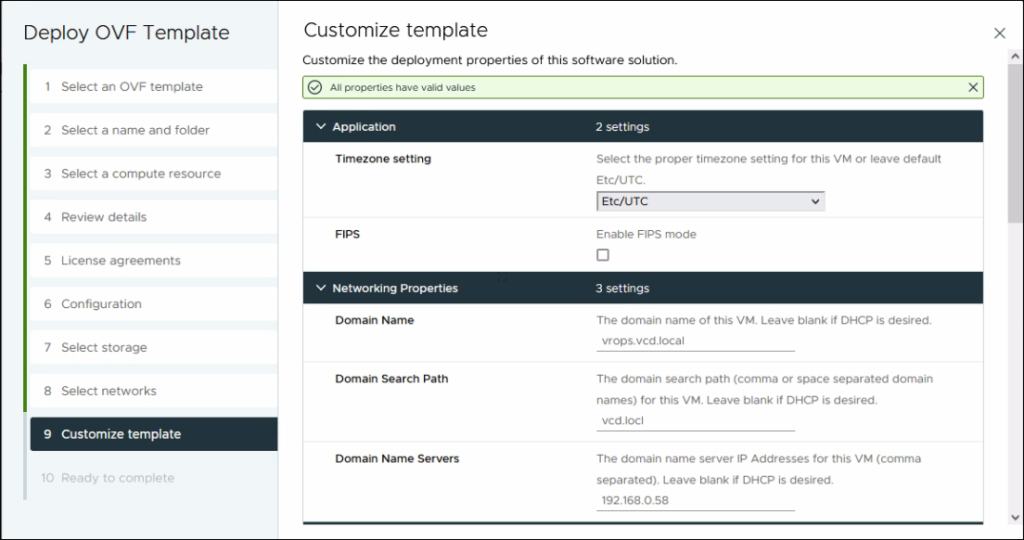
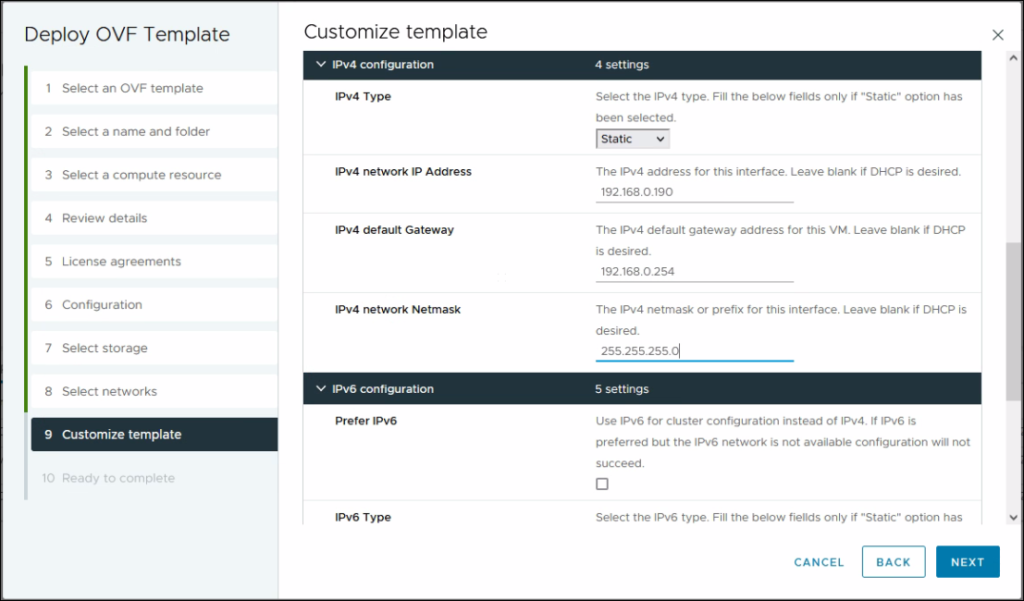
11. Define the Time Zone Settings, DNS, and IPv4 address details and click Next.
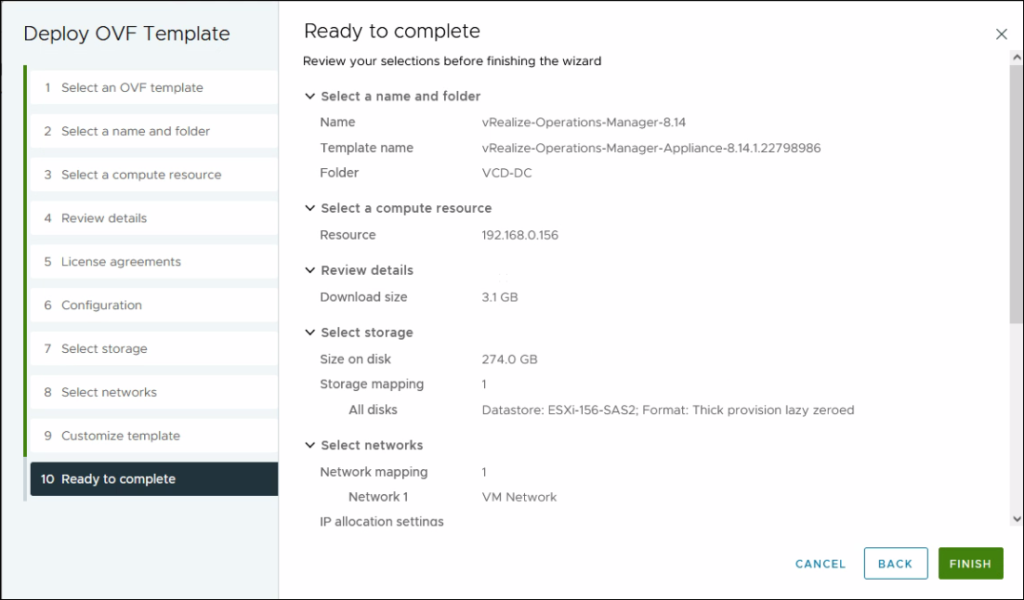
12. Review the details and click Finish.
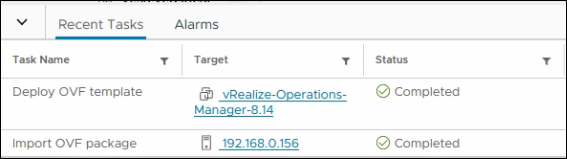
13. View the Recent tasks from vCenter to confirm the OVF deployment status.
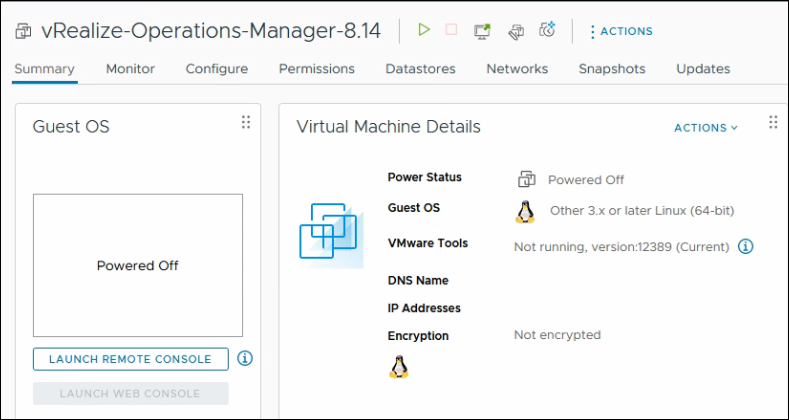
14. Navigate to the VM, and click the Power on button.
15. Open the web console to monitor progress. It will take some time to come to this screen.
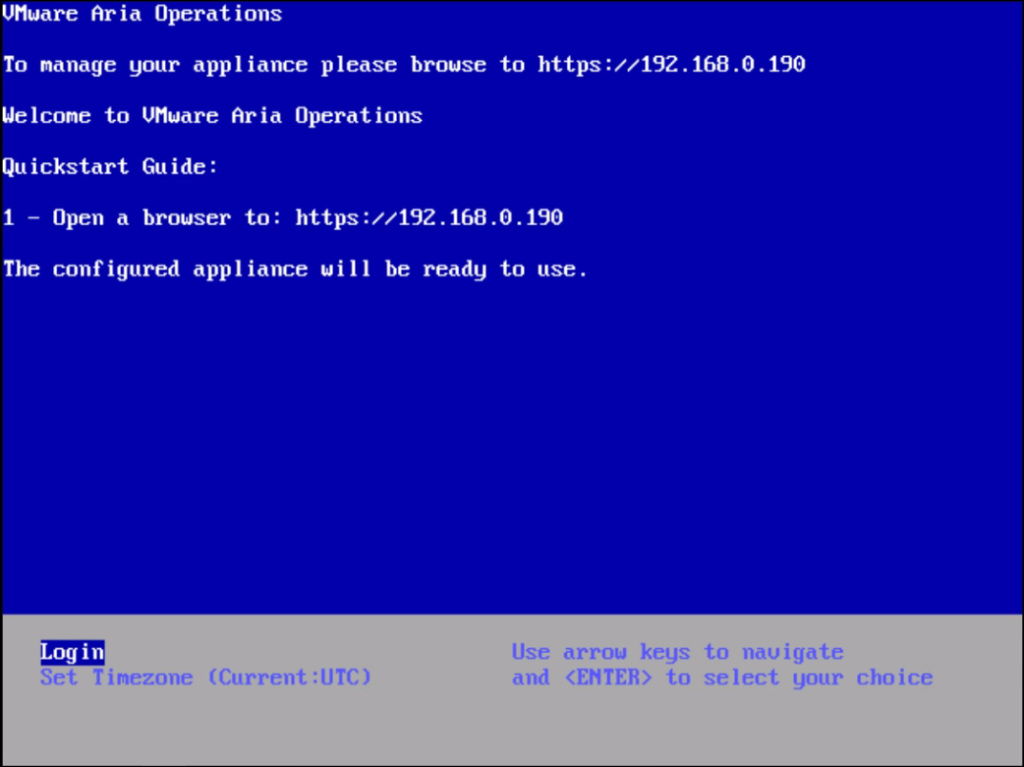
Initial Setup.
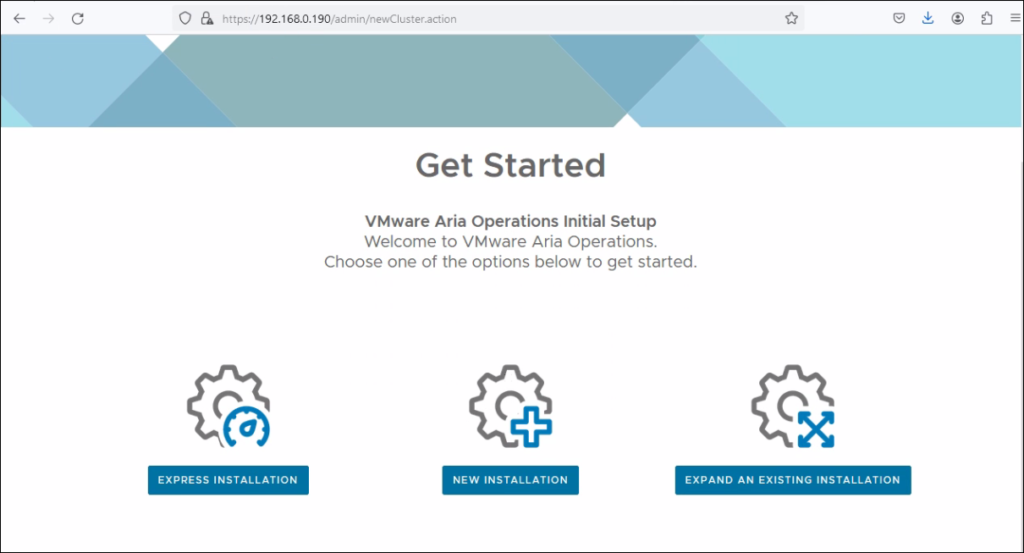
16. Open a Web Browser and Navigate the Appliance IP address. Click New Installation.
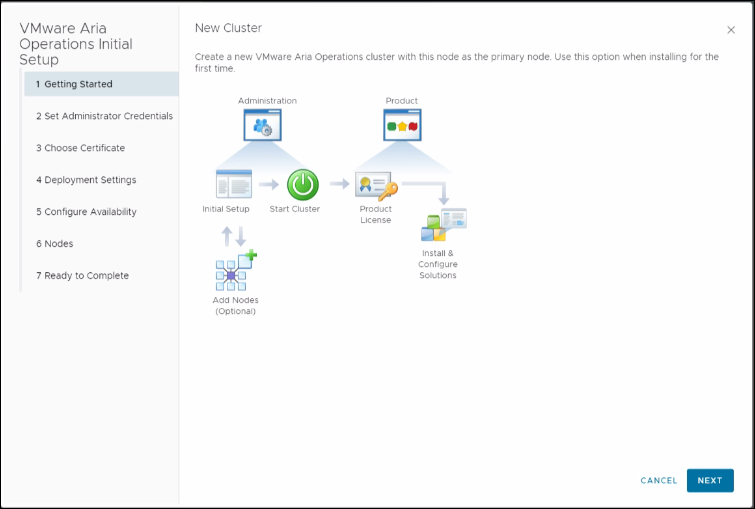
17. Click Next.
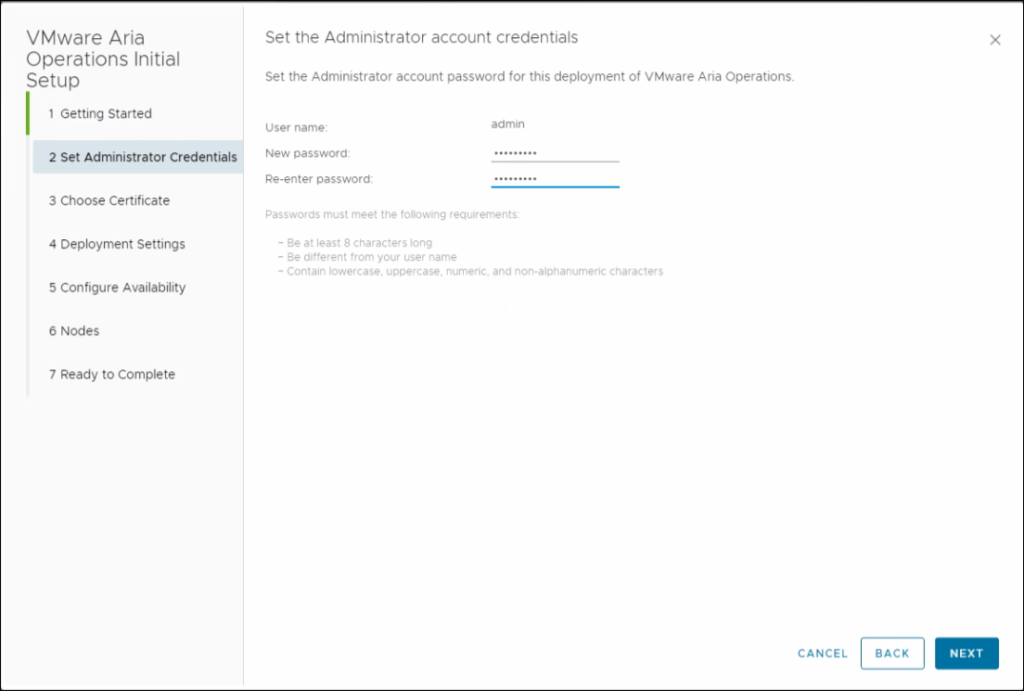
18. Define credentials for the admin user. Move to the next step.
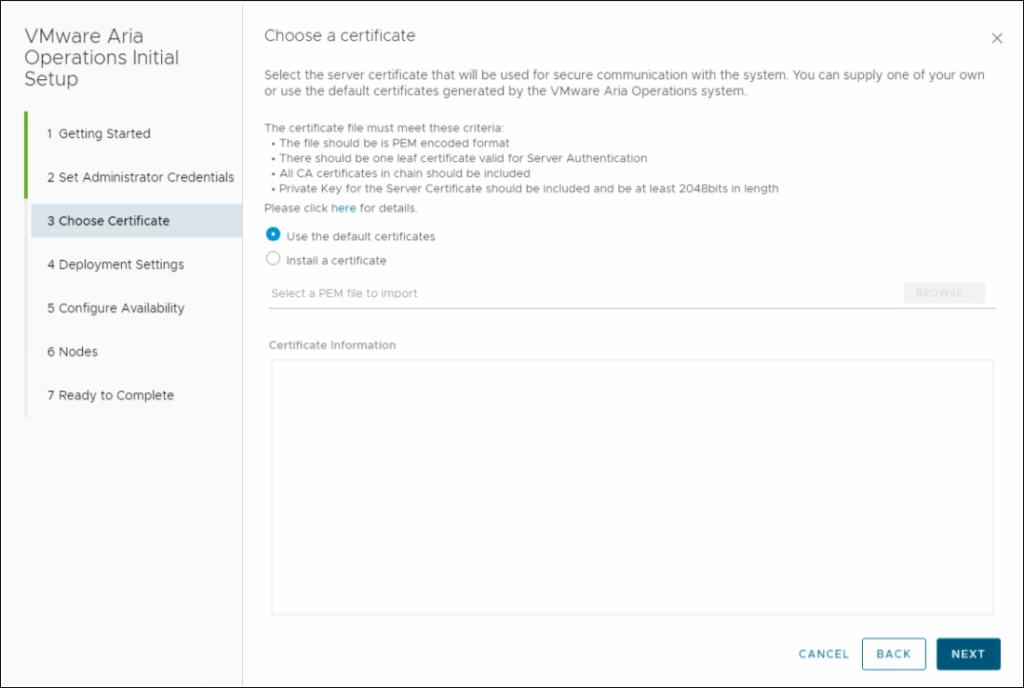
19. Select Use the default certificate and click Next.
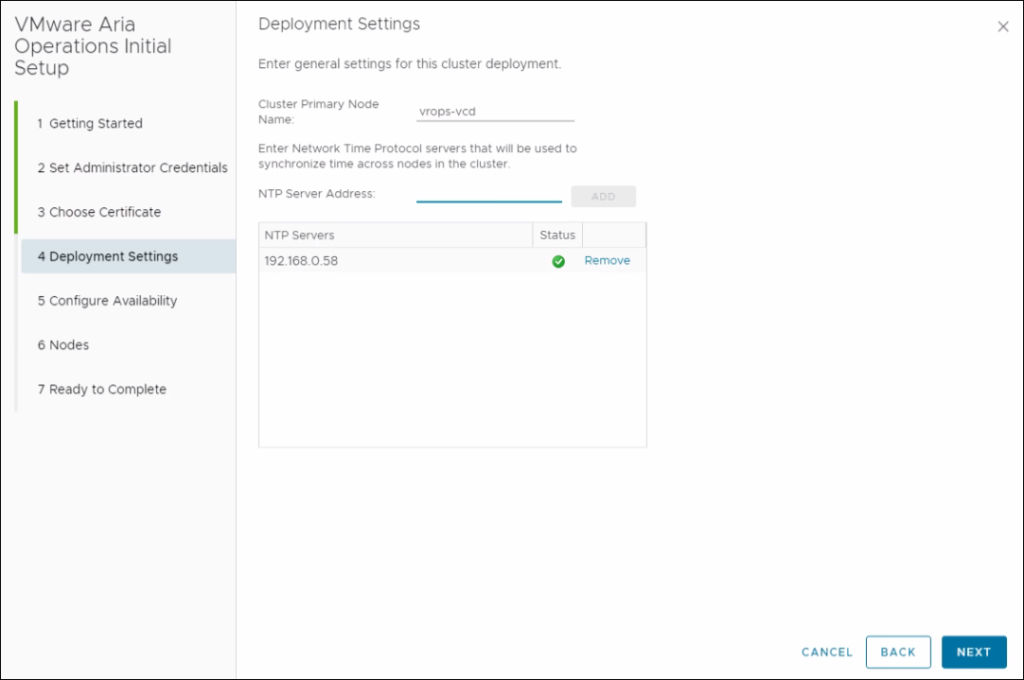
20. Define a name and NTP settings then, click Next.
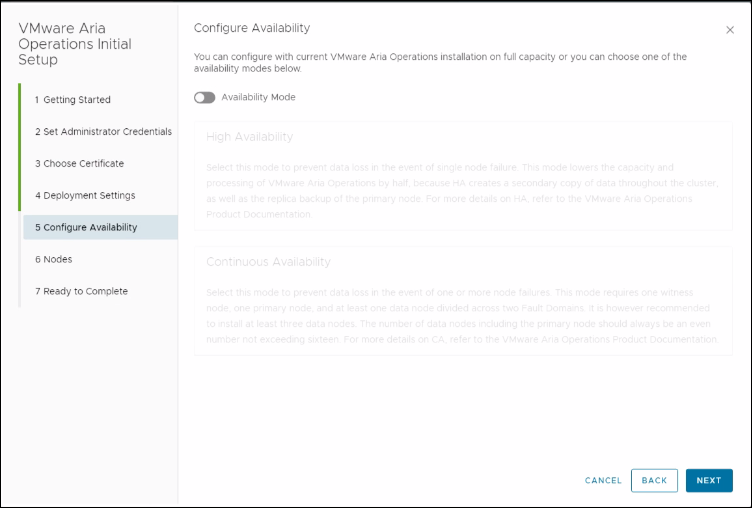
21. Here you can configure availability, however, I am doing the basic setup. Then, click Next.
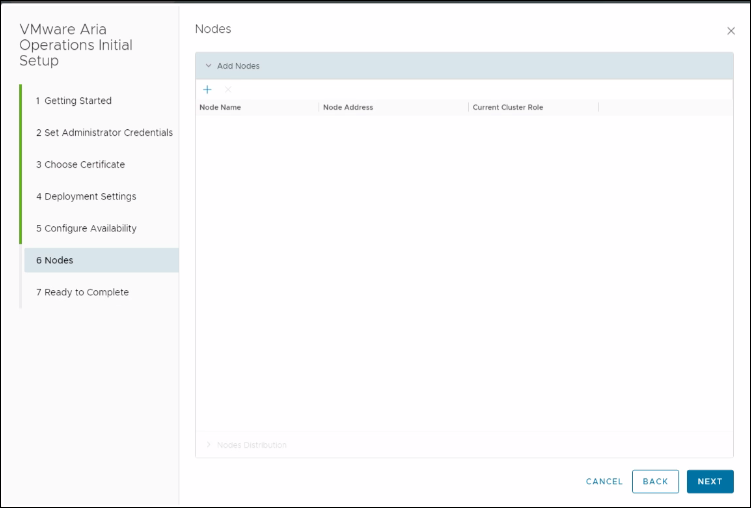
22. If configuring availability with the previous step, on this page, you need to add the nodes. Proceed to the Next step.
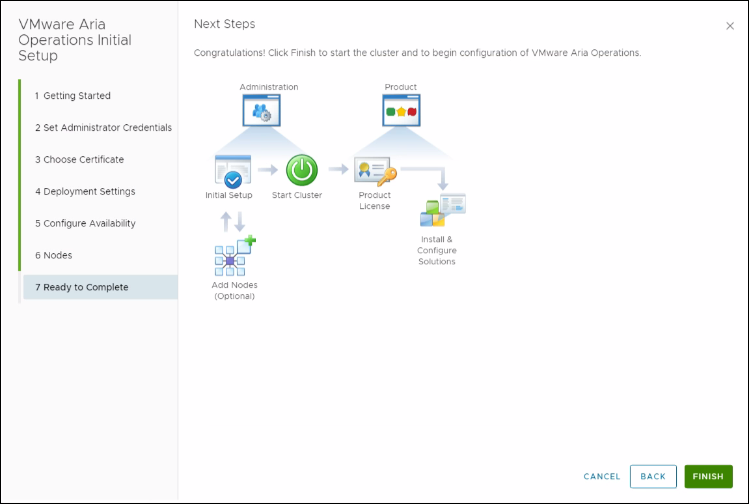
23. Click Finish to move to the next steps.
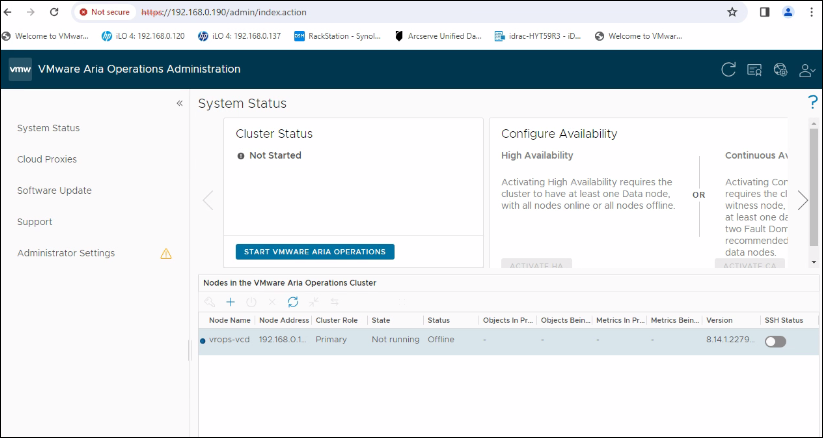
24. Click Start VMware Aria Operations. This process will take some time.
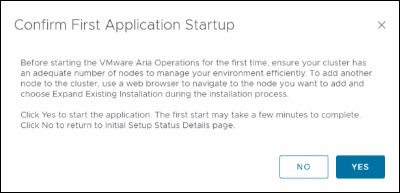
25. Click Yes
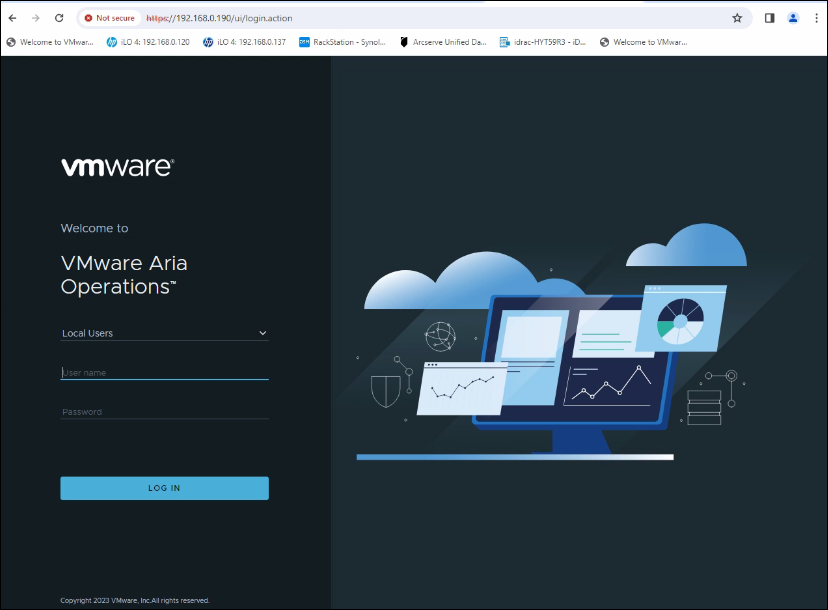
26. It is time to log in 🙂
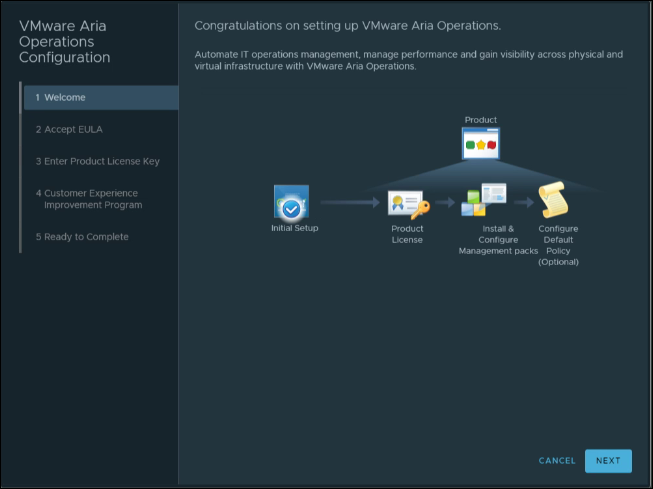
27. Click Next on the Welcome page.
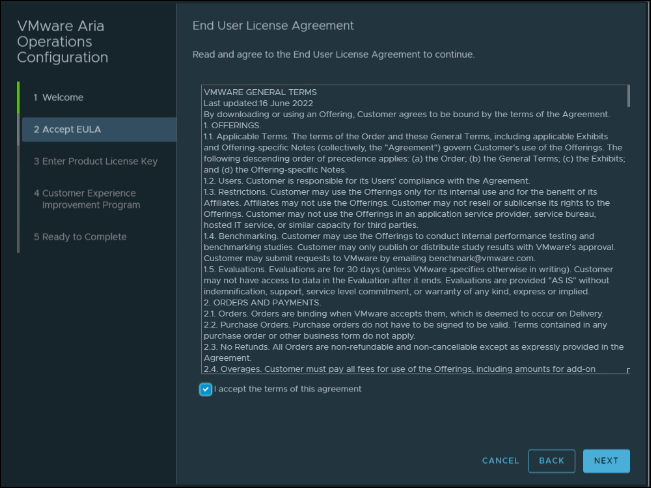
28. Accept the license agreement and click Next.
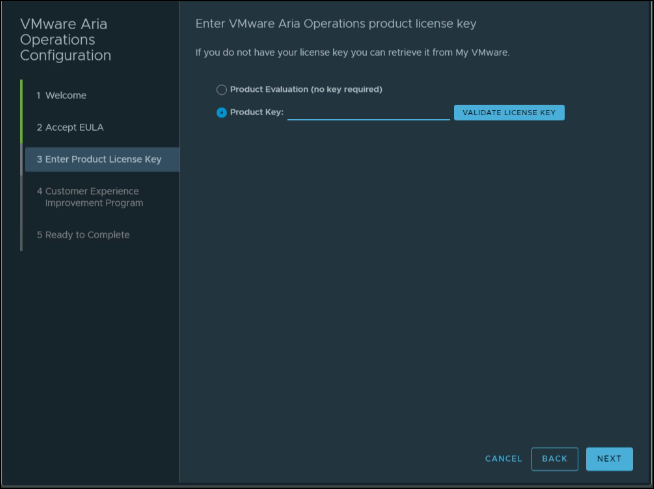
29. Enter the license key click validate license key then click Next.
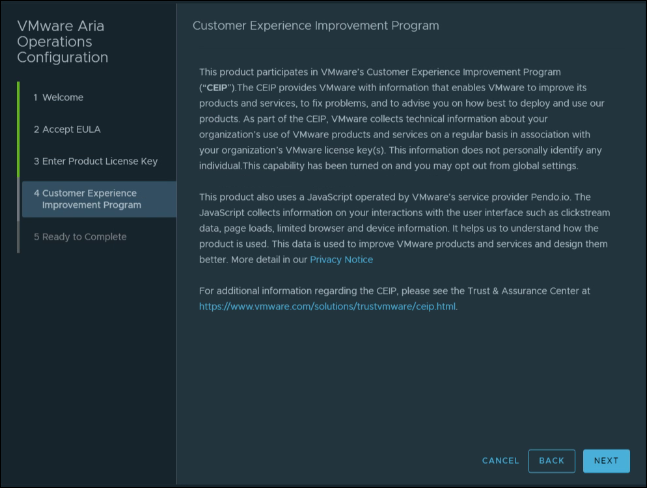
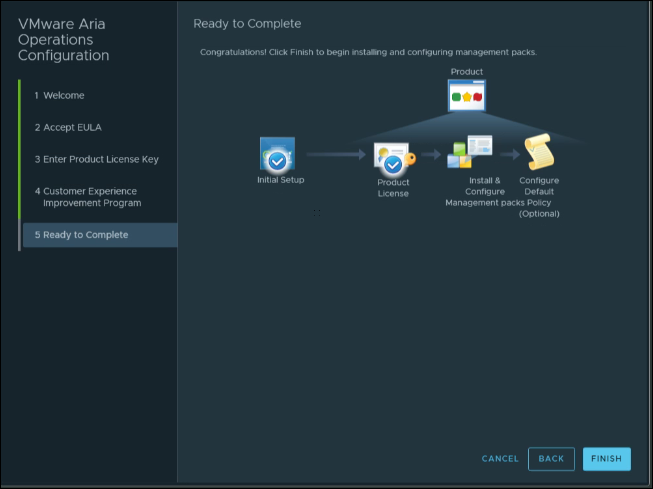
30. Click Next.
31. Click Finish.
Add vCenter.
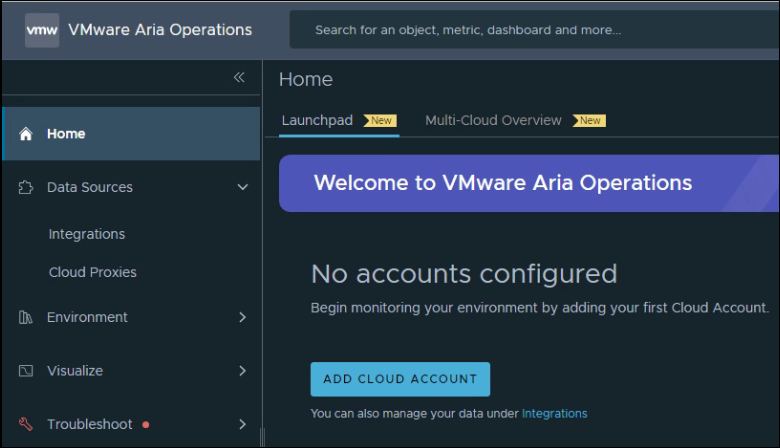
32. Click Add Cloud Account or you can Expand Data Sources and select Integration.
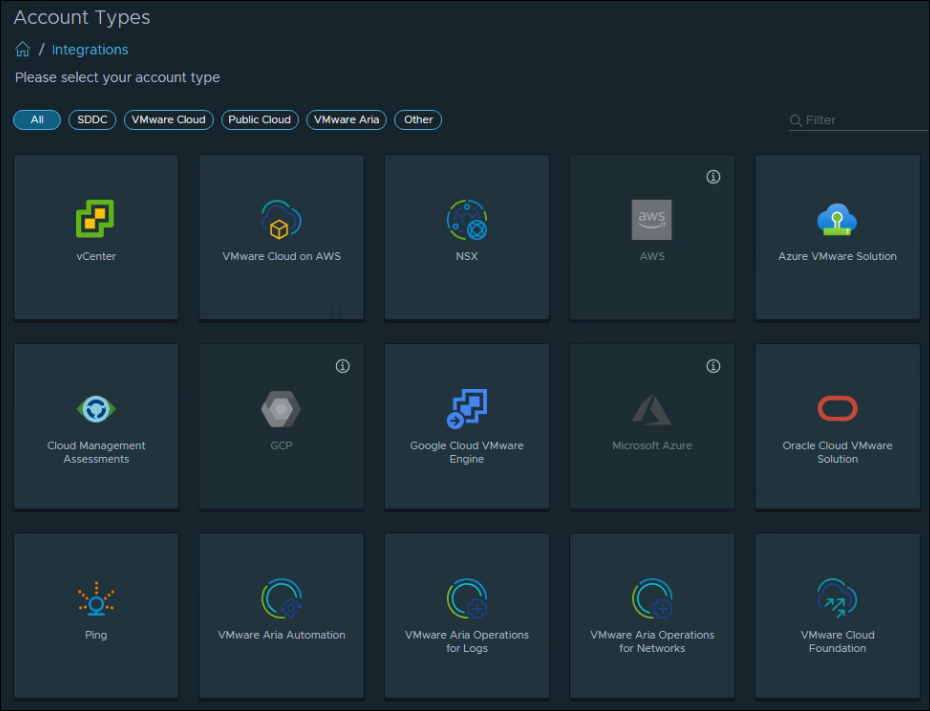
33. Select vCenter.
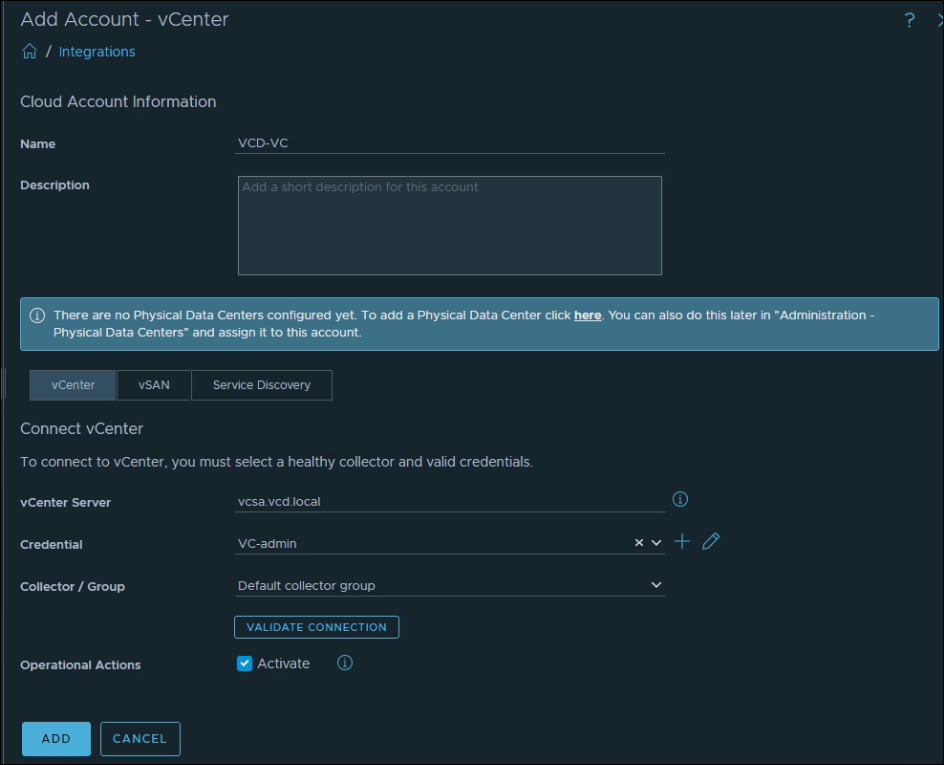
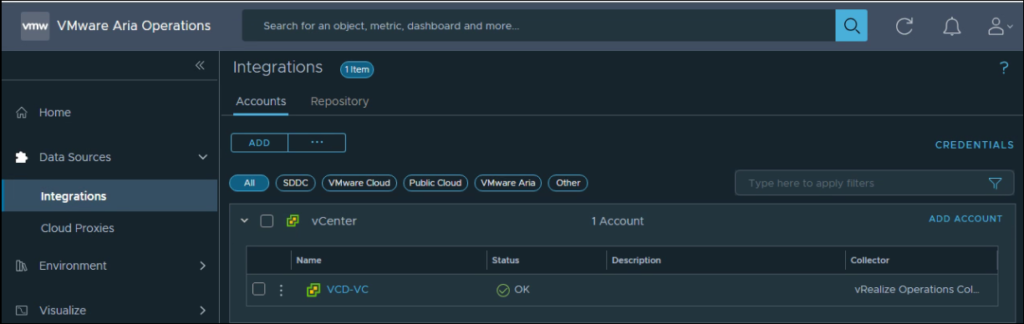
34. Define vCenter details and click validate the connection. This will prompt you to accept the vCenter certificate. Once the connection is validated, click Add.
35. Once the vCenter account status shows OK navigate to the dashboards to view details but to fully collect data and show information it will take some time.
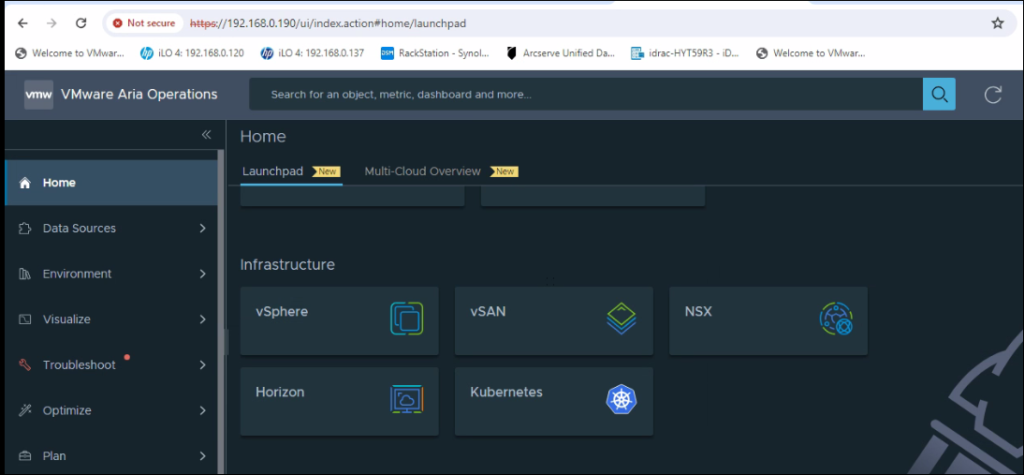
36. From the Launchpad, select vSphere.
37. There are different options to select.
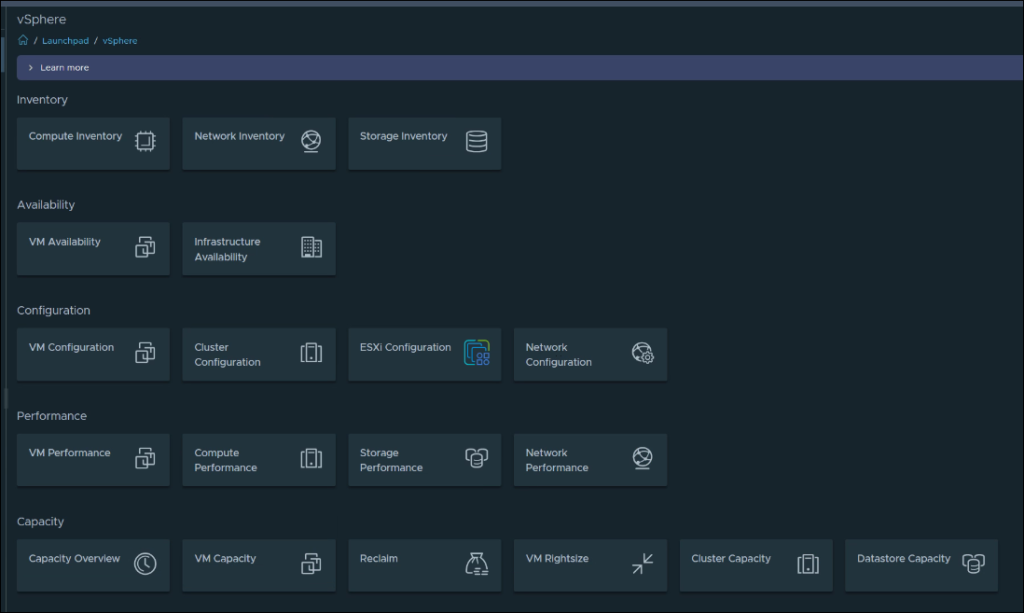
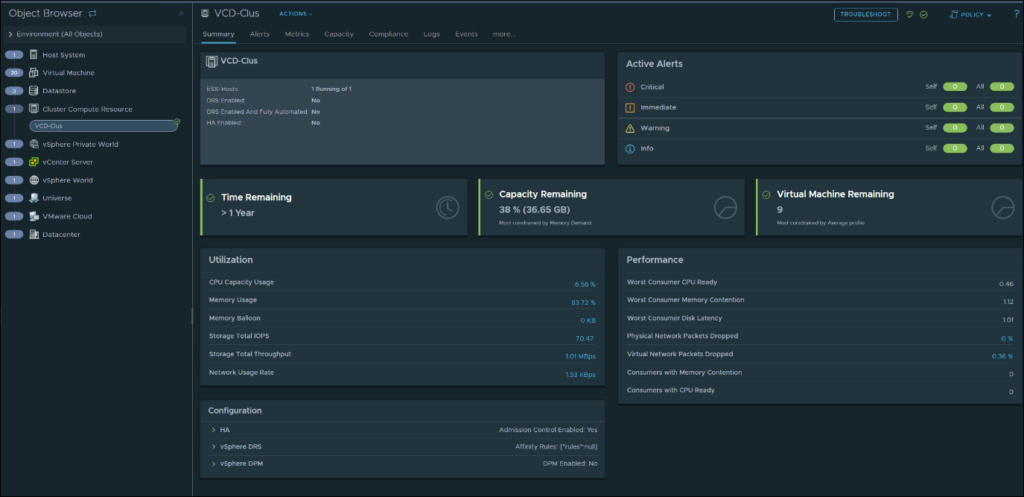
38. Computer Inventory.
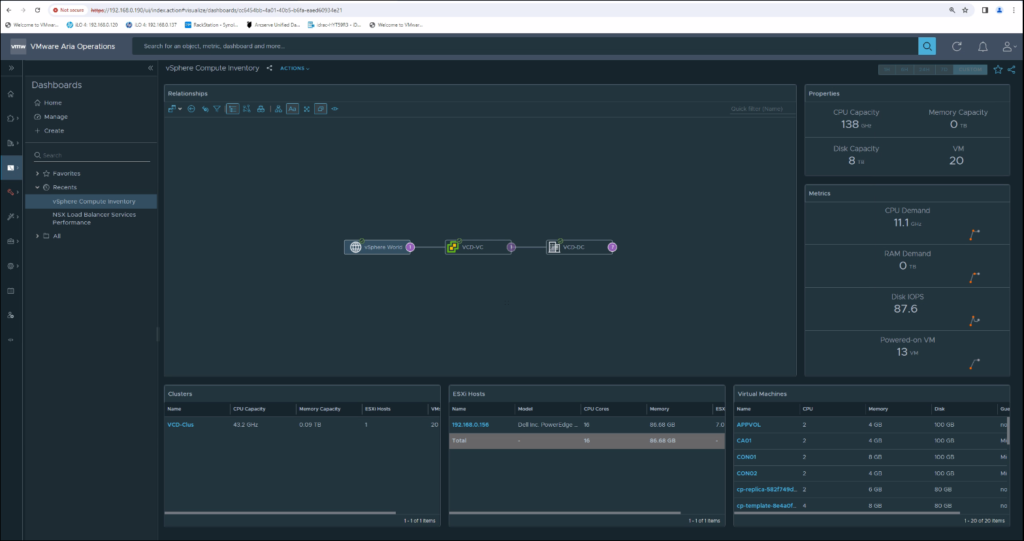
39. We can select different views.
I hope this helps. To view my previous posts related to VMware click here.