
Today we are going to see how we can install Active Directory services on Microsoft Server 2012 R2. You may be wondering why 2012 R2. This will be the first post of a how to series so in coming posts, I will be showing how we can upgrade AD DC from Microsoft Server 2012 R2 to Microsoft Server 2022. This is actually a good time to plan to upgrade your AD server if it is currently reside on a Microsoft Server 2012 R2 because soon Microsoft server 2012 R2 will be end of support. (October 10, 2023)
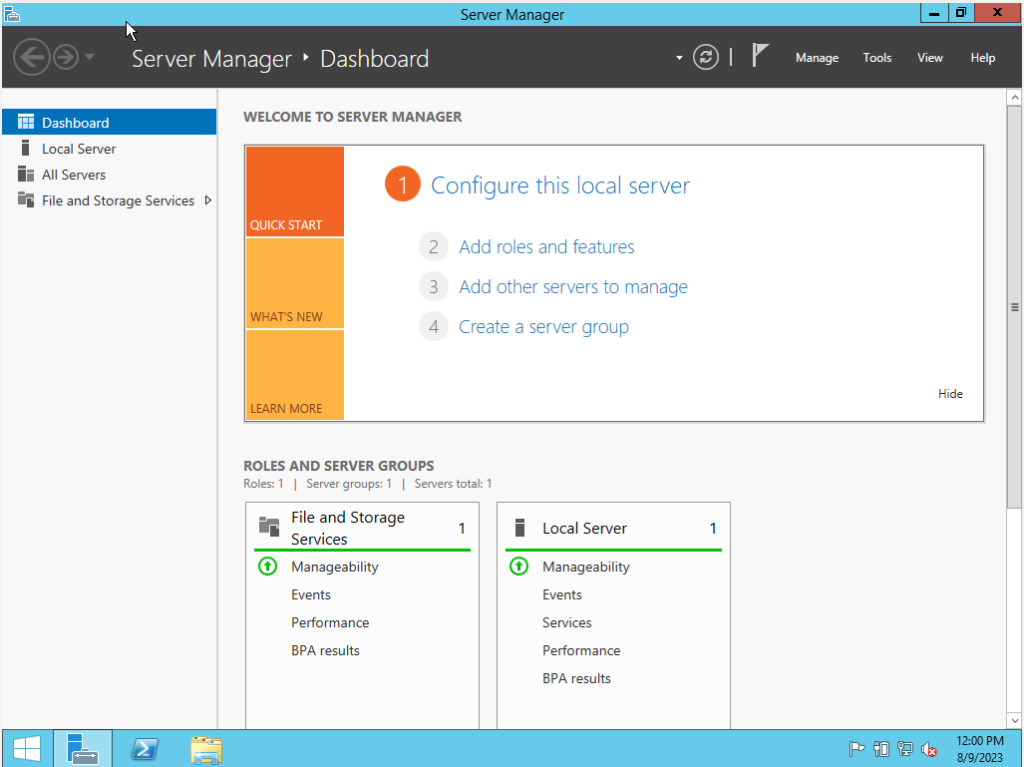
01. Open Server Manager >>> Click add roles and features
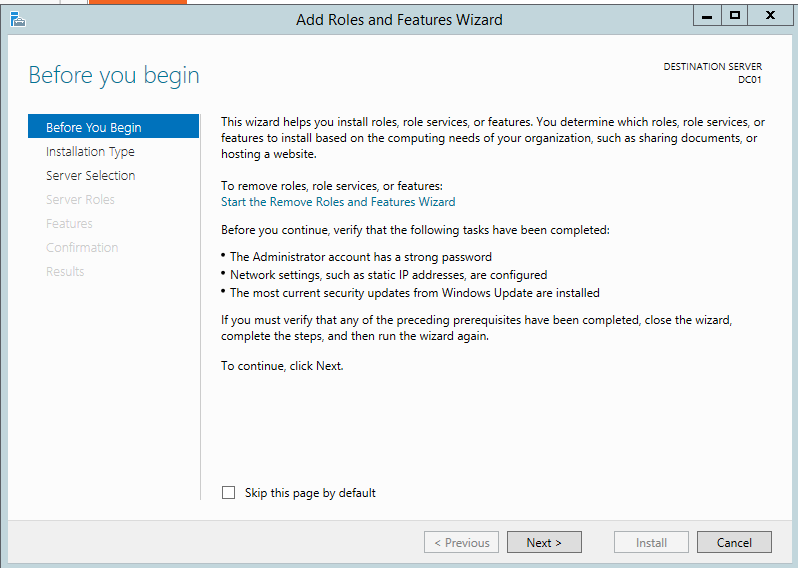
02. Click Next
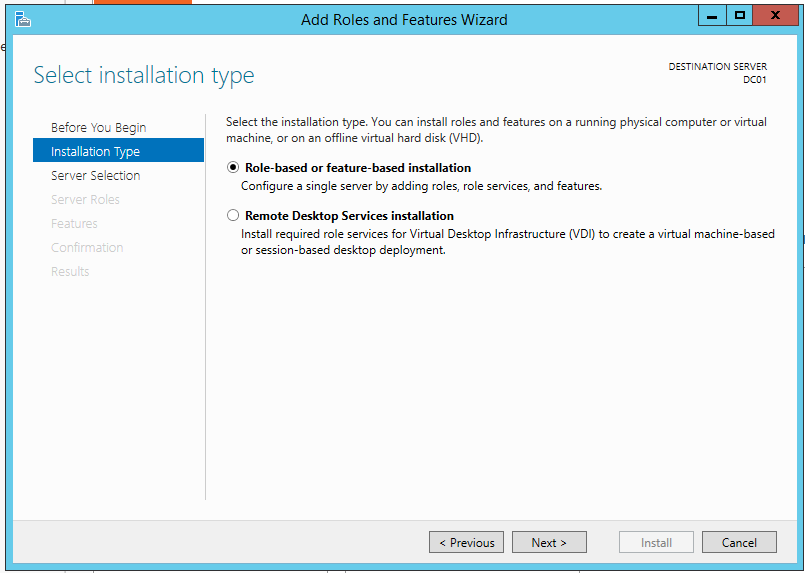
03. Select Role-based or feature-based installation >> Click Next
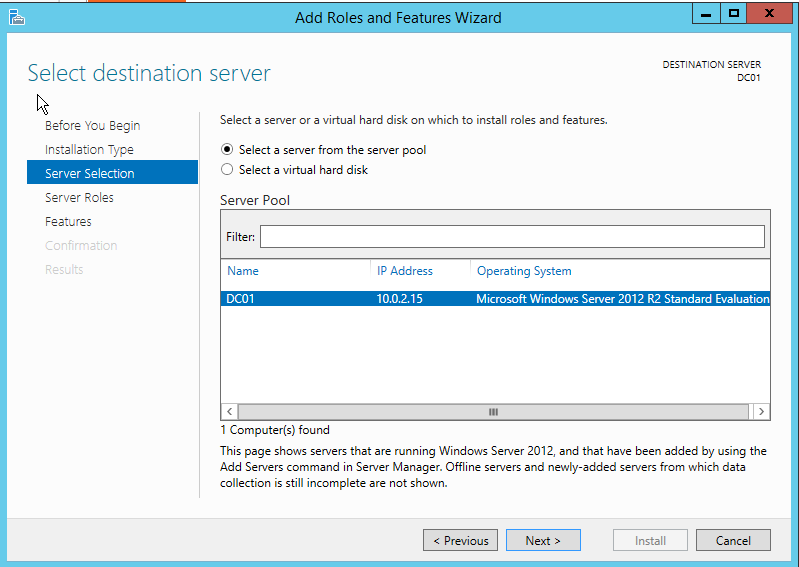
04. Select the server from the server pool >>> Click Next
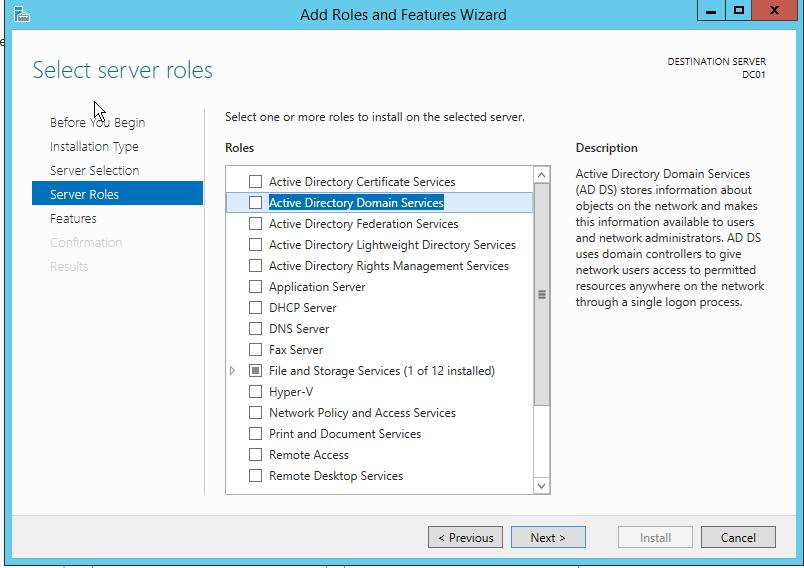
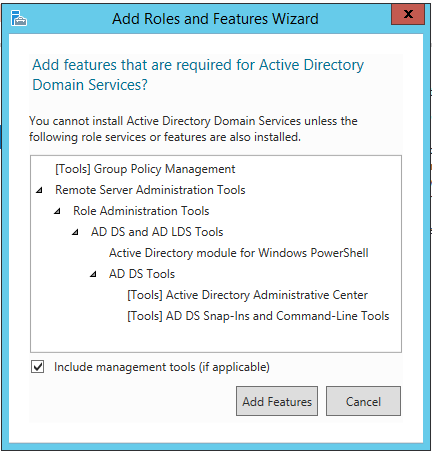
05. Select Active Directory Domain Services Then from the popup window click Add features with the default settings. then Click Next.
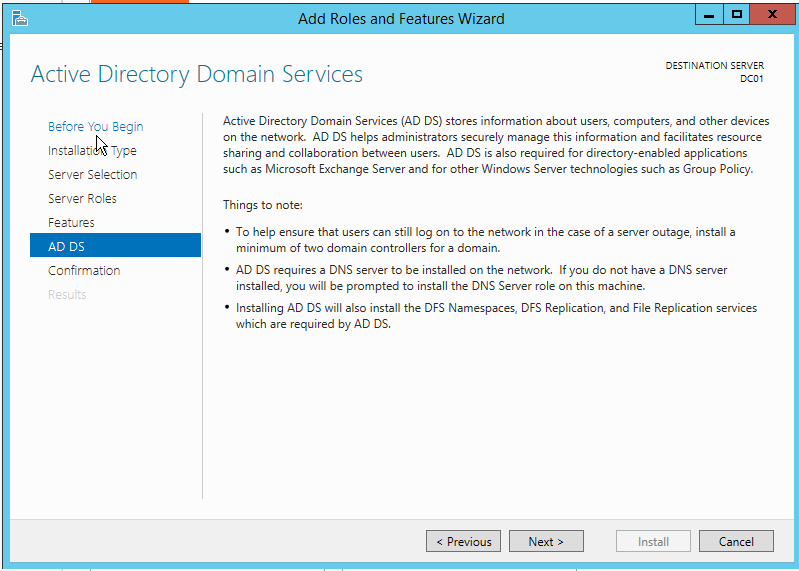
06. Click Next
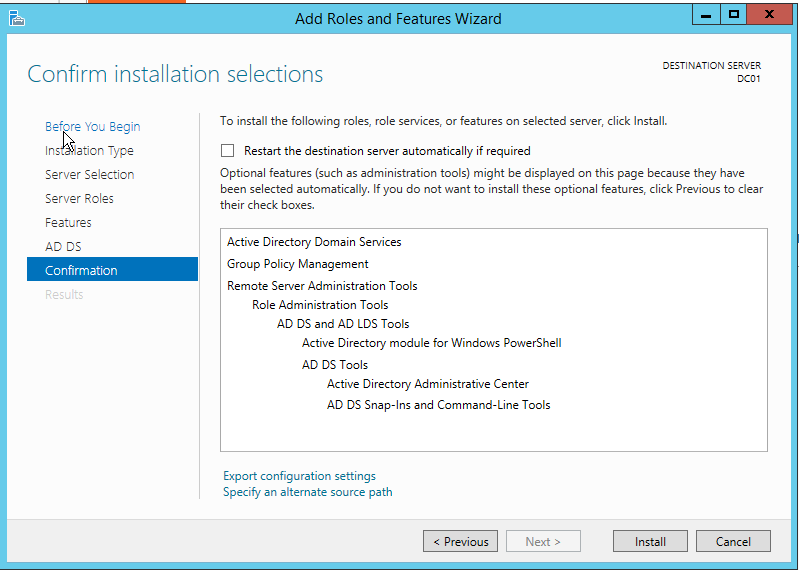
07. Click Install
08. Click Close
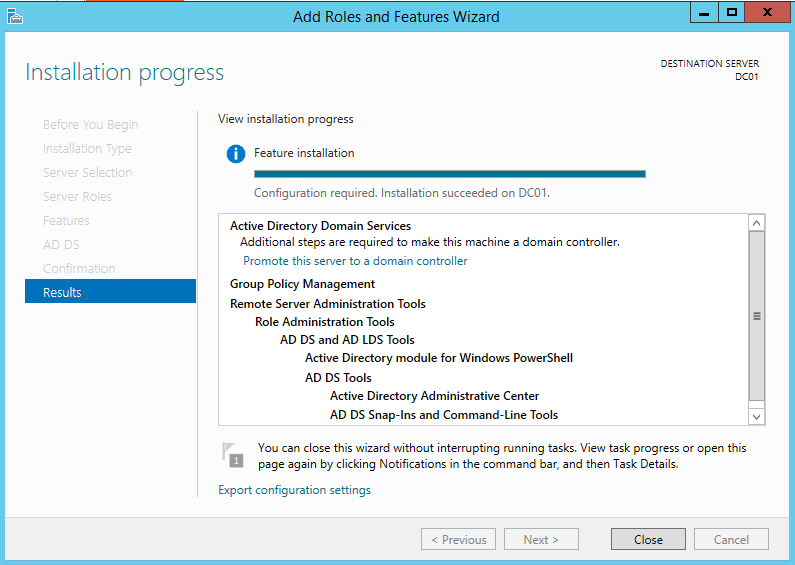
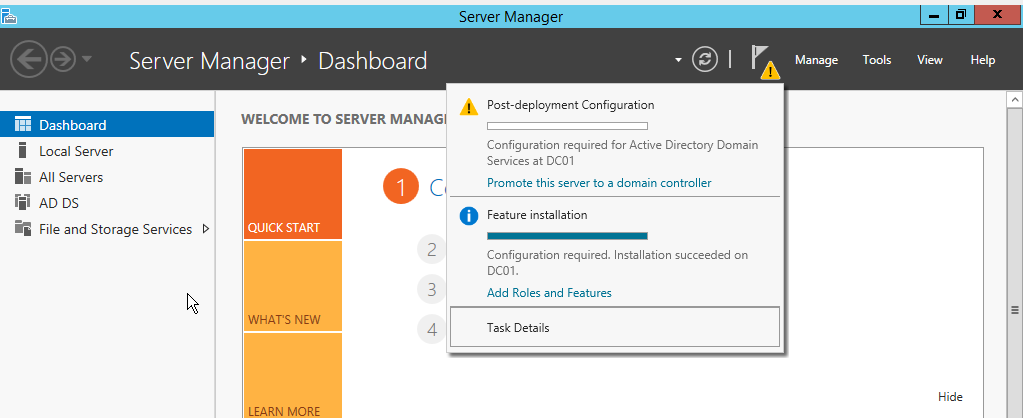
09. From server manager task list click Promote this server to a domain controller
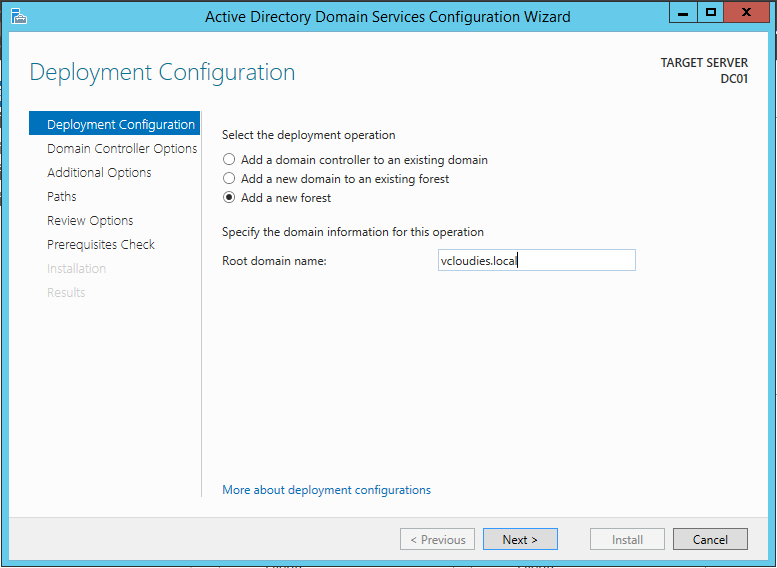
10. Since this is the first domain controller in my lab I am selecting add a ne forest and define root domain name and click Next
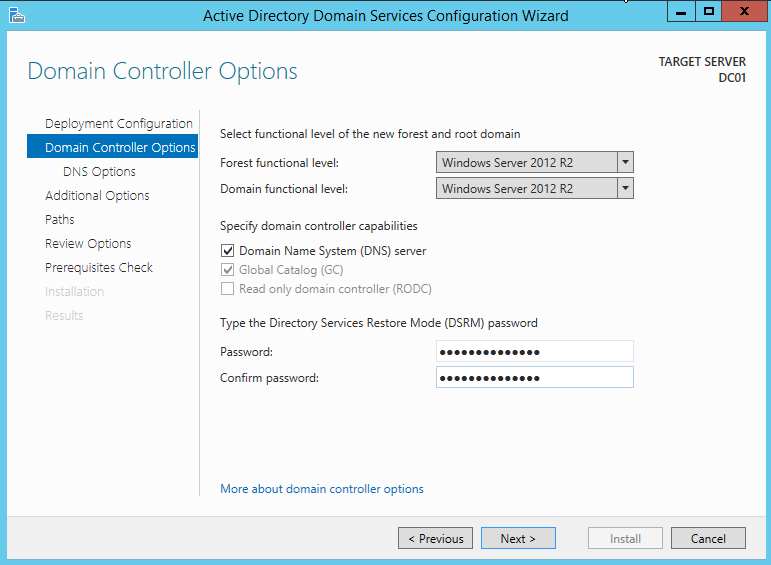
11. Set the Directory Service Restore Mode (DSRM) password and click Next
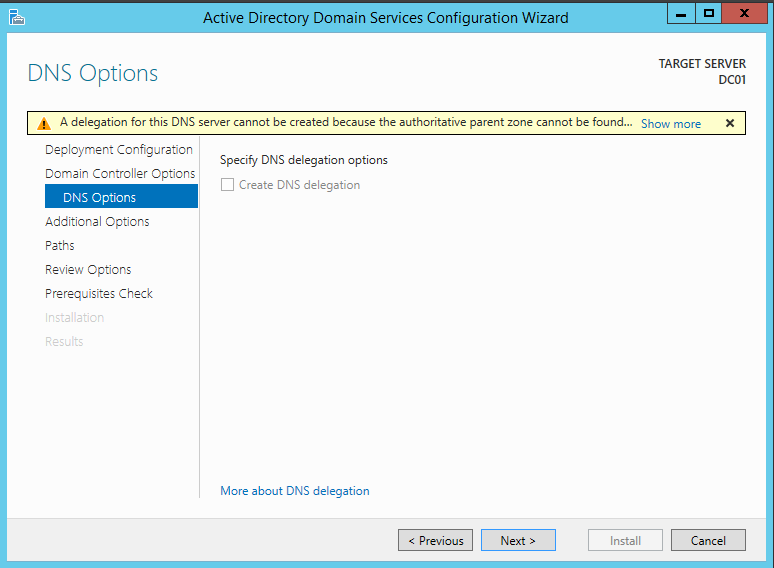
12. Click Next
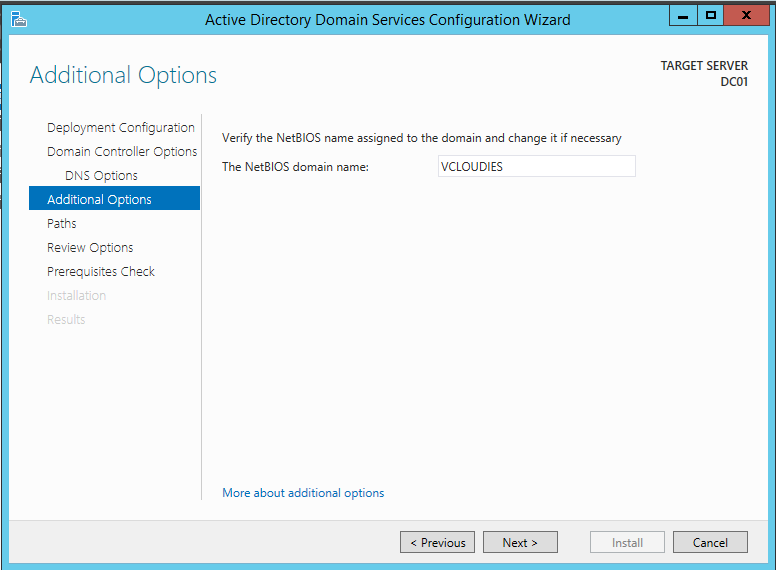
13. Click Next to accept the NetBIOS domain name.
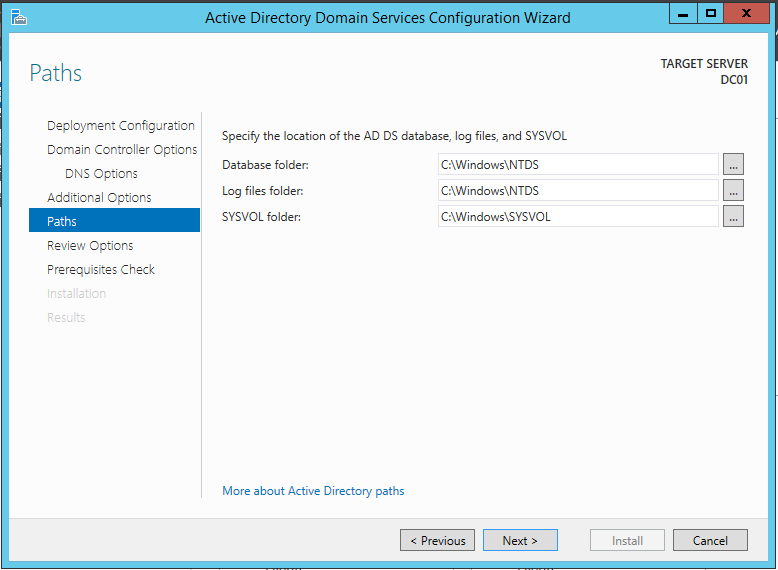
14. Click Next to accept the paths to Database folder, Log files folder and SYSVOL folder. Optionally you can select deferent path as per your/ organization preference.
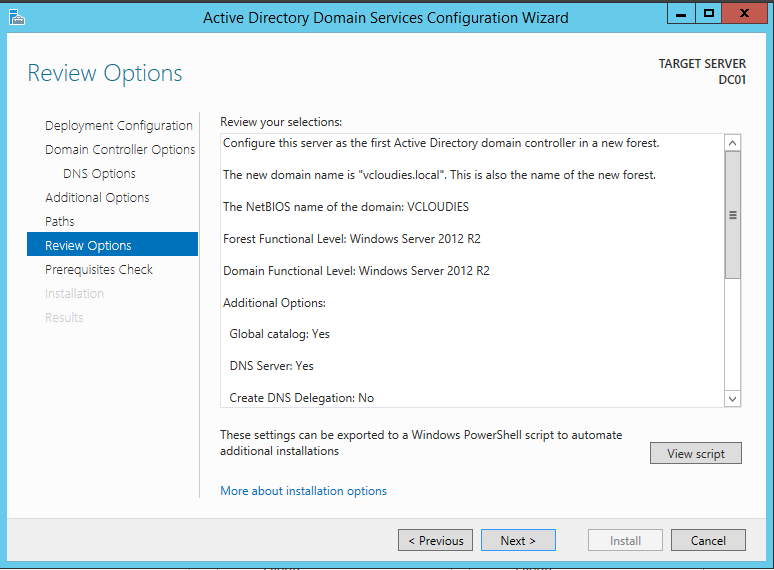
15. Review the options and Click Next
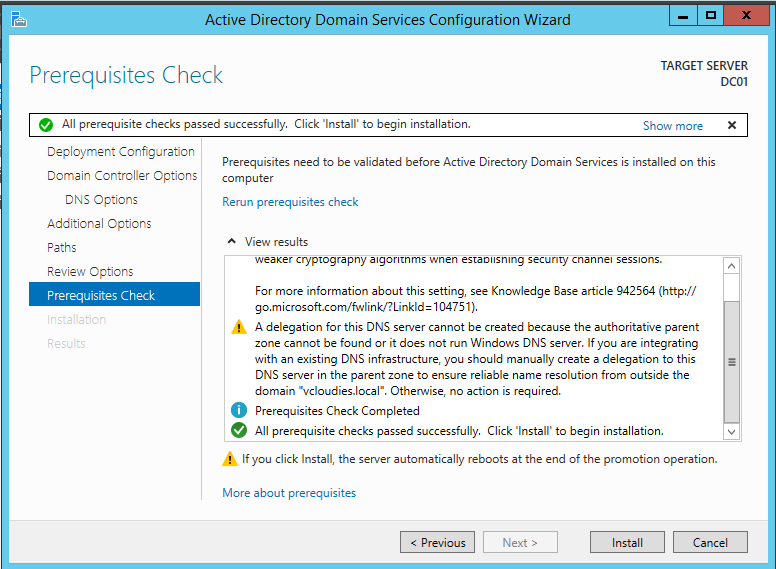
16. Once all the prerequisite checks passed successfully, Click install to begin the installation.
17. When the installation is successful it will reboot and prompt you to login with the domain administrator credentials. The credentials will be same as the local administrator account before the domain installation.

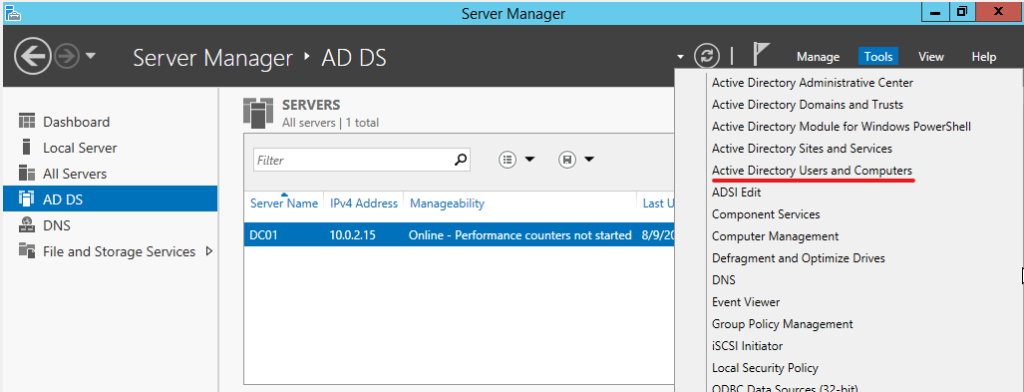
18. From server Manager >> Tools select Active Directory Users and Computers to access AD objects.
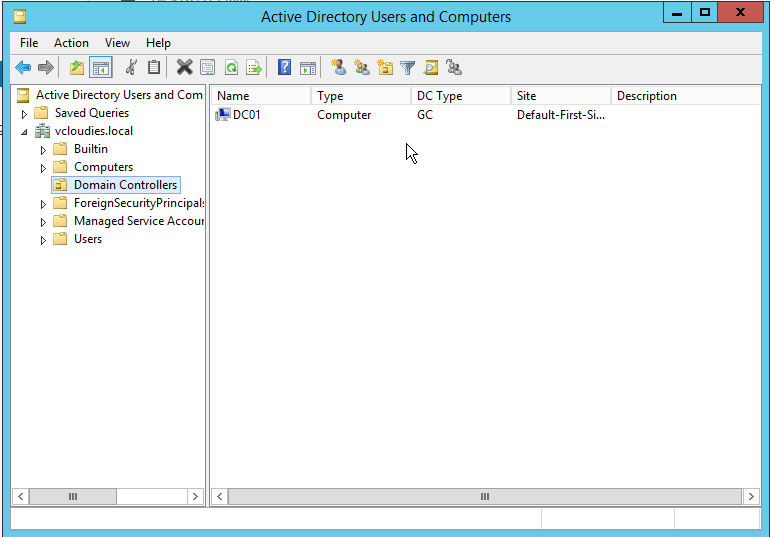
Now you have successfully installed Active Directory.
I hope this post was informative for you. Let me know if have any clarifications or any feedbacks in the comment section.
Click here to view my post related to Microsoft