
This post shows the steps you need to follow to install VMware vCenter Server Appliance 8.
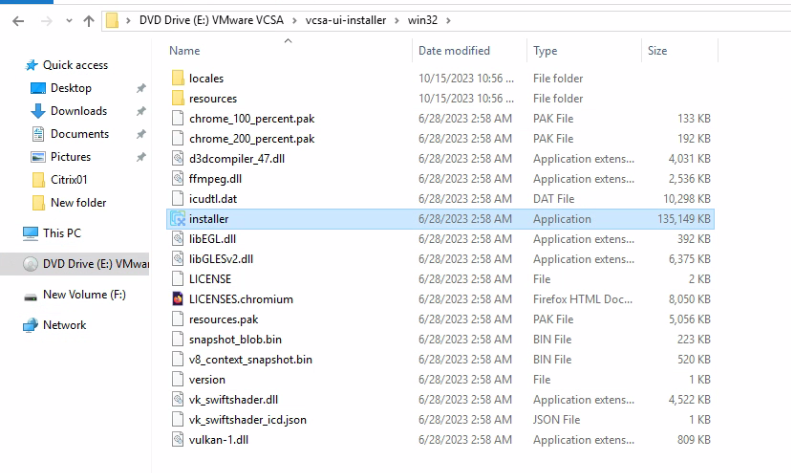
01. Browse the vCenter installation media. Locate the installer inside the “drive:\vcsa-ui-installer\win32” and run the installer.
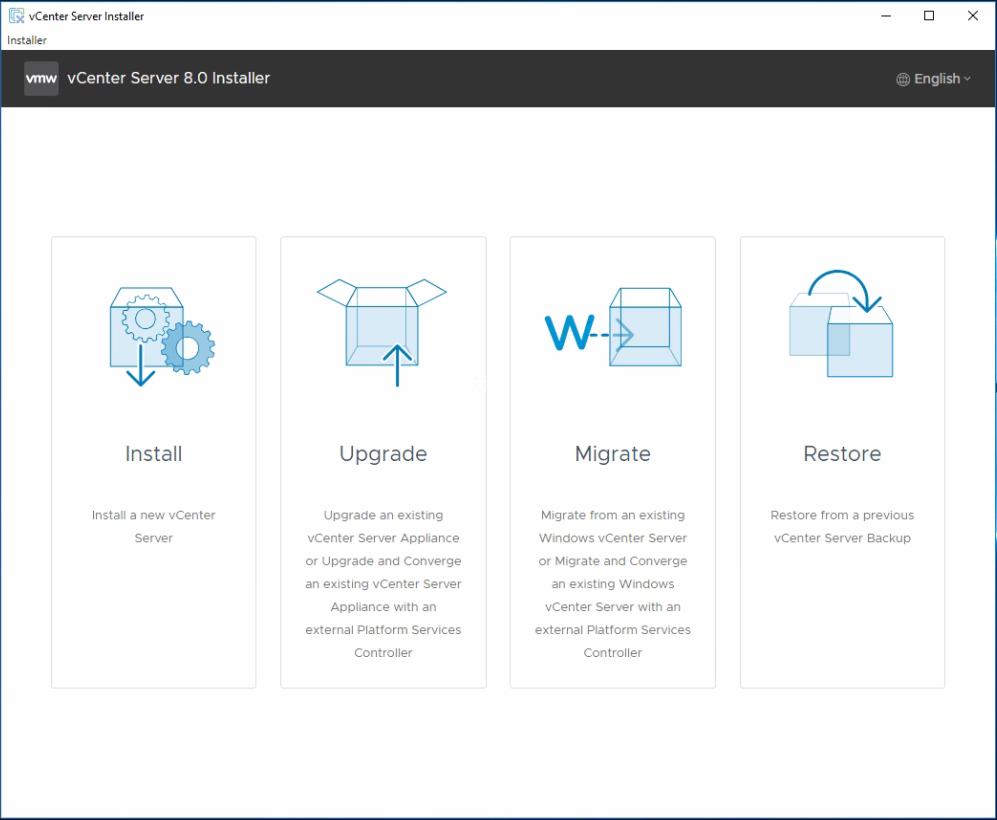
02. Click on Install
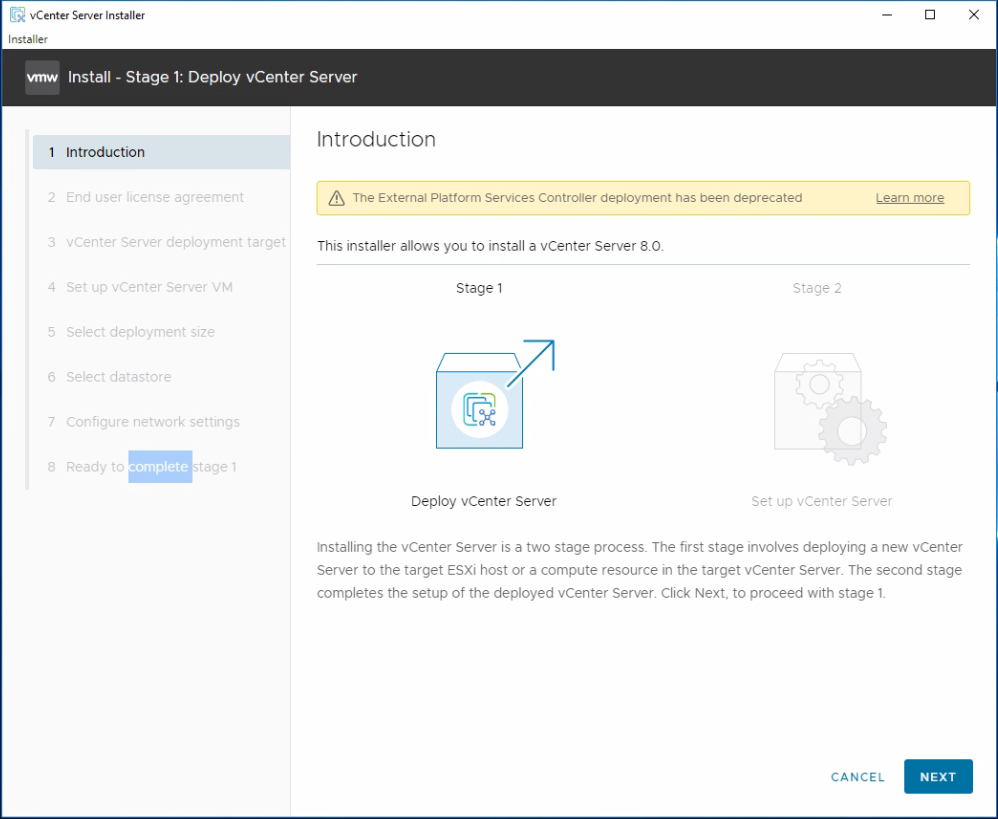
03. Click Next on the introduction page. One thing to note is Vmware has depreciated using an external platform services controller. More info
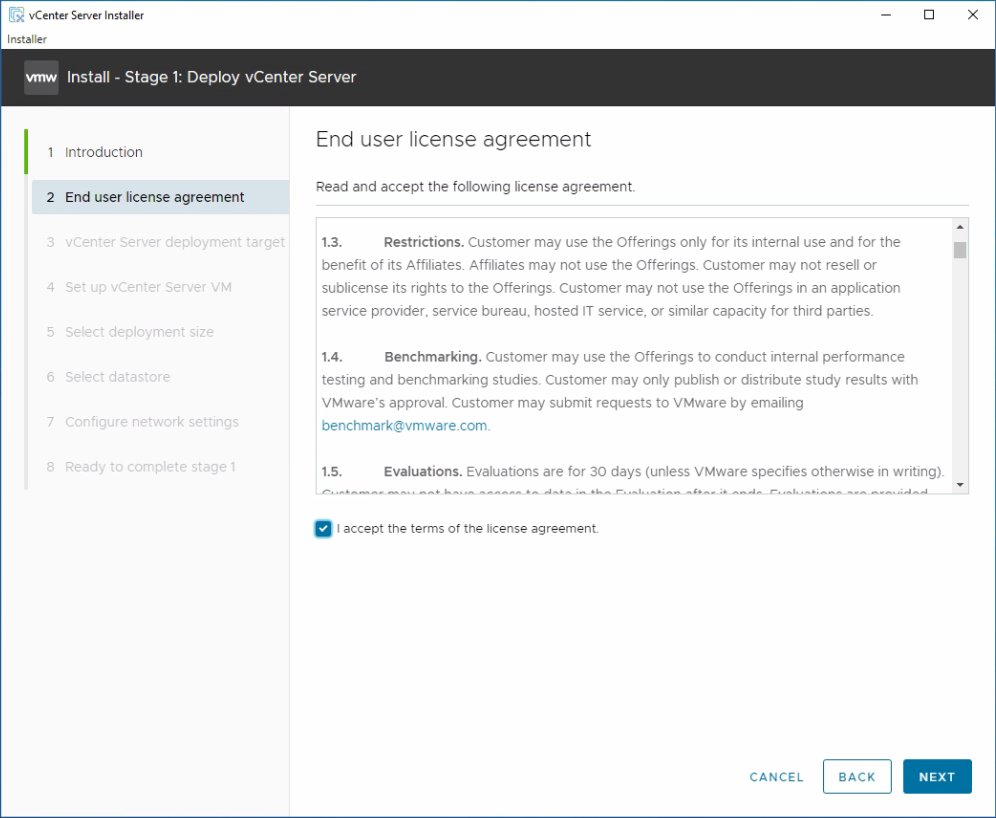
04. Accept the End user license agreement, and Click Next.
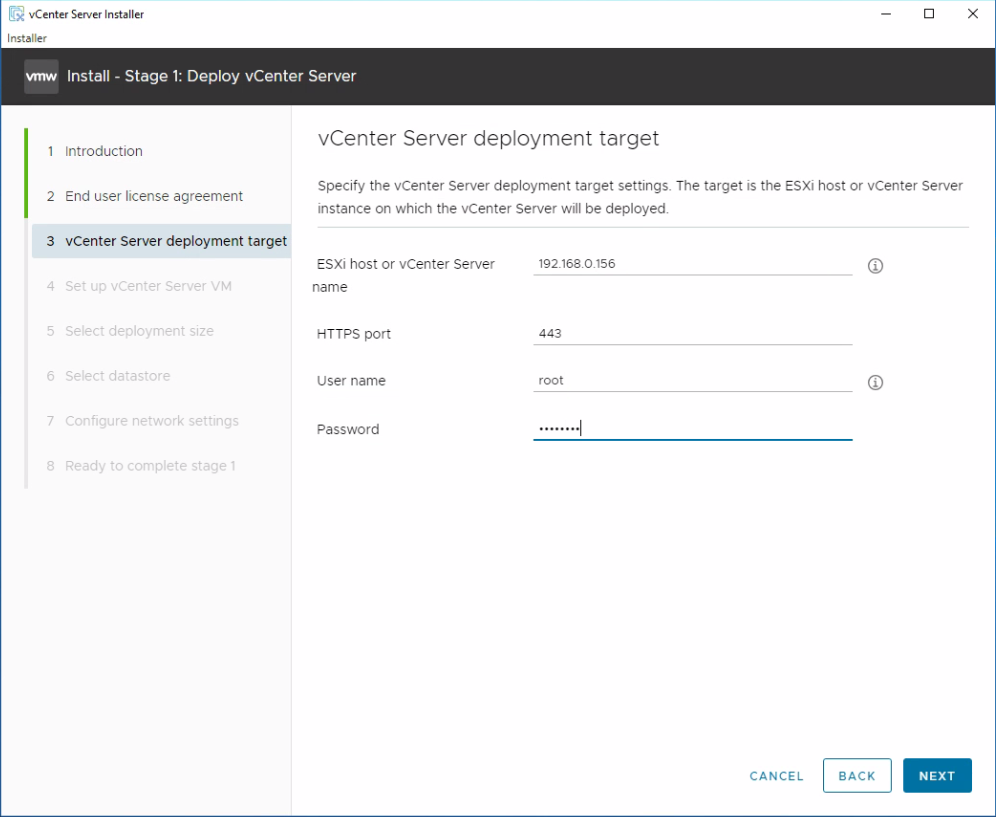
05. Specify ESXi host or vCenter server details to deploy the vCenter Server. Here you can use either FQDN or IP address.
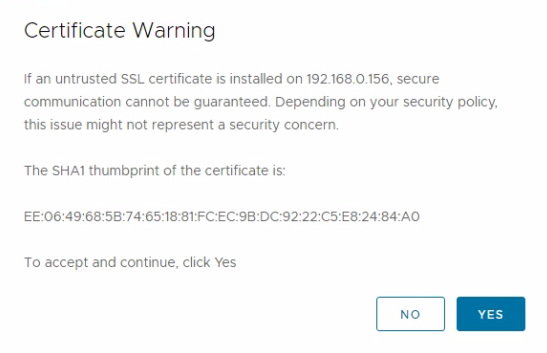
06. Click yes for the certificate warning.
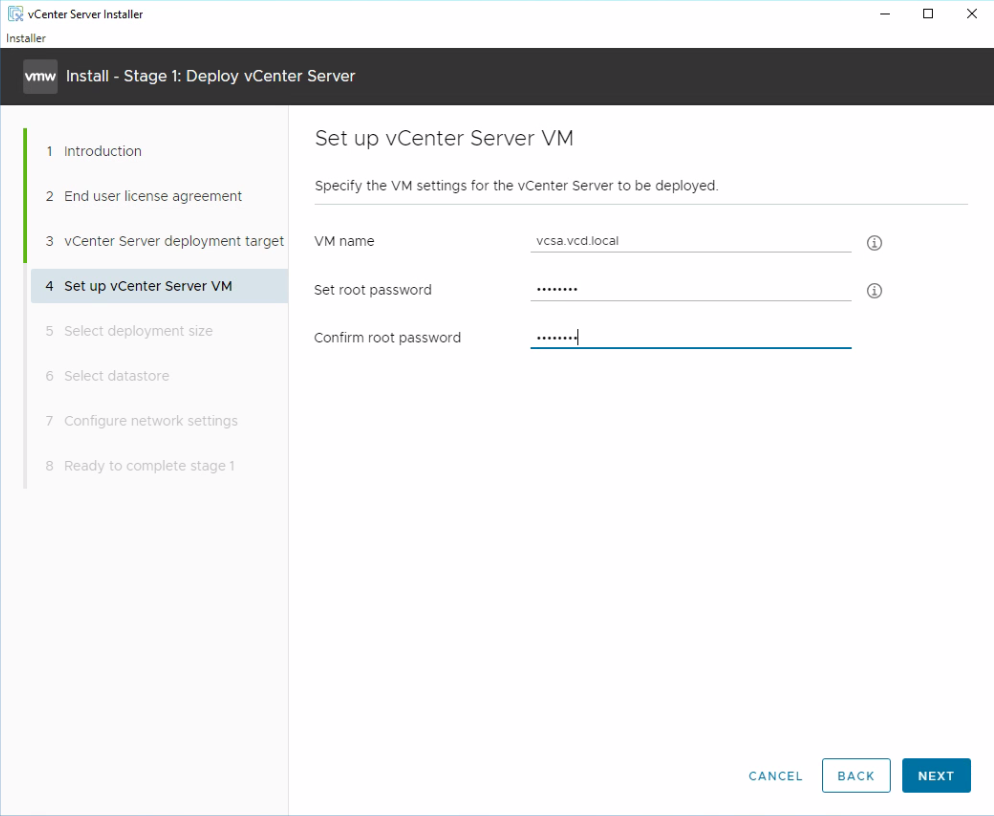
07. Specify VM name and root credential and Click Next.
08. Select the Deployment size and Click Next.

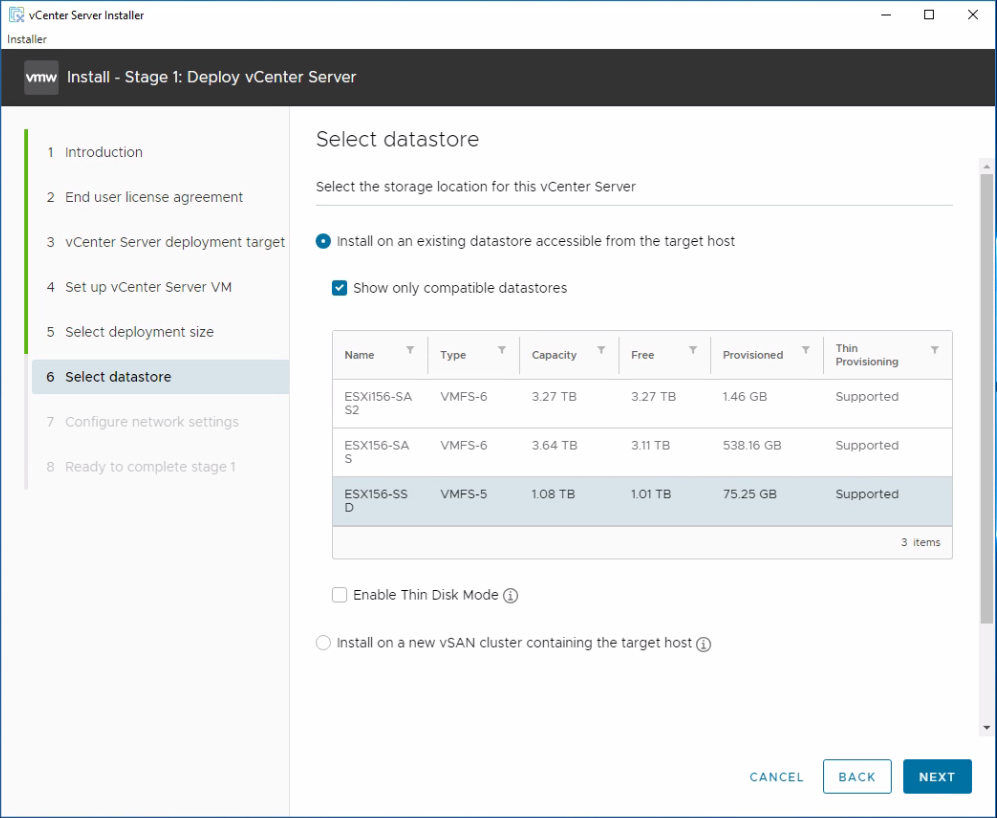
09. Select Datastore and Click Next.
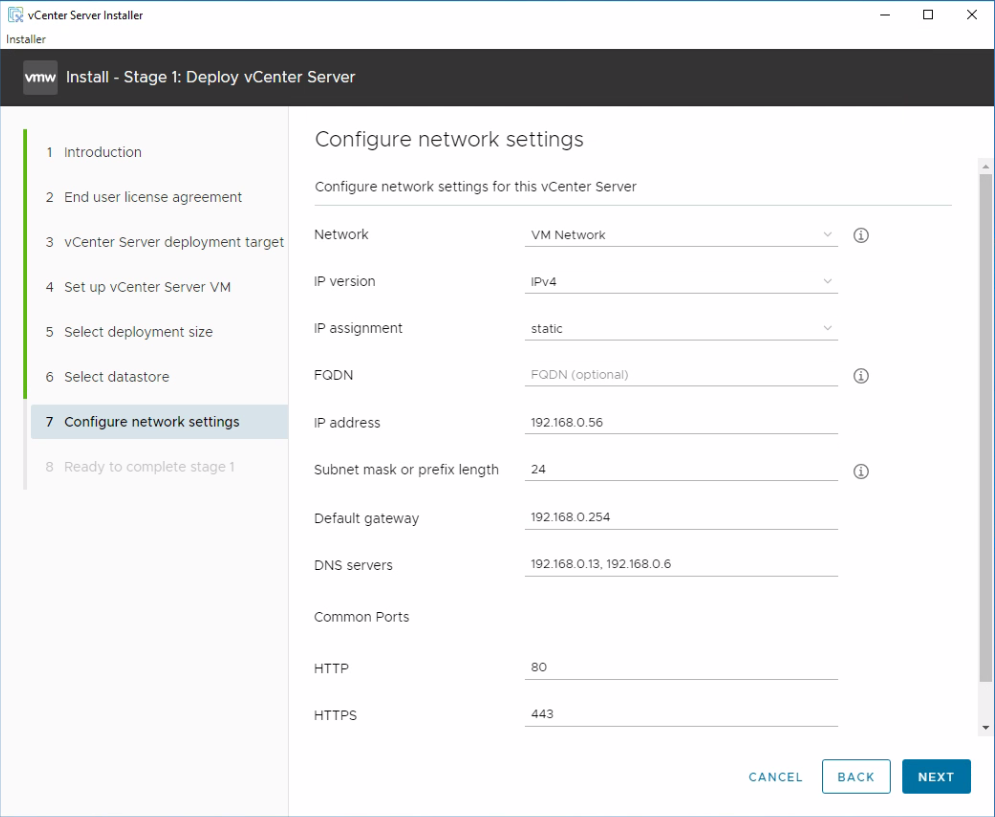
10. Configure network settings for the vCenter Server and Click Next
11. Review the settings and Click Finish to start vCenter Server deployment.

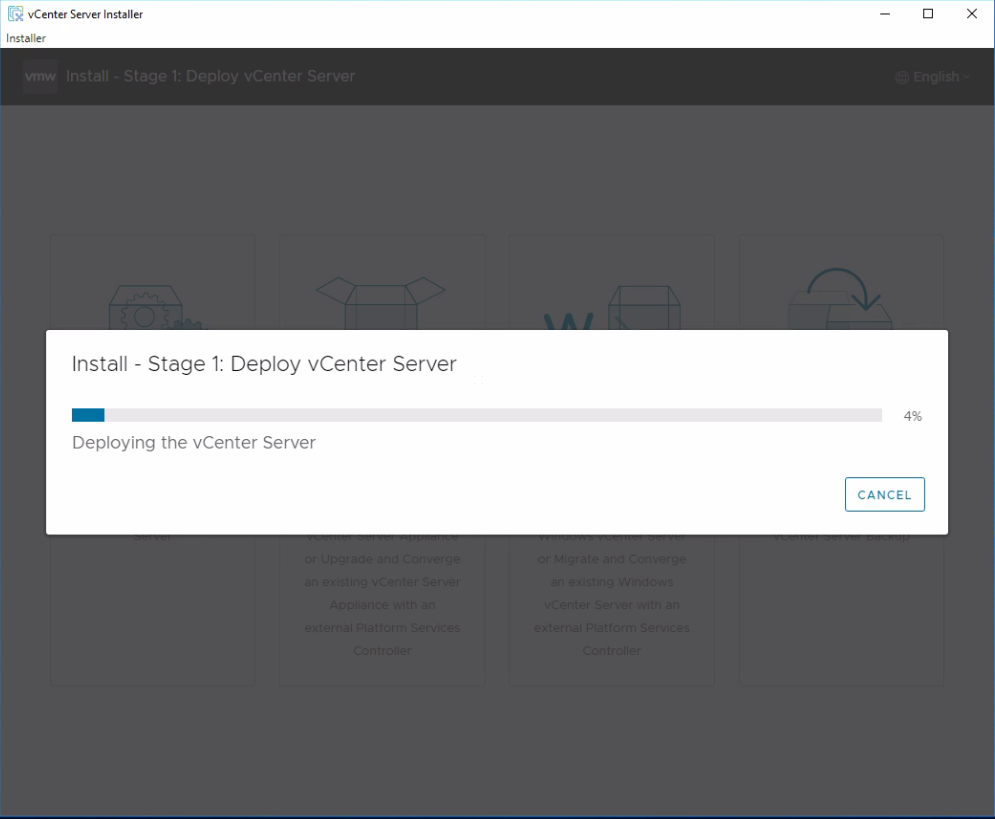
12. Stage 1 of vCenter Server Deployment will take time to complete just monitor the progress here.
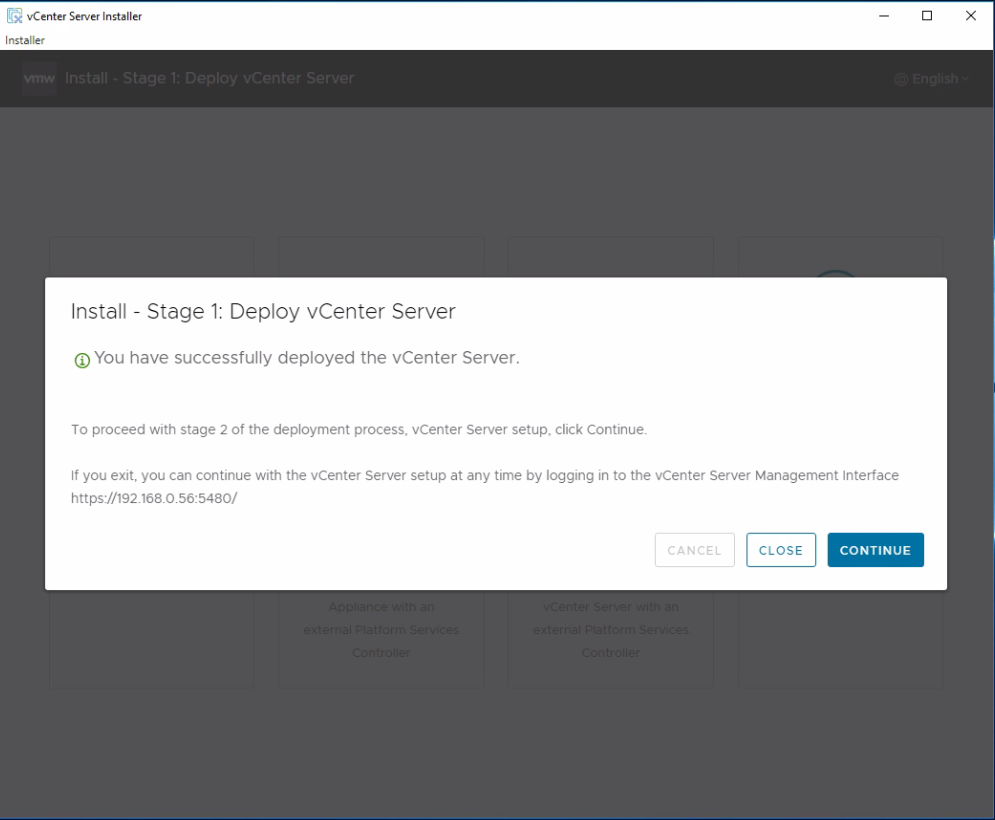
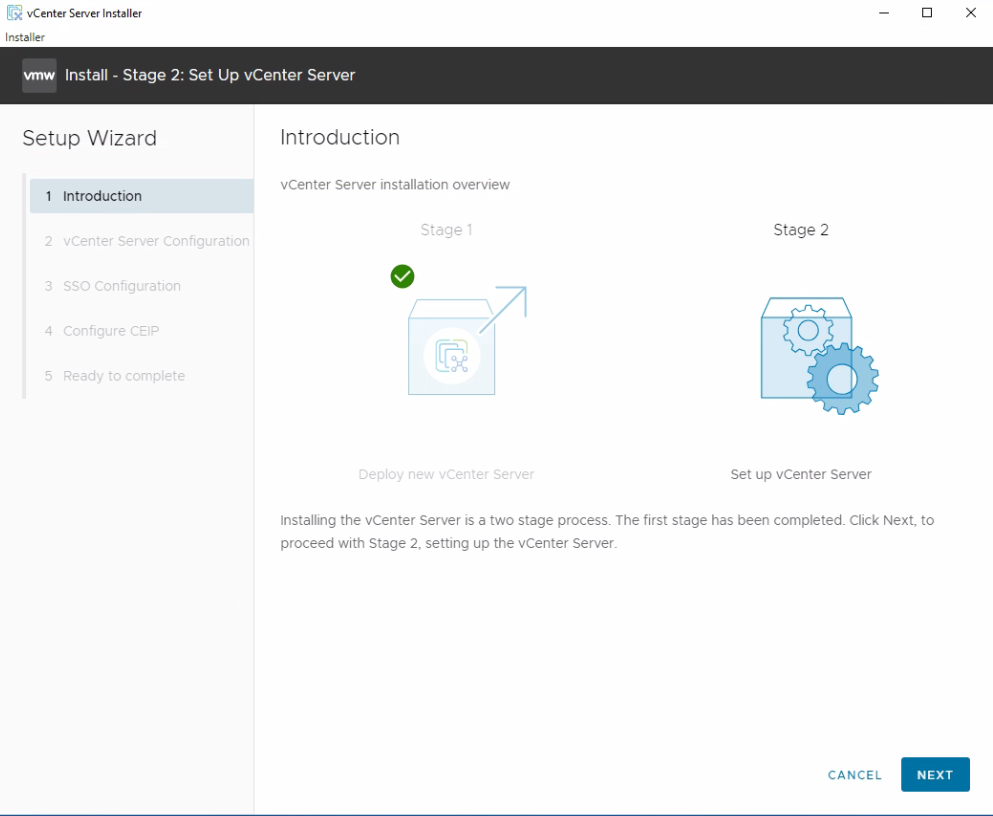
13. Click Continue proceed with Stage 2.
14. Click Next.
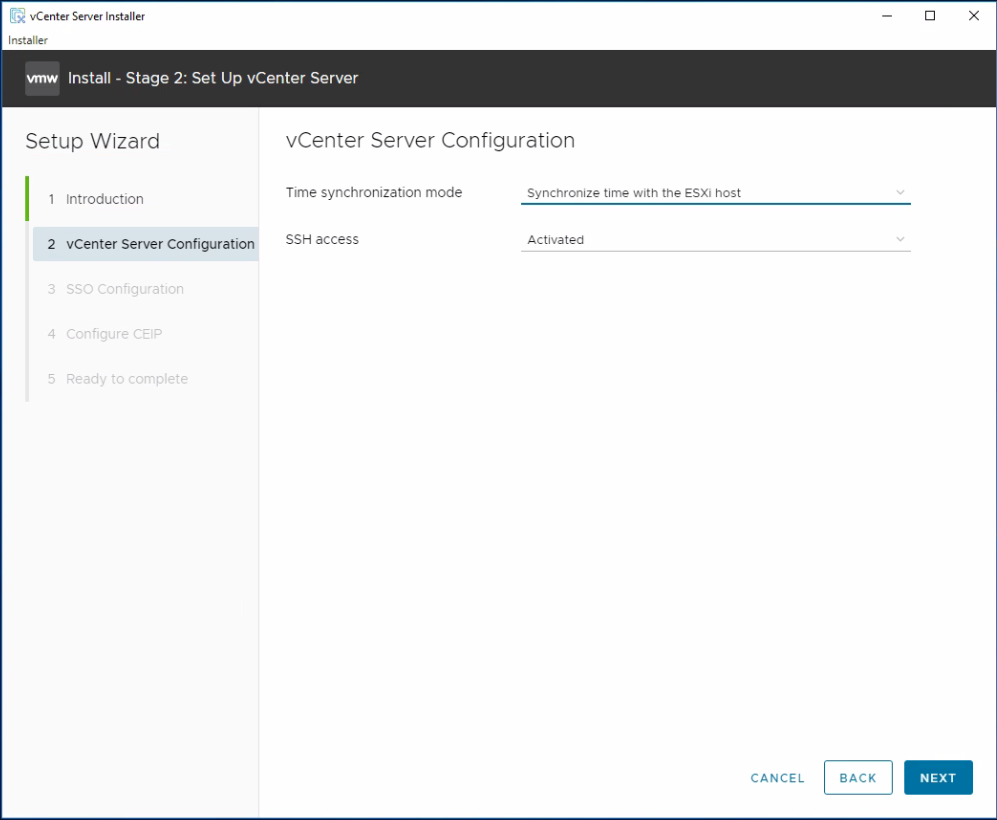
15. Sepecify Time synchronization mode and SSH access setting and Click Next.
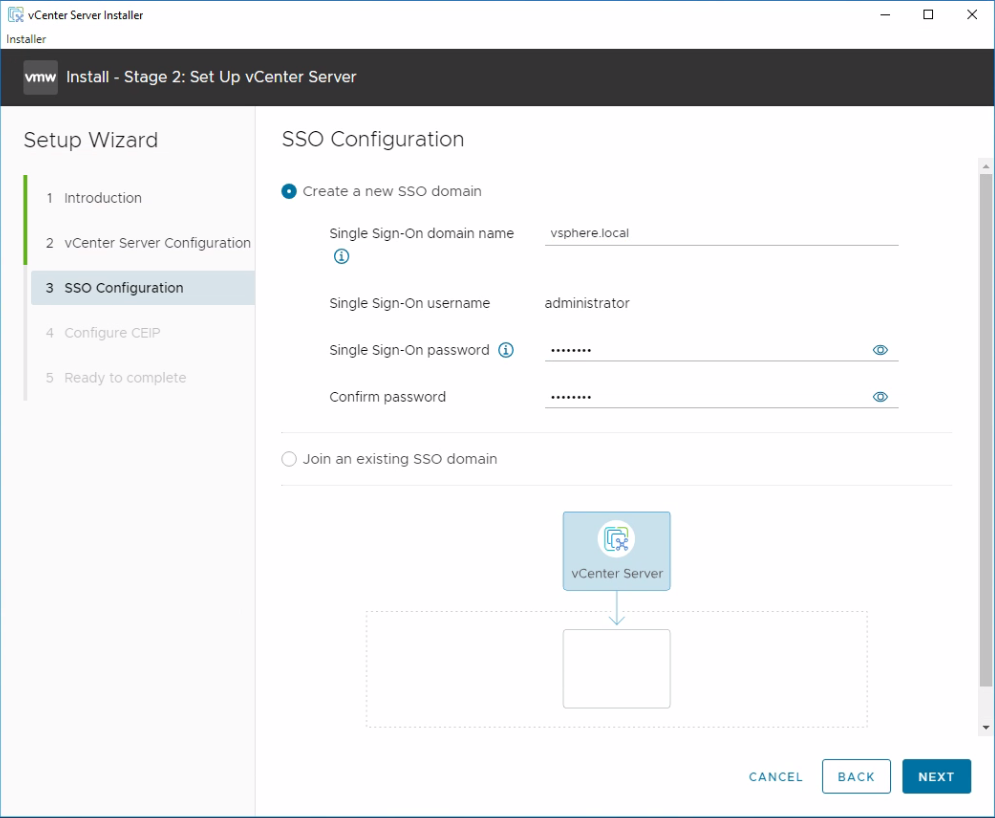
16. Define SSO settings and Click Next.
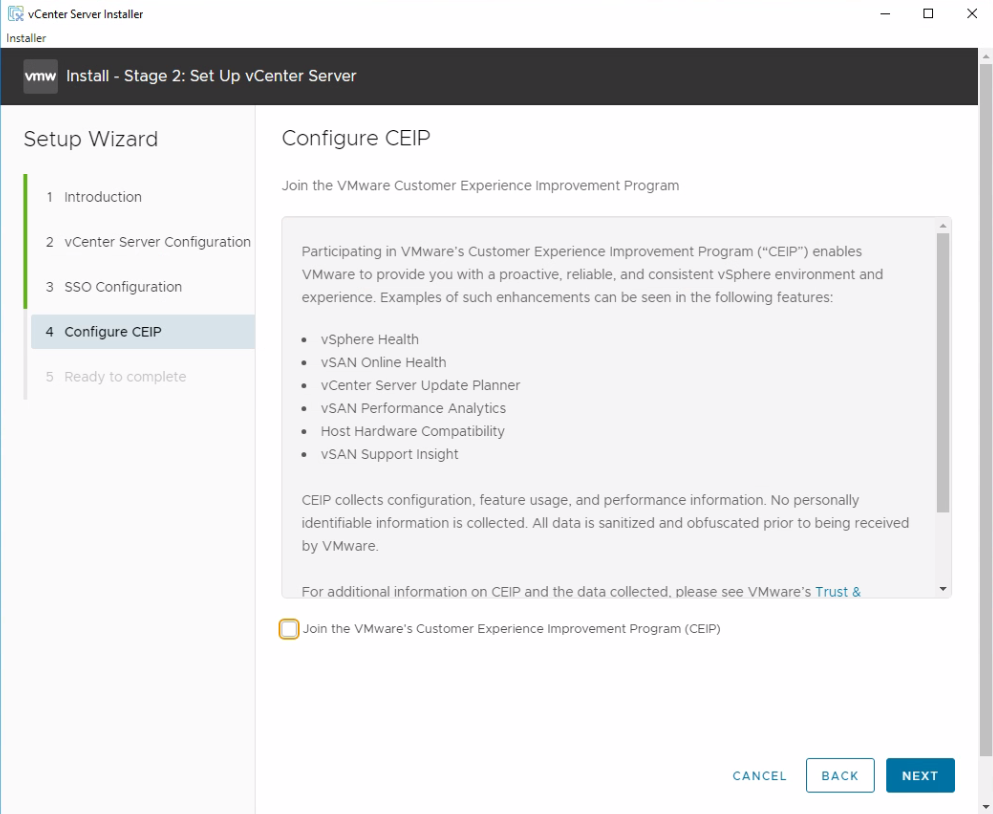
17. Click Next
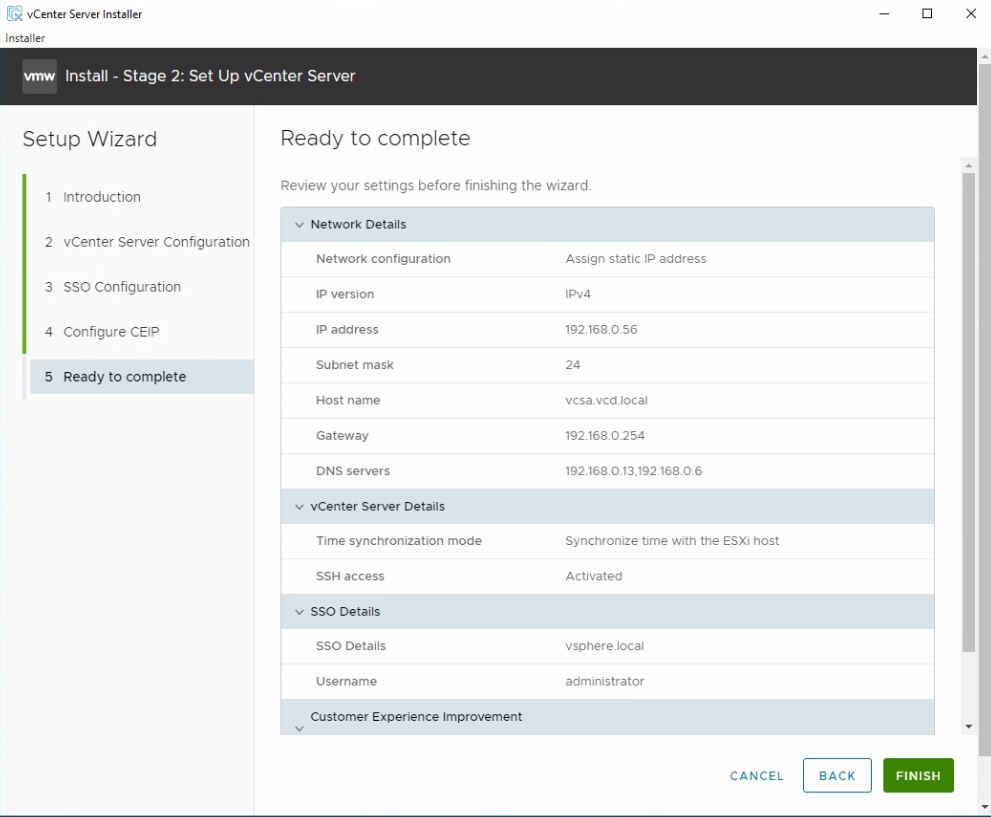
18. Review the setting and Click Finish
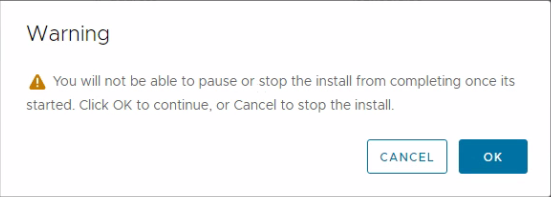
19. Click OK for the warning.
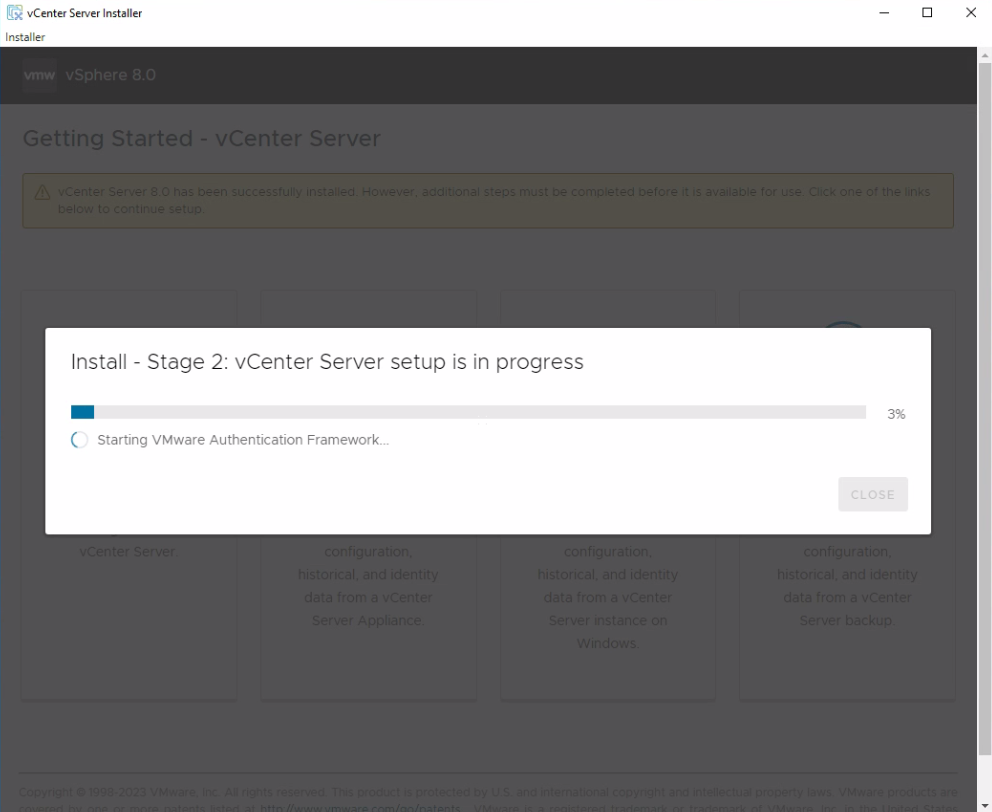
20. Stage 2 of vCenter Server Deployment will take time to complete just monitor the progress here.
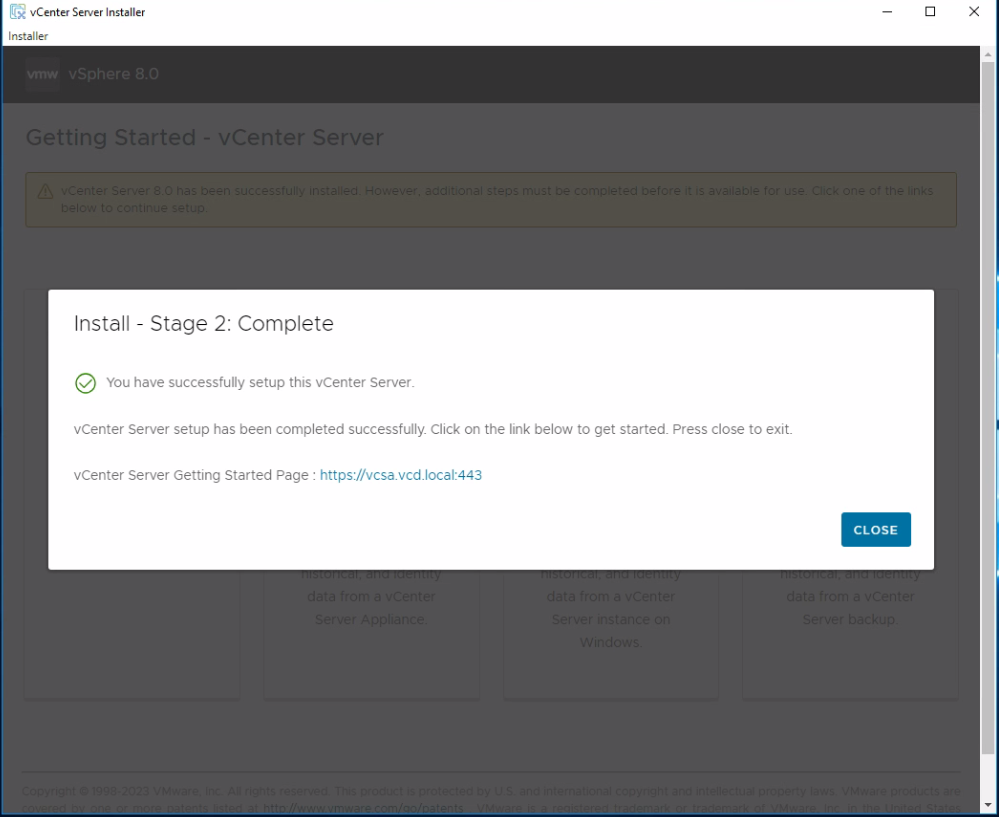
Now, the installation is completed. Click the URL to access the vCenter.
I think this helps. You can view my previous VMware posts here