
How to create a Desktop pool with Horizon 8.11?
Golden Image
a. Install Horizon Agent.
I have created a VM and installed Windows 11 professional edition to use as the golden image with the Horizon desktop pool that I am planning to create with this post. Also, I have joined the VM to the domain.
01. Double Click VMware-Horizon-Agent-x86_64 2309-8.11.0 installation file.

02. Click next on the Welcome to the Installation wizard for the VMware Horizon Agent window.

03. Accept the VMware license agreement. Click Next.

04. Select IPv4 as the Network protocol configuration. Click Next.

05. Select features to install. For example, if you are planning to use USB Redirection, Scanner Redirection includes the feature to install. To create a desktop pool using instant clones VMware Horizon Instant Clone needs to be selected to install.

To Include the features to install, click the down arrowhead next to the red cross mark and select This feature will be installed on local hard drive.

06. Select Enable the Remote Desktop capability on this computer. Then, click next.

07. Click Next.

08. It will take some time so sit back and relax :).

09. Click Finish.

10. Click Yes to restart the computer.

b. Run OS optimization tool.
We will not need all the features and services that are built with Windows 11 so to ensure better performance and end-user experience, we will need to optimize the OS. You can download the VMware Horizon OS Optimization Tool from here.
11. Run the OS optimization tool exe.

12. Accept the licence agreement and click Next.

13. Click the Analyze button.
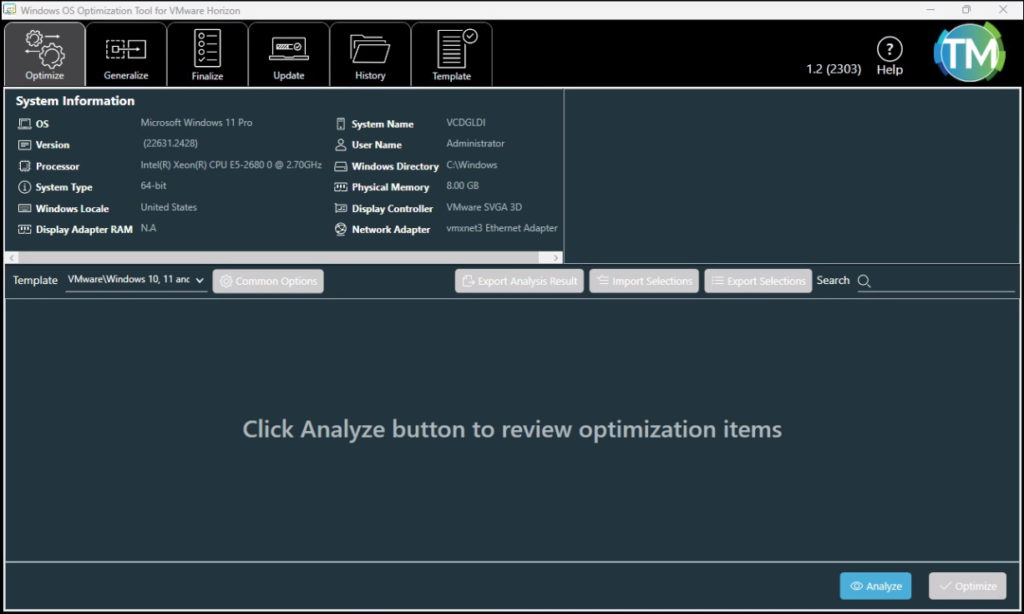
14. Click Optimize.
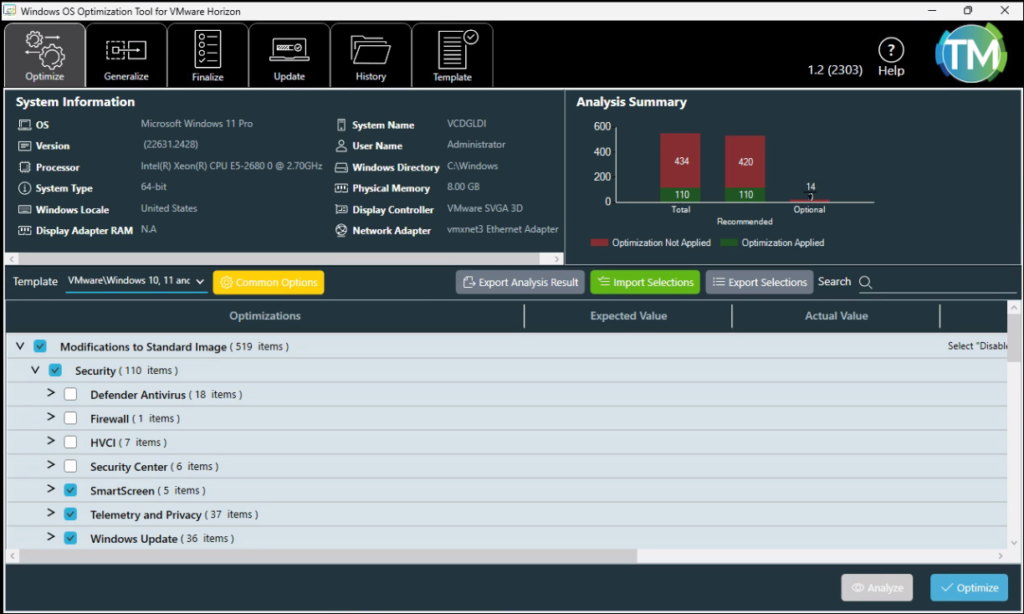
This will kick off optimization tasks.

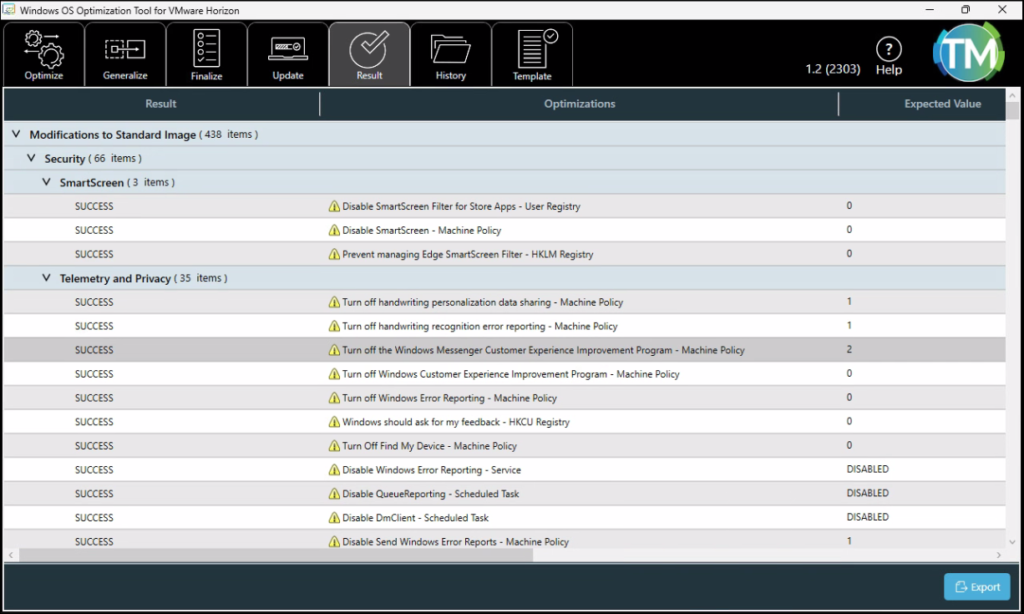
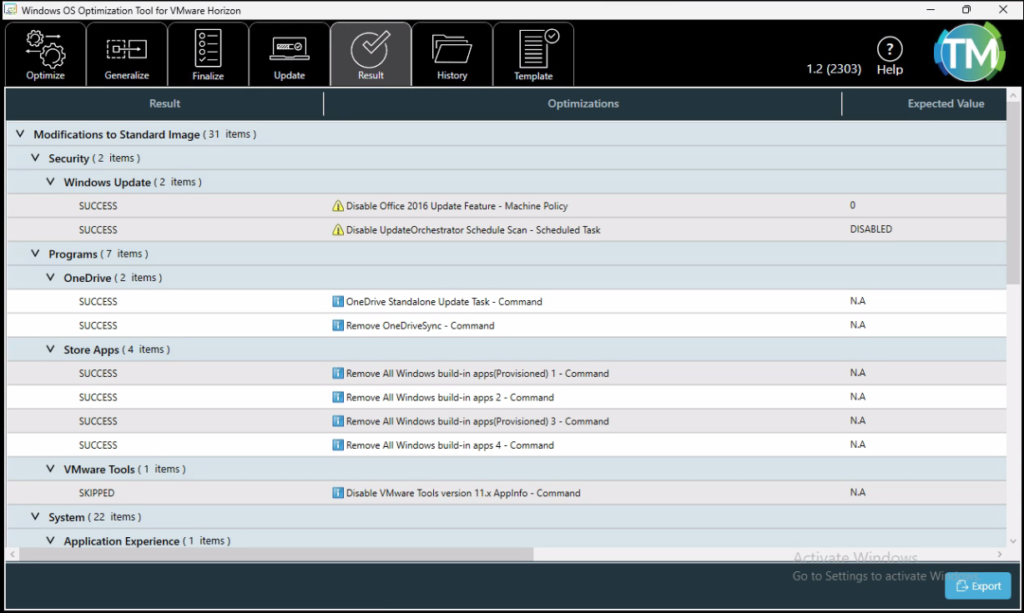
15. Now, you can review the results here.
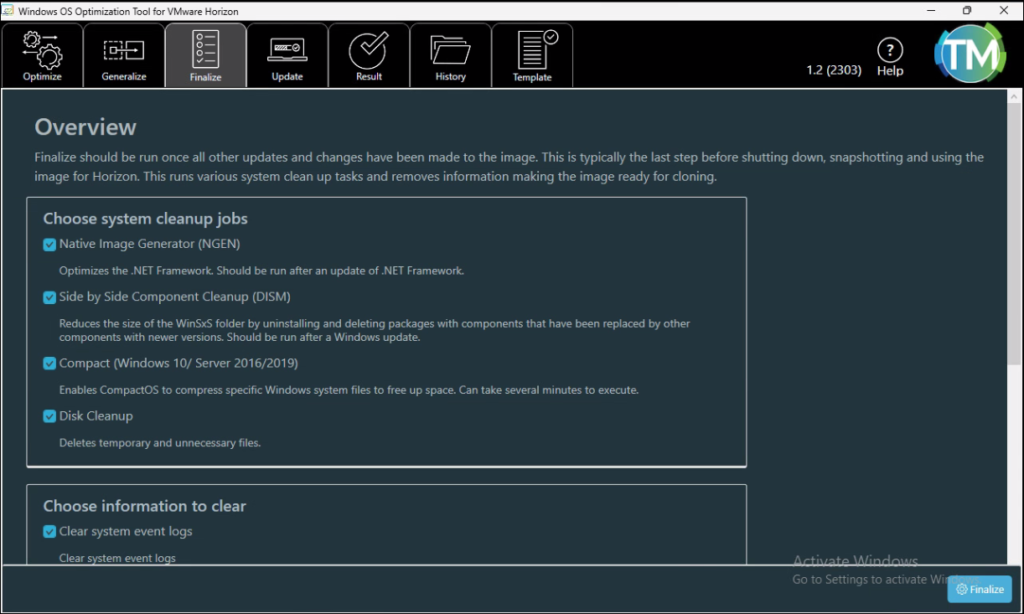
16. Finally, Select the Finalize tab and Click Finalize.
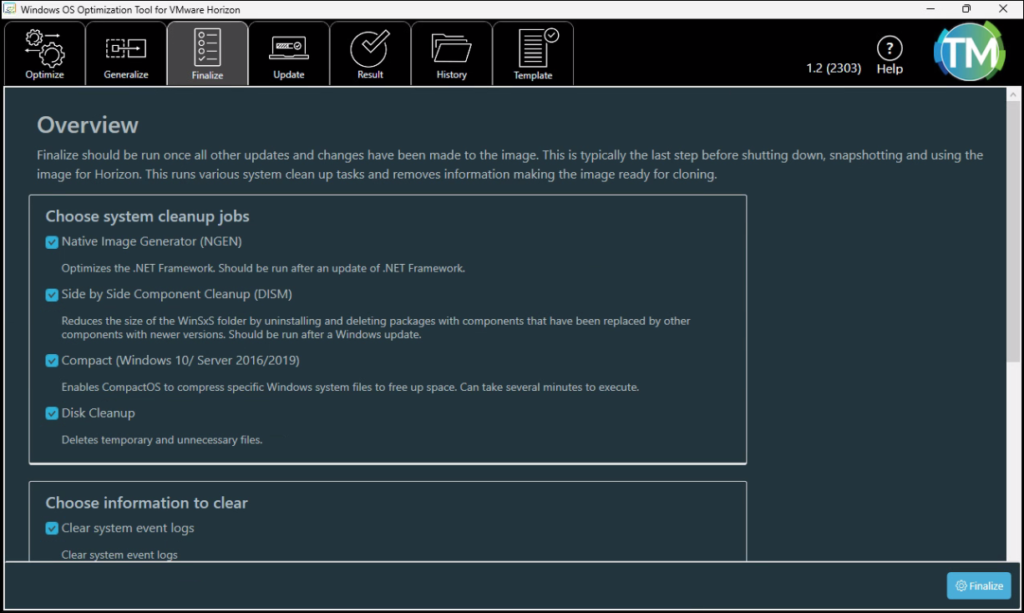
17. Click OK for the notification. It shows the next steps. Shut down the VM.

c. Create Snapshot
18. Log into vCenter and take a snapshot of the Golden image VM.

19. Provide a meaningful name and click Create.

Configure Automated Desktop Pool
Now, navigate back to the Horizon admin console. Click Desktops and Click Add.
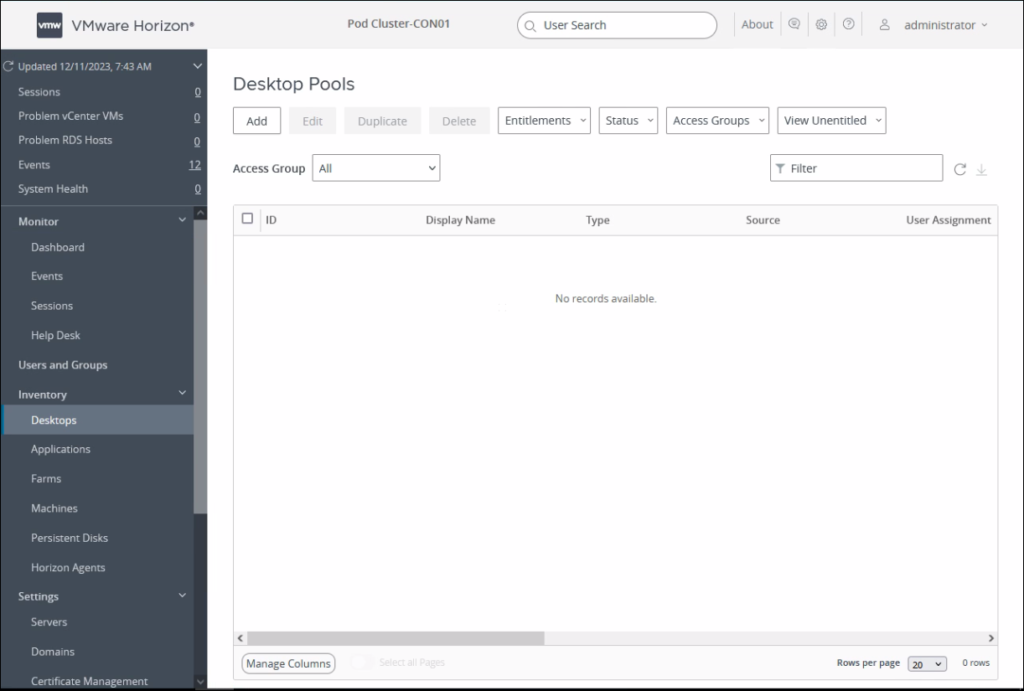
21. Select Automated Desktop Pool. Click Next.

22. Select Instant Clone and the vCenter Server then Click Next.

23. Select Floating. Click Next

24. Click Next.

25. Define the desktop pool ID and the display name. Click Next.

26. Define Naming Pattern. Scroll down for more settings.

27. Define Desktop pool size. Click Next. For Windows 11 need to Tick this AddvTPM Device to this VM.

28. Select the Goalden image and the Snapshot that we created in previous steps. Further, other options like VM location, Resource Settings and VM Compute Profile Settings then click Next.


29. Click Next. (Adjust the setting based on your requirements)

30. Click Next.

31. Select the domain and OU to place computer objects. Leave other options default. Click Next


32. Tick Entitle Users After Adding Pool. Review the settings and click Submit.

33. Click Add to entitle users to the Desktop pool.

34. Find and Select the User or Group. Then Click OK.

35. Click OK

36. When you click the Desktop Pool You will see State Publishing and progress under the Secondary Image.

37. Once the Pool is created, you will see the Available virtual desktops count in the Dashboard under the Machine status.

Additional steps to run Windows Updates
Say after some time you need to run the Windows update to push critical updates to the Desktop pool using the golden image then you will need to follow these steps as the Windows update service will be disabled when you optimise the OS using the OS optimization tool.
01. Open the OS optimization tool. Select Update. Click enable Windows Update.
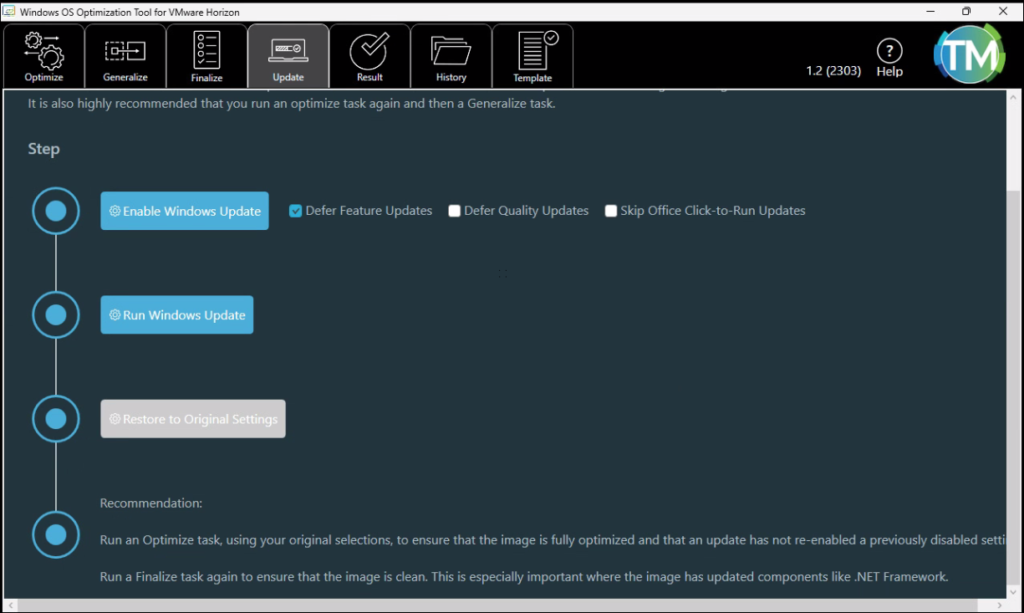
02. Click OK

03. Click Run Windows Update.
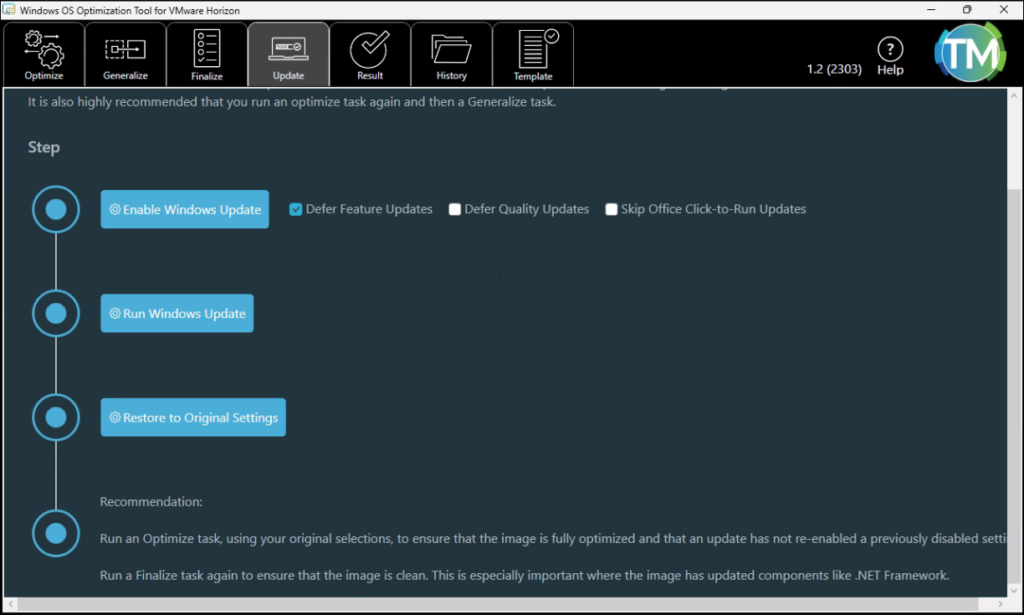
04. This will open Windows update. Install required Windows updates.

05. Once the updates are completed, click Restore to original settings.
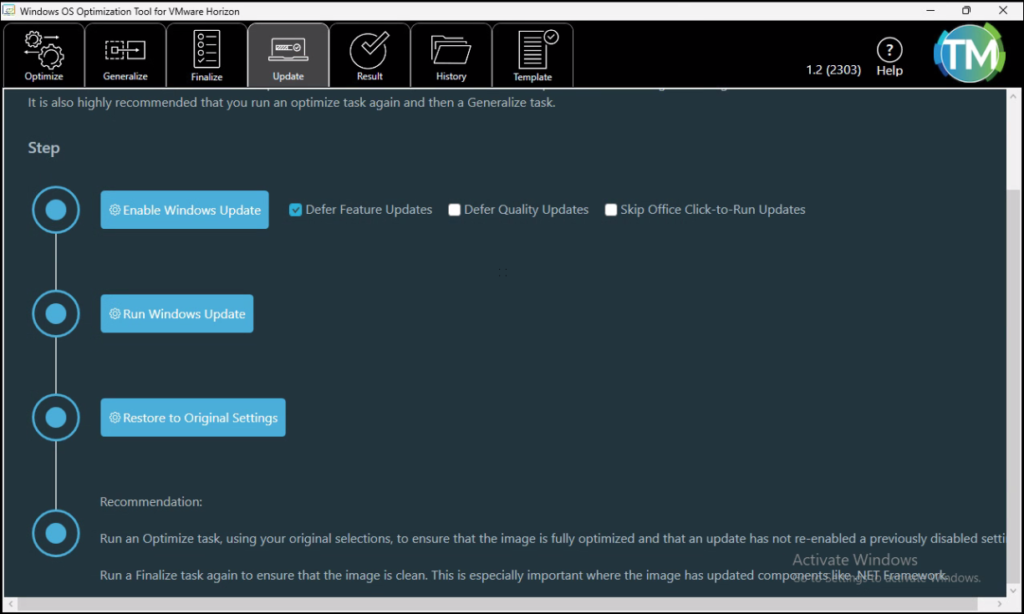
06. Click Ok

07. Click Optimize. Re-analyse and then click Optimize
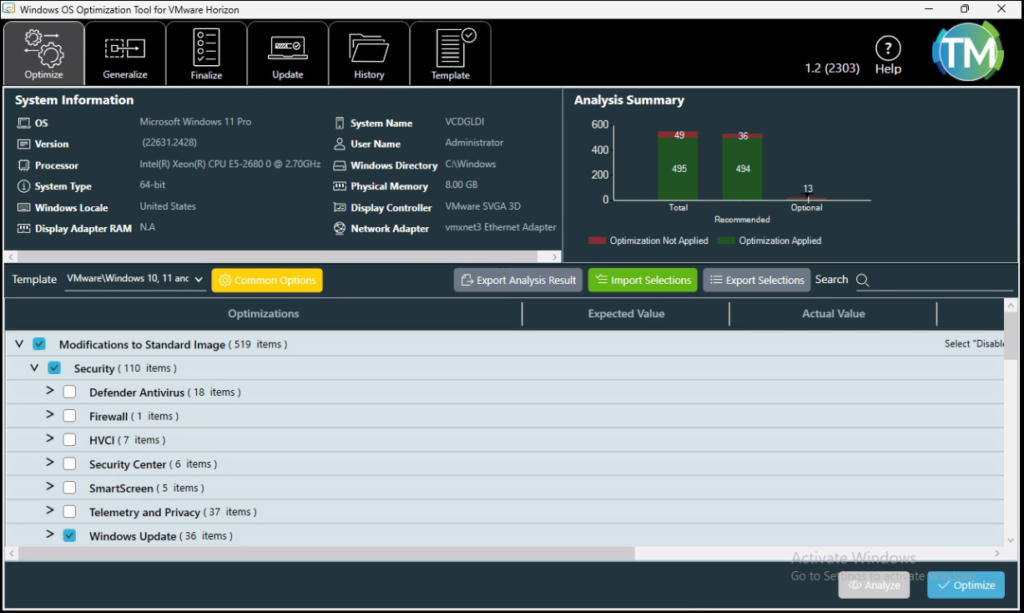
08. Review the Results. Click Finalize.
09. Click Finalize
10. Click Ok

Now, it is time to shut the VM and take a new snapshot to push the updated Windows image to the pool.
I hope this helps. To view my previous Horizon-related posts click here.
