

Renew SSL Certificate.
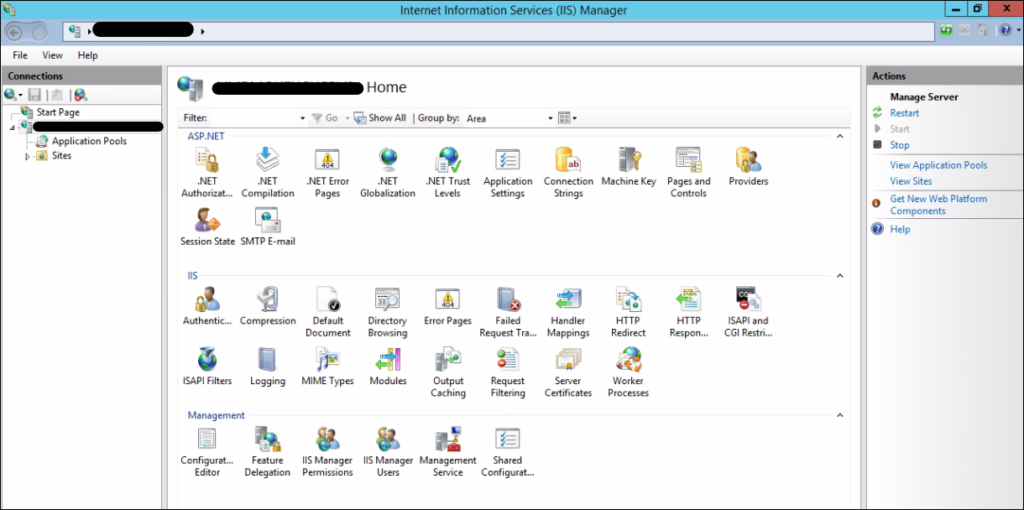
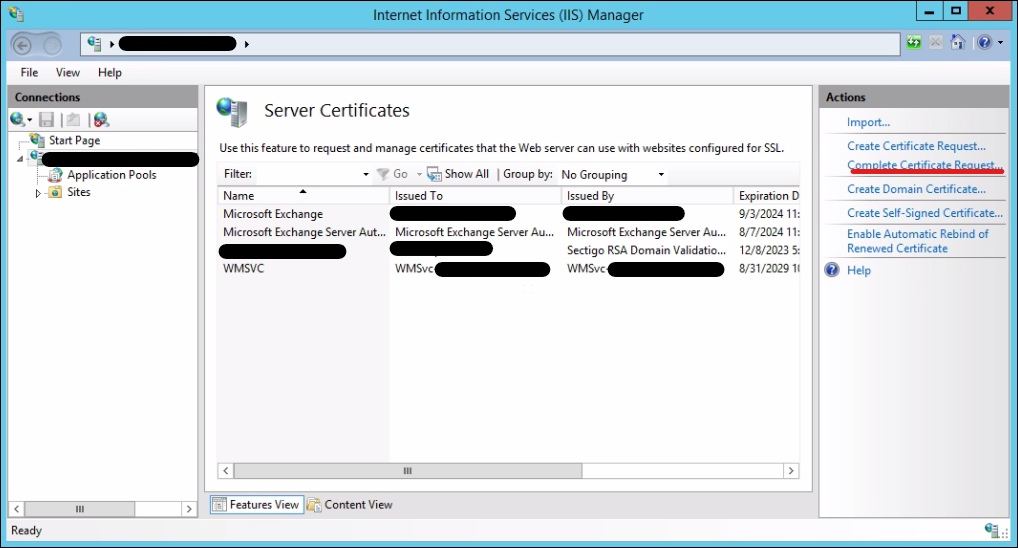
01. Open IIS Manager from the Exchange Server. Click Server Certificates under the IIS section from the mid pane of the IIS console.
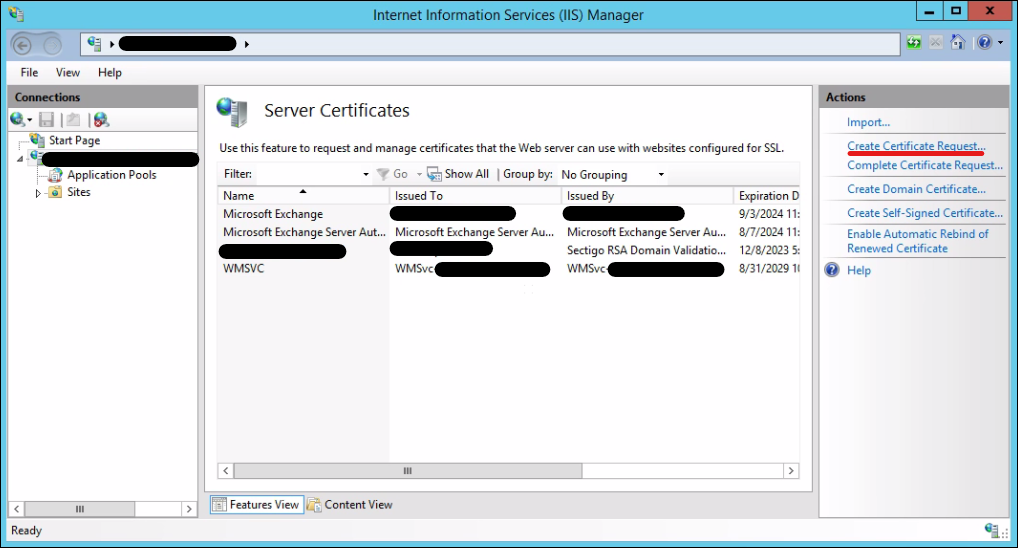
02. Click Create Certificate Request
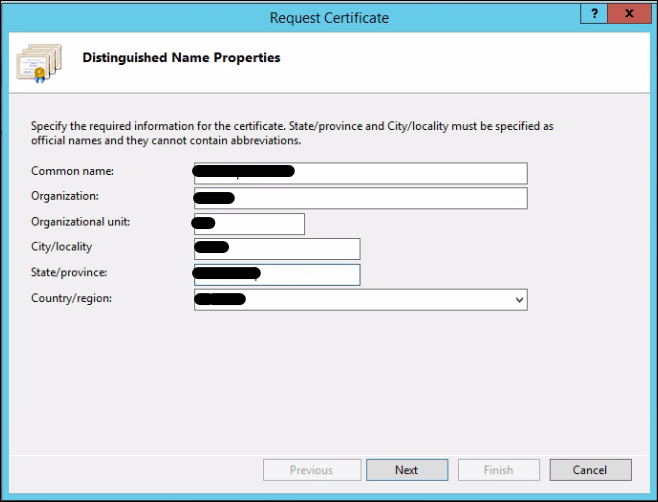
03. Fill in the details in the Distinguished Name Properties window. Click Next.
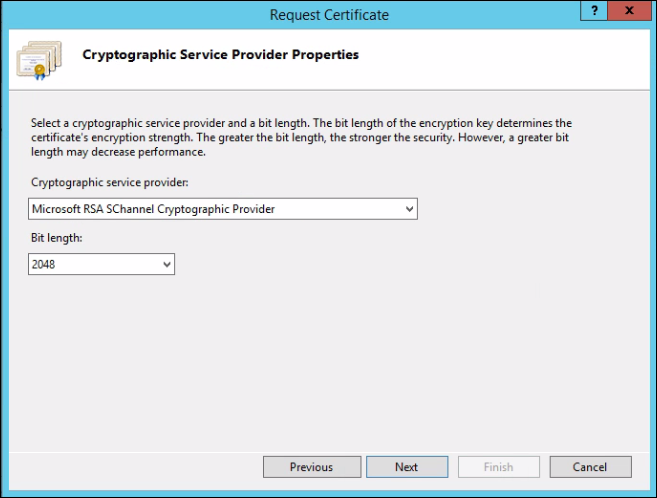
04. Define Cryptographic Service Provider Properties. Click Next.
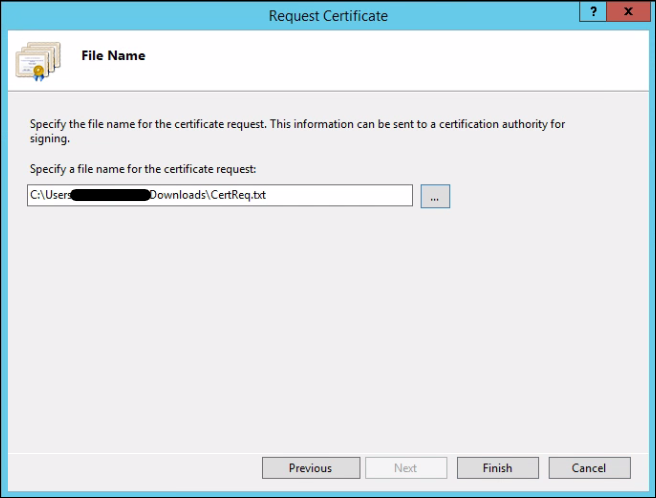
05. Define the path to save the certificate request file. Click Finish.
06. Now open the certificate request file saved in step 05 using Notepad. Then Copy the content from
—–BEGIN NEW CERTIFICATE REQUEST—– to —–END NEW CERTIFICATE REQUEST—–


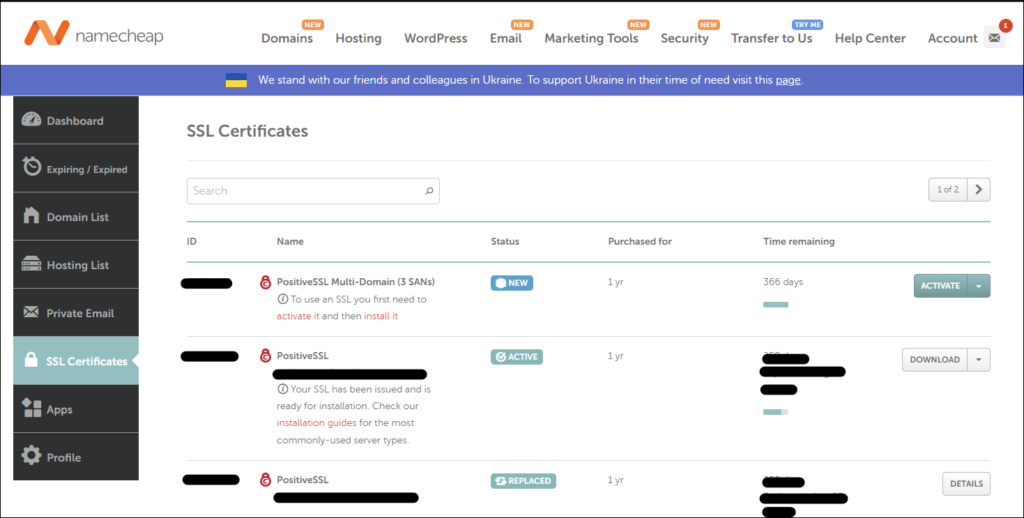
07. Go to the Certificate Provider’s Console. I am using Namecheap. Click Active.
Please note this process may change from service provider to service provider but the concept behind it is the same.
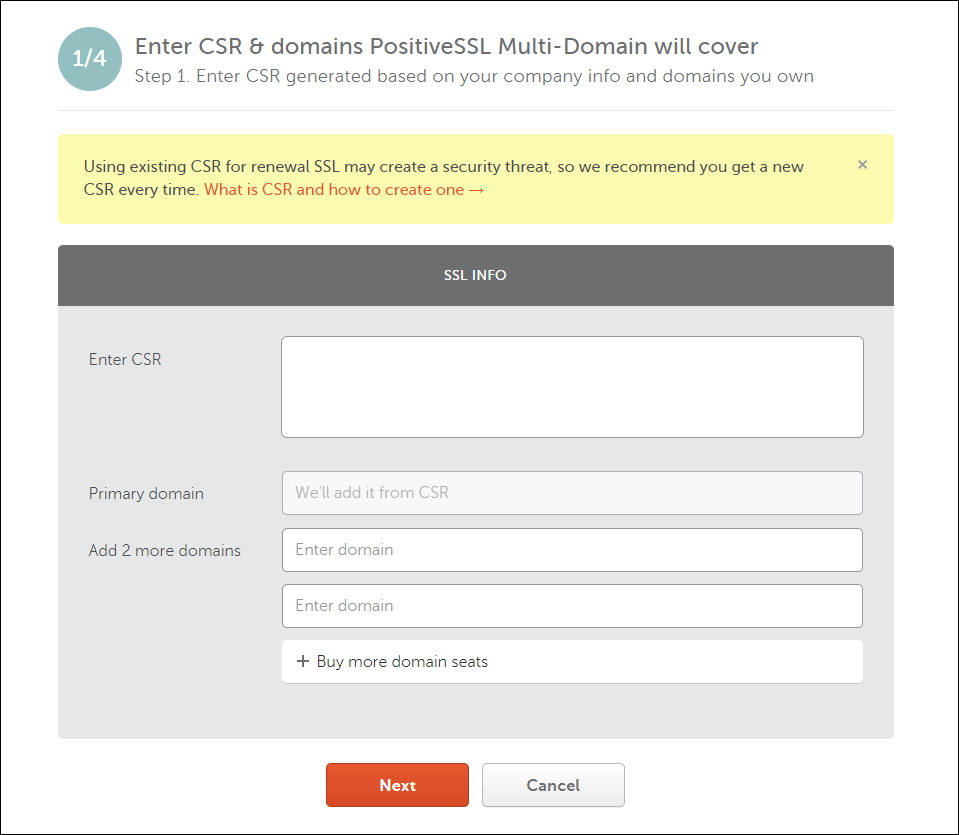
08. Enter CSR copied in Step 06. Click Next. Remember to define autodiscovery.domain.com in the Add 2 more domains field. This will help when configuring emails with Outlook. Click Next.
09. Now, we need to verify the domain. You have different options like adding a DNS record, receiving an email and adding a validation file. Email is easy for me, so I chose email here. Click Next.
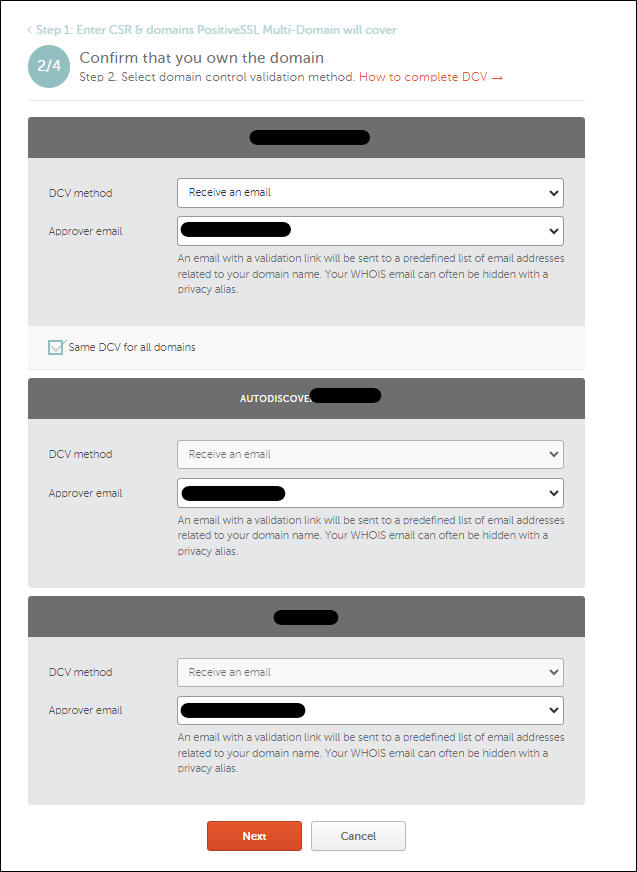
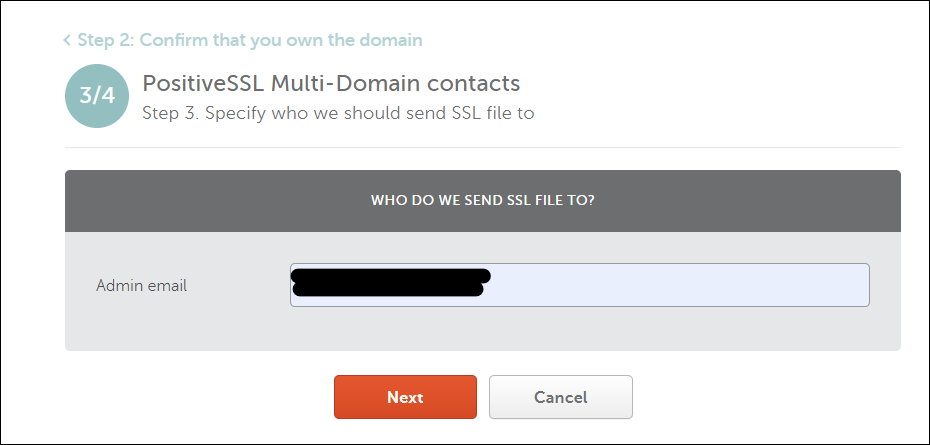
10. Define admin email, Click Next.
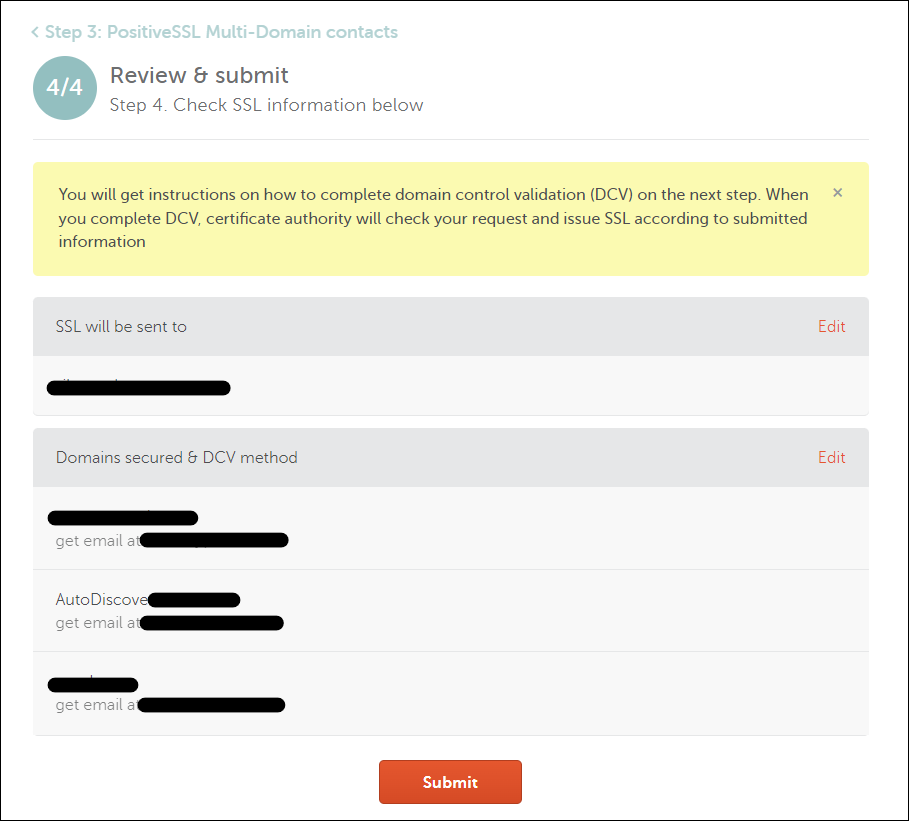
11. Review the details and submit.
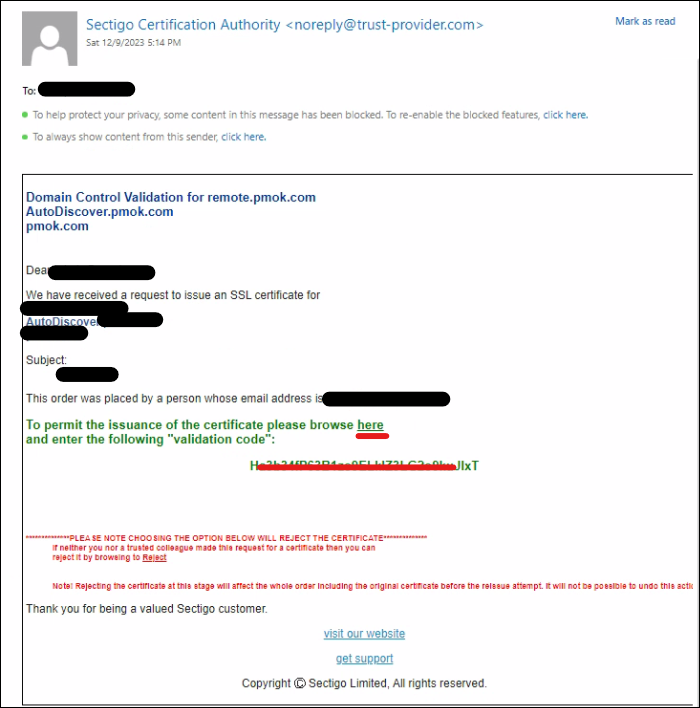
12. Now log into the email copy the validation code and click on Browse here. It will open a browser window.
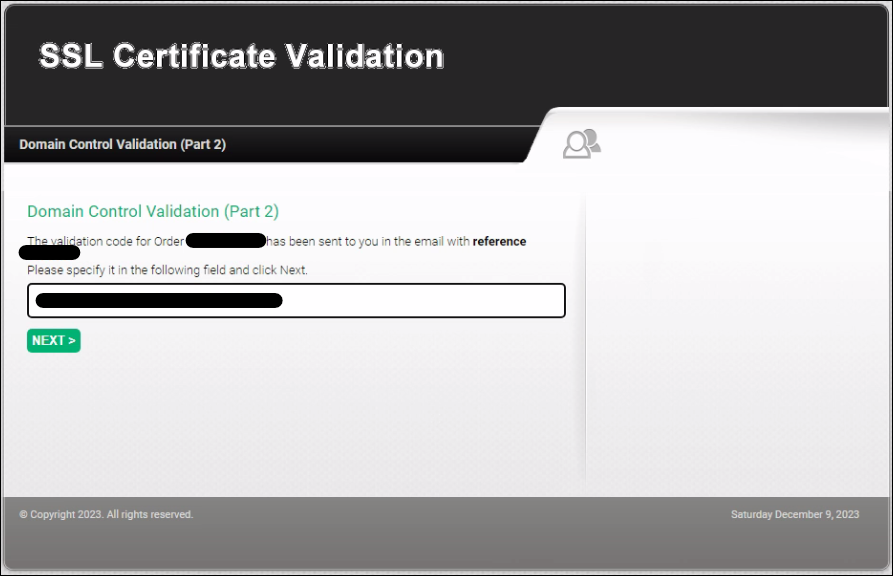
13. Paste the validation key then click next.
Install SSL Certificate.
14. You will receive the SSL certificate via email. Save the certificate file in a convenient location, so that we can use it in Step 16.
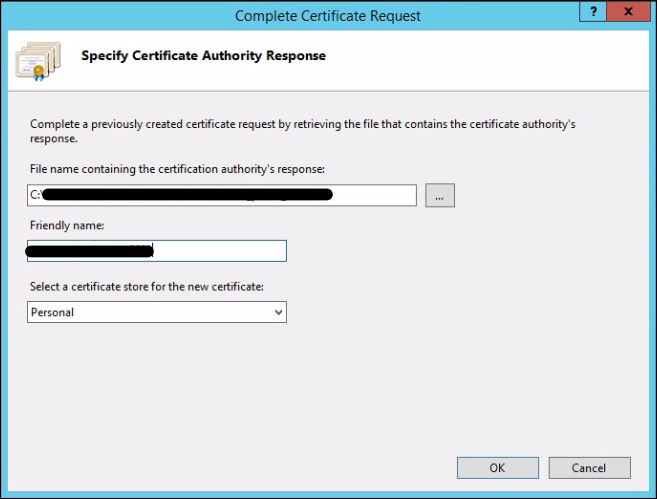
15. Now from the IIS manager console, Click Complete Certificate Request.
16. Select the Certificate received on step 14. Define a friendly name then Click OK.
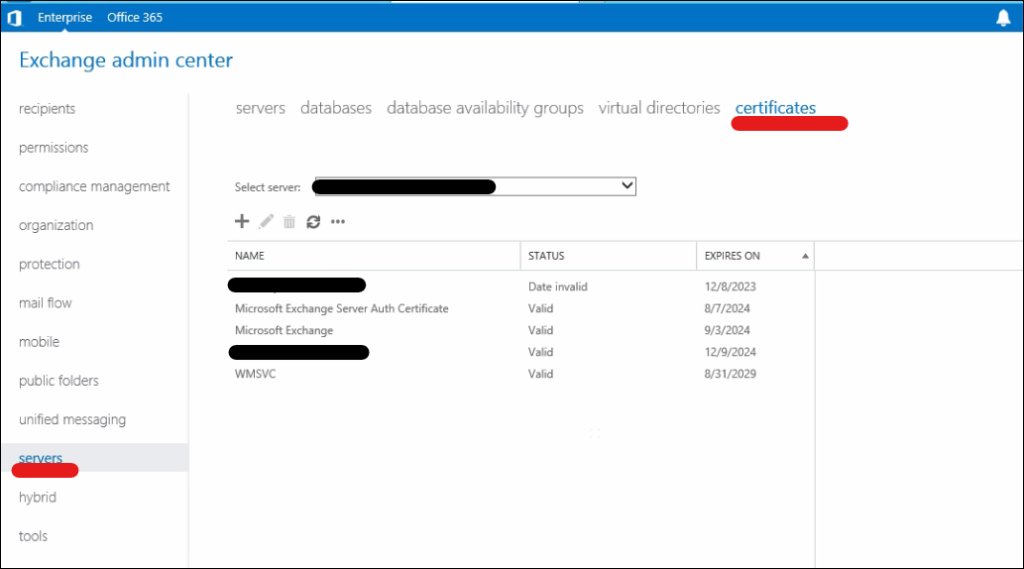
17. Log into the exchange server admin centre. (https://localhost/ecp/)
Click Servers then Click Certificates. Verify the newly installed cert is listed.
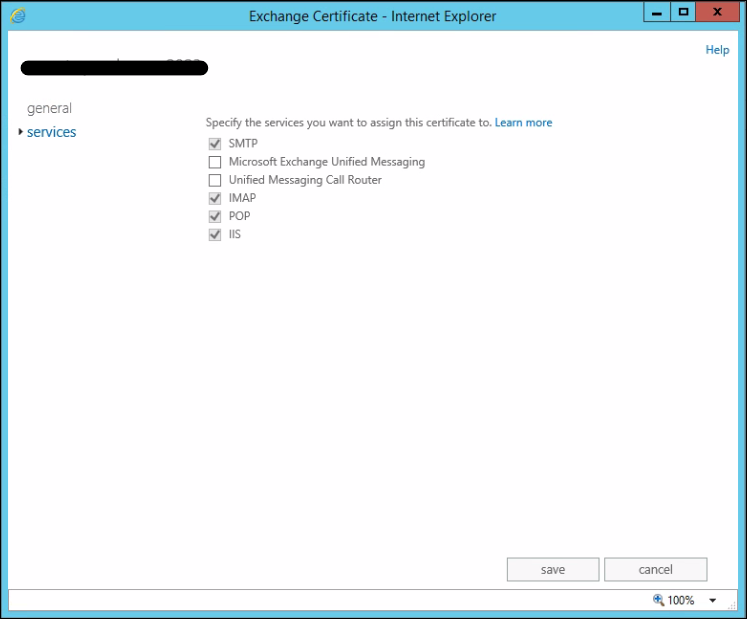
18. Select the new SSL certificate and Click the pencil button to select the services. Click Save.
I hope this helps. to view my previous post related to Microsoft Technologies Click here.